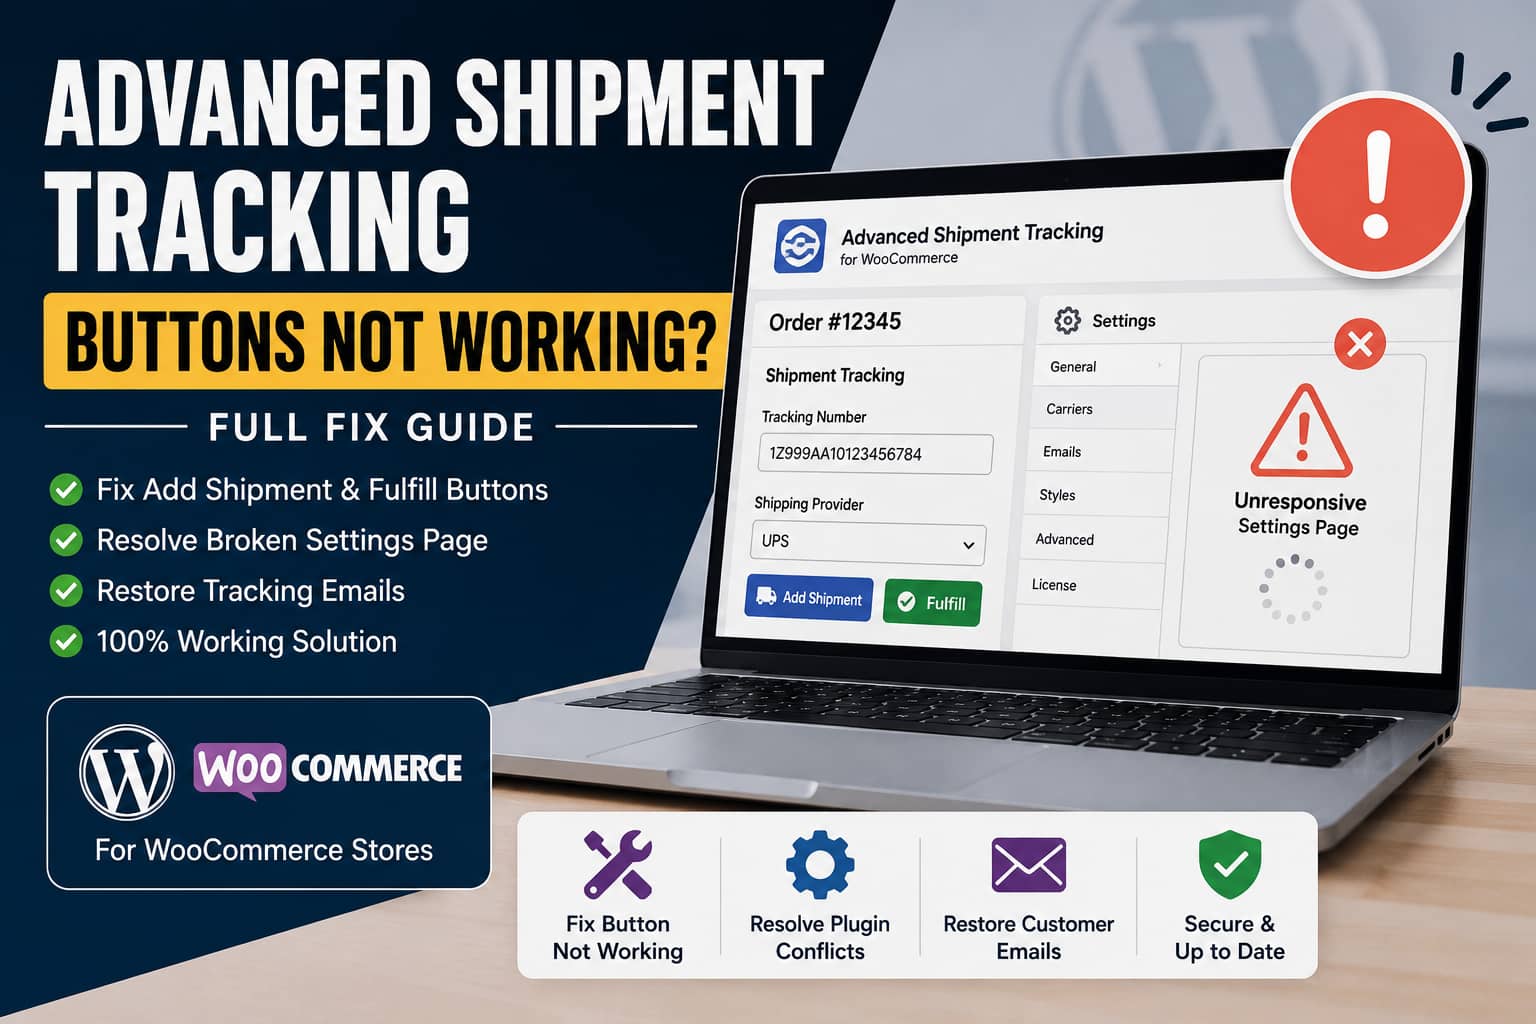
Advanced Shipment Tracking buttons not working after a plugin update can prevent a WooCommerce store owner from fulfilling orders, adding tracking numbers, completing orders, and notifying customers.
The problem may appear in two places at the same time:
- The Fulfill or Add Shipment button on an individual WooCommerce order does nothing.
- The Advanced Shipment Tracking settings page looks unstyled, outdated, distorted, or completely unresponsive.
Deleting and reinstalling the plugin may not solve the problem. Clearing browser cookies may also have no effect.
When the settings page loses its modern design and its buttons stop responding, the most likely explanation is that the plugin’s WordPress admin CSS or JavaScript files are either not loading or are crashing after they load.
This guide explains how to diagnose and fix the problem safely without deleting existing tracking information.
What Is Advanced Shipment Tracking for WooCommerce?
Advanced Shipment Tracking for WooCommerce, commonly called AST, allows store owners to add tracking numbers to WooCommerce orders and include tracking information in customer emails and account pages.
The plugin supports adding tracking numbers from order pages, shipment statuses, multiple shipping carriers, email tracking information, REST API integration, CSV imports, and WooCommerce High-Performance Order Storage.
Version 4.0 introduced a completely redesigned administration interface. Therefore, if the settings page suddenly appears as plain text or an older-looking page after the update, the new interface assets may not be loading correctly. The current 4.0.1 release also includes an important security fix, so updating should be the first step rather than permanently reverting to an older version.
Symptoms of the AST Plugin Problem
You may be experiencing this issue if one or more of the following happens:
- Clicking Add Shipment does nothing.
- Clicking Fulfill does nothing.
- No tracking number is saved to the order.
- The order is not marked as completed or shipped.
- The customer does not receive a tracking email.
- The AST settings page is unstyled or distorted.
- Settings tabs cannot be opened.
- Buttons on the AST settings page do not respond.
- Reinstalling the plugin does not help.
- Clearing cookies or changing browsers does not solve the issue.
- Existing tracking links still work, but new tracking information cannot be added.
When the order controls and settings interface fail together, they are usually related. Both features rely on plugin scripts running inside the WordPress administration area.
Is the Storefront Theme Causing the Problem?
The Storefront theme is unlikely to be the primary cause.
The AST settings page and the shipment controls are displayed inside /wp-admin/, while Storefront mainly controls the public-facing design of the website.
However, themes and child themes can sometimes load custom scripts or styles in the WordPress dashboard. A custom function inside functions.php could also interfere with admin assets.
You should therefore test the theme during troubleshooting, but do not assume that Storefront is incompatible merely because the problem appears while Storefront is active.
The stronger clues are:
- The settings page has lost its styling.
- Multiple AST buttons are unresponsive.
- Reinstalling AST did not fix it.
- Existing tracking data remains intact.
These symptoms point more strongly to a failed JavaScript or stylesheet request, a plugin conflict, cached assets, a security rule, or incompatible AST Free and AST Pro versions.
Why Reinstalling the Plugin May Not Fix It
Removing and reinstalling a WordPress plugin does not necessarily clear:
- Plugin database settings
- Browser-cached JavaScript
- Server page cache
- Redis or Memcached object cache
- Cloudflare cache
- PHP OPcache
- Security-plugin rules
- Admin optimization settings
- Files left behind after an incomplete deletion
- Settings belonging to AST Pro or TrackShip
A reinstall replaces the main plugin files, but it does not automatically fix another plugin that is blocking AST scripts.
Because the existing tracking information remains in the database and still works, you should not start by deleting AST database records or forcing database migrations.
The database is probably not the immediate problem when only the administration interface is broken.
Before Starting
Create a complete backup containing:
- WordPress files
- The database
- WooCommerce orders
- Plugin settings
- Uploads
Perform conflict testing on a staging website whenever possible.
Avoid troubleshooting directly on a busy live WooCommerce store because temporarily disabling plugins can affect checkout, payment processing, scheduled tasks, and order notifications.
Step 1: Update AST and WooCommerce
Go to:
WordPress Dashboard > PluginsCheck whether the following plugins are active:
- Advanced Shipment Tracking for WooCommerce
- AST PRO
- TrackShip for WooCommerce
- Any separate Zorem add-ons
Update all related plugins.
At the time this article was prepared, AST 4.0.1 was the latest version listed on WordPress.org. Version 4.0 introduced the redesigned admin interface, while 4.0.1 added a security fix.
Also update:
- WordPress core
- WooCommerce
- AST Pro
- TrackShip
- Any WooCommerce order-management add-ons
Do not assume that updating AST Free alone is sufficient when an older AST Pro version is still active.
After updating, open a new browser tab and test the settings page again.
Step 2: Clear Every Cache Layer
Clear all caches before conducting deeper troubleshooting.
Clear the WordPress cache
Use the purge option provided by your caching plugin, such as:
- LiteSpeed Cache
- WP Rocket
- W3 Total Cache
- FlyingPress
- Breeze
- Cache Enabler
Clear the hosting cache
Purge any cache provided by:
- Cloudways
- Kinsta
- WP Engine
- SiteGround
- GoDaddy
- Hostinger
- Nginx FastCGI Cache
- Varnish
Clear the object cache
Flush Redis or Memcached when an object-cache plugin is active.
Clear the CDN cache
Purge Cloudflare or another CDN connected to the website.
Clear the browser cache
Use a hard refresh:
Windows: Ctrl + Shift + R
Mac: Command + Shift + R
Then test in a private or incognito browser window.
Cookies are not usually responsible for a missing admin stylesheet, but a hard refresh can remove an outdated JavaScript bundle left from the previous AST version.
Step 3: Disable JavaScript Optimization Temporarily
A script-optimization feature may be changing the order in which AST dependencies load.
Temporarily disable:
- JavaScript delay
- JavaScript defer
- JavaScript combination
- JavaScript minification
- Remove unused JavaScript
- Async JavaScript
- Admin-area optimization
- Cloudflare Rocket Loader
Many optimization plugins exclude WordPress administration pages automatically. However, custom settings or server-level tools may still modify scripts inside /wp-admin/.
Cloudflare allows Rocket Loader to be disabled globally or excluded for specific URLs using configuration rules.
At minimum, exclude:
/wp-admin/*
/wp-login.php
Also ensure that plugin assets under this path are not blocked or rewritten:
/wp-content/plugins/woo-advanced-shipment-tracking/Clear all caches again after changing optimization settings.
Step 4: Check the Browser Console
The browser console usually reveals why an unresponsive button does nothing.
Open the affected AST settings page or WooCommerce order.
Then:
- Press
F12. - Open the Console tab.
- Clear the existing messages.
- Reload the page.
- Click Fulfill or Add Shipment.
- Look for red errors.
Common errors include:
Uncaught ReferenceError: jQuery is not definedUncaught TypeError: $ is not a functionUncaught ReferenceError: wp is not definedUncaught TypeError: Cannot read properties of undefinedFailed to load resource: the server responded with a status of 404Failed to load resource: the server responded with a status of 403Refused to execute script because its MIME type is not executableThe first red error is often the most important. Later errors may simply be consequences of the first failed script.
What the errors mean
404 error: The requested AST file does not exist, the plugin installation is incomplete, or an incorrect cached file URL is being used.
403 error: A security plugin, web application firewall, Cloudflare rule, hosting rule, or file-permission problem is blocking the file.
500 error: PHP encountered a fatal error while processing an AJAX request.
MIME type error: The browser requested JavaScript but received HTML instead, often because the request was redirected to an error page, login page, or firewall response.
jQuery is not defined: Another plugin or custom code removed, delayed, or reordered a WordPress script dependency.
Cannot read properties of undefined: AST loaded partially, but a required script, setting, API response, or dependency is missing.
Step 5: Inspect the Network Requests
With the browser developer tools still open:
- Select the Network tab.
- Reload the AST settings page.
- Filter by
JS. - Filter again by
CSS. - Look for red requests or non-200 status codes.
- Click each failed request to inspect its response.
Pay particular attention to files loaded from:
/wp-content/plugins/woo-advanced-shipment-tracking/If AST styles return 404, perform a clean reinstall.
If they return 403, check the firewall or security plugin.
If the response contains a login page or HTML error instead of JavaScript, investigate redirects, security rules, or incorrect WordPress URLs.
Step 6: Perform a Plugin Conflict Test
The most reliable way to identify a WordPress conflict is to test with only the required plugins active.
WordPress provides a troubleshooting mode that can disable plugins for your logged-in session without disabling them for normal visitors.
Install:
Health Check & TroubleshootingThen go to:
Tools > Site Health > TroubleshootingEnable troubleshooting mode.
Activate only:
- WooCommerce
- Advanced Shipment Tracking for WooCommerce
Test the AST settings page and an order.
If the buttons work
Enable the remaining plugins one at a time. Test AST after enabling each plugin.
Start with plugins in these categories:
- Caching and performance
- Security and firewall
- Admin-menu customization
- WooCommerce order editing
- Shipping and fulfillment
- Email customization
- Translation and multilingual
- JavaScript optimization
- Code-snippet managers
- AST Pro
- TrackShip
The last plugin enabled before the problem returns is likely involved in the conflict.
If the buttons still do not work
Switch temporarily to Storefront or a default WordPress theme in troubleshooting mode.
If the issue continues with only WooCommerce and AST active, it may be:
- A bug in the current AST version
- A corrupted plugin installation
- A server or firewall restriction
- A PHP error
- A WordPress configuration problem
- An incomplete upgrade
Step 7: Check for an AST Free and AST Pro Version Conflict
When AST Pro is installed, temporarily deactivate it and test AST Free by itself.
Do not delete AST Pro. Simply deactivate it for the test.
If AST Free works after AST Pro is disabled:
- Confirm that AST Pro is updated.
- Download a fresh copy from your Zorem account.
- Reinstall or update AST Pro.
- Test again.
- Contact Zorem support if the latest versions remain incompatible.
Also test with TrackShip temporarily disabled.
A version mismatch can cause duplicate scripts, outdated functions, or incompatible interface components. This is especially relevant after AST Free receives a major administration-interface redesign.
Step 8: Perform a Clean Plugin Reinstallation
A normal reinstall from the dashboard may leave a damaged folder behind.
Use this process instead:
- Create a backup.
- Deactivate Advanced Shipment Tracking.
- Delete the plugin from the Plugins screen.
- Connect through SFTP or your hosting file manager.
- Confirm that this directory no longer exists:
/wp-content/plugins/woo-advanced-shipment-tracking/- Delete the directory manually if incomplete files remain.
- Download a fresh copy from WordPress.org.
- Reinstall and activate it.
- Clear every cache layer.
- Test before reactivating AST Pro or related add-ons.
Do not manually delete AST database options or shipment metadata.
Existing order tracking information should remain untouched unless the plugin specifically provides and executes an uninstall-data removal option.
Step 9: Check WordPress REST API and AJAX Requests
Modern WordPress administration interfaces frequently rely on AJAX or REST API requests.
Go to:
Tools > Site HealthLook for errors involving:
- REST API
- Loopback requests
- HTTPS
- Background updates
- Authorization headers
You should also monitor the browser Network tab while clicking Add Shipment.
Look for requests to:
/wp-admin/admin-ajax.phpor:
/wp-json/Interpret the response status
200: The request reached WordPress successfully. Inspect the response body for an error message.
401 or 403: Authentication, nonce validation, firewall rules, or user permissions may be blocking the action.
404: A REST route may not be registered, or a server rule may be blocking WordPress routes.
500: A PHP fatal error occurred.
502 or 504: The server, proxy, or PHP process timed out.
Ask the hosting provider to check ModSecurity or web application firewall logs if the request returns 403.
Step 10: Review WooCommerce Logs
Go to:
WooCommerce > Status > LogsLook for recent logs related to:
- AST
- Shipment tracking
- WooCommerce
- Fatal errors
- PHP
- REST API
- Webhooks
- Email delivery
WooCommerce includes a built-in logging system, and extension logs can be reviewed under WooCommerce Status.
Reproduce the error first, then reload the log list and inspect entries created at the same time.
Step 11: Enable WordPress Debug Logging
When no useful browser error appears, enable WordPress debug logging temporarily.
Open:
/wp-config.phpAdd the following above the line that says:
/* That's all, stop editing! Happy publishing. */Use:
define( 'WP_DEBUG', true );
define( 'WP_DEBUG_LOG', true );
define( 'WP_DEBUG_DISPLAY', false );

@ini_set( 'display_errors', 0 );
Save the file and reproduce the problem:
- Open an order.
- Click Add Shipment.
- Open the AST settings page.
- Click an unresponsive setting.
- Check the log file.
The log is normally located at:
/wp-content/debug.logWordPress documents WP_DEBUG and related constants as development and troubleshooting tools. Debug display should remain disabled on a live website so errors are not shown publicly.
Look for errors containing:
woo-advanced-shipment-tracking
ast
zorem
woocommerce
After testing, disable debug mode:
define( 'WP_DEBUG', false );Do not leave verbose logging enabled indefinitely on a production store.
Step 12: Check File Permissions and Ownership
Incorrect permissions can prevent AST assets from loading.
Typical permissions are:
Directories: 755
Files: 644
The plugin files must also be owned by the correct hosting account or web-server user.
Ask the host to reset file ownership when files were uploaded through SSH as a different user.
Do not use 777 permissions. They create a security risk and rarely provide a proper permanent fix.
Step 13: Check the WordPress URLs and HTTPS Configuration
Go to:
Settings > GeneralConfirm that both values use the correct HTTPS domain:
WordPress Address
Site Address
For example:
https://example.comProblems can occur when:
- One URL uses HTTP and the other uses HTTPS.
- One URL contains
wwwand the other does not. - The dashboard uses a temporary hosting domain.
- A reverse proxy does not pass HTTPS information correctly.
- Plugin assets are redirected across domains.
Mixed-content or cross-origin errors may prevent JavaScript from executing.
Step 14: Verify Administrator Permissions
Test with a full WordPress Administrator account.
A custom store-manager role may not have all capabilities required by AST or WooCommerce.
If the feature works for an Administrator but not a Shop Manager, review:
manage_woocommerceedit_shop_ordersedit_others_shop_orders- Custom role-editor changes
Do not grant unrestricted administrator permissions permanently merely to work around a capability problem. Identify and add only the necessary WooCommerce capabilities.
Step 15: Test WooCommerce HPOS on Staging
AST states that it supports WooCommerce High-Performance Order Storage.
However, another order-management plugin may not be equally compatible.
On a staging copy:
- Check whether HPOS is enabled.
- Temporarily disable nonessential order plugins.
- Test AST with WooCommerce and AST only.
- Do not switch the production storage system without a backup and compatibility review.
Because the AST settings page is also unresponsive, HPOS alone is unlikely to explain the entire problem. A broader admin JavaScript conflict is more probable.
Why the Customer Email Is Not Being Sent
The missing tracking email is probably a consequence rather than a separate email problem.
When the Fulfill or Add Shipment click handler fails:
- Tracking information is not saved.
- The order status is not changed.
- The shipment event is not triggered.
- WooCommerce does not generate the related customer email.
Fix the button and tracking-save process first.
After tracking information saves correctly, check:
WooCommerce > Settings > EmailsConfirm that the relevant customer email is enabled.
Also inspect the order notes. WooCommerce normally records status changes and email-related actions in the order timeline.
How to Test the Final Fix
Create or use a test order and follow this checklist:
- Open the WooCommerce order.
- Click Add Shipment.
- Select a shipping carrier.
- Enter a test tracking number.
- Save the shipment.
- Confirm that the tracking number appears on the order.
- Confirm that the order status changes as configured.
- Check the order notes.
- Verify that the customer email is generated.
- Open the customer’s My Account > Orders page.
- Confirm that the tracking information is displayed.
- Open the AST settings page and test every tab.
Repeat the test in a different browser after clearing the cache.
Should You Roll Back to an Older AST Version?
A rollback may help confirm whether version 4 introduced the problem, but it should not be the first permanent solution.
AST 4.0.1 contains a security hardening update for CSV imports. Running an older vulnerable release on a public WooCommerce store can introduce unnecessary risk.
Only test an older version when:
- The test is performed on staging.
- A complete backup exists.
- Public access to the staging site is restricted.
- You are trying to confirm a regression.
- You plan to update again after testing.
If the issue occurs with only WooCommerce and the latest AST version active, collect the browser-console error, system status report, and debug log before reporting it to the plugin developer.
Information to Send to AST Support
Provide the following:
- AST Free version
- AST Pro version
- WordPress version
- WooCommerce version
- PHP version
- Active theme
- Whether HPOS is enabled
- Browser-console error
- Failed Network request and HTTP status
- WooCommerce system status report
- Relevant WooCommerce logs
- Relevant
debug.logentries - Whether the issue remains with only WooCommerce and AST active
- Screenshot of the distorted settings page
Do not post passwords, API keys, customer details, full database exports, or administrator credentials in a public support forum.
Fastest Troubleshooting Order
For most websites, use this order:
- Update AST Free, AST Pro, WordPress, and WooCommerce.
- Clear browser, plugin, hosting, object, and CDN caches.
- Disable JavaScript optimization and Cloudflare Rocket Loader.
- Check the browser Console and Network tabs.
- Test with only WooCommerce and AST active.
- Temporarily deactivate AST Pro and TrackShip.
- Perform a clean reinstall of the AST plugin folder.
- Check REST API, AJAX, firewall, and WooCommerce logs.
- Enable WordPress debug logging.
- Report the exact error to AST support if it still fails.
Final Solution
When the AST settings page appears unstyled and its shipment buttons are unresponsive, do not begin by editing the database.
The combination of broken styling and nonworking controls strongly indicates that AST administration assets are missing, blocked, cached incorrectly, or conflicting with another plugin.
The most effective solution is to:
- Install the latest secure AST release.
- Update AST Pro and related add-ons.
- Clear every cache layer.
- disable admin JavaScript optimization temporarily.
- Inspect failed CSS, JavaScript, AJAX, and REST requests.
- Test with only WooCommerce and AST active.
- Reinstall the complete plugin folder when assets return 404 errors.
- Allowlist AST requests when a firewall returns 403 errors.
- Review PHP and WooCommerce logs when requests return 500 errors.
Once the AST scripts load correctly, the Fulfill and Add Shipment controls should begin saving tracking data again. The configured order-status change and customer tracking email should then resume as part of the normal WooCommerce fulfillment process.
