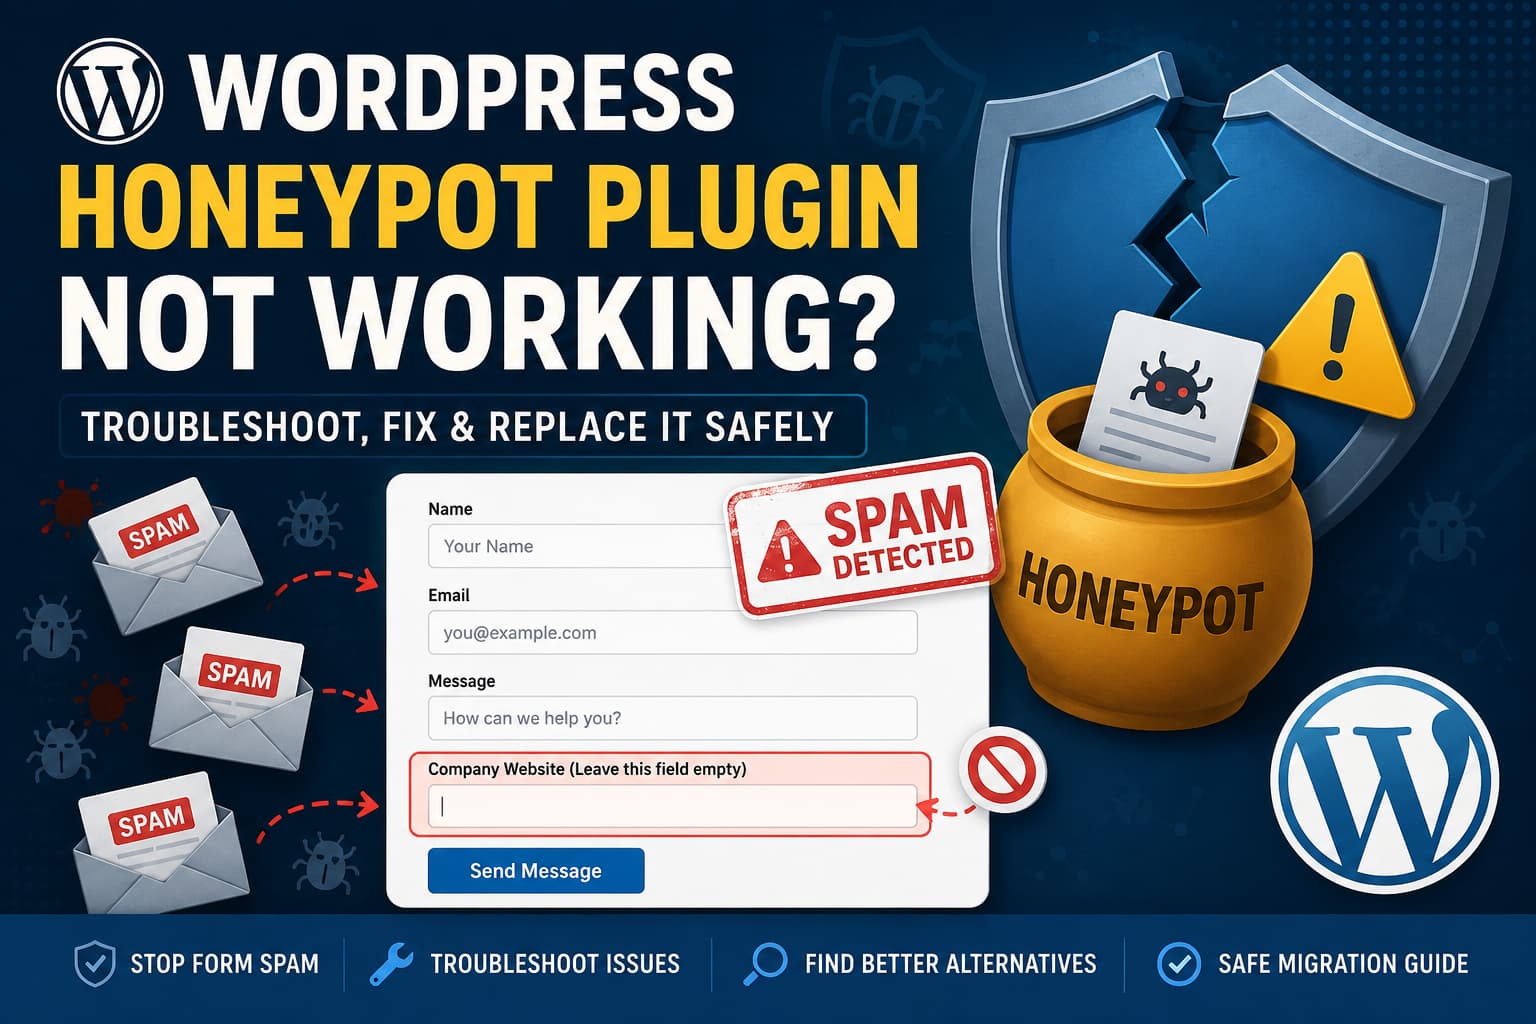
Honeypot protection is one of the simplest ways to reduce spam submissions on WordPress forms without forcing visitors to solve CAPTCHAs.
However, problems can appear after a plugin update, a major feature change, or a conflict with another optimization or form plugin. A honeypot feature that previously worked reliably may suddenly allow spam, block legitimate submissions, or behave inconsistently across different websites.
Some users also become frustrated when a lightweight honeypot plugin expands into a larger security or anti-spam suite containing features they do not need.
If your WordPress honeypot plugin is no longer working correctly, do not immediately delete it from every website. First, confirm what is failing, test for conflicts, and prepare a safe replacement.
This guide explains how to troubleshoot a broken honeypot, identify plugin conflicts, migrate to another anti-spam solution, and remove the old plugin without interrupting your contact forms.
Quick Solution
When a honeypot plugin stops working, follow this process:
- Create a full website backup.
- Test the affected form in a private browser window.
- Confirm that the honeypot field is being added to the form.
- Temporarily disable page caching and JavaScript optimization.
- Check whether the form plugin already provides native honeypot protection.
- Review recent plugin updates and changelogs.
- Test the website for plugin or theme conflicts.
- Enable a replacement anti-spam method.
- Verify that legitimate form submissions still work.
- Remove the old plugin only after the replacement has been tested.
Do not uninstall the existing plugin before confirming that another spam-protection method is active.
What Is a WordPress Honeypot?
A honeypot is a hidden form field that normal visitors should not complete.
Human visitors cannot usually see the field, but automated spam bots may detect it in the page source and fill it in. When the form is submitted, WordPress checks the hidden field.
If the field contains a value, the submission is treated as spam.
A simplified honeypot field may look like this:
<div class="website-confirmation">
    <label for="website_confirmation">Leave this field empty</label>
    <input
        type="text"
        name="website_confirmation"
        id="website_confirmation"
        value=""
        autocomplete="off"
        tabindex="-1"
    >
</div>
The field is normally hidden using CSS:
.website-confirmation {
    position: absolute !important;
    left: -9999px !important;
    width: 1px !important;
    height: 1px !important;
    overflow: hidden !important;
}
The server then checks whether the field was completed:
if ( ! empty( $_POST['website_confirmation'] ) ) {
    wp_die( 'Spam submission detected.' );
}
Real anti-spam plugins generally use more advanced checks than this example.
Why Honeypot Protection May Stop Working
There are several reasons why a previously reliable honeypot may stop blocking spam.
1. Modern Bots Can Detect Basic Honeypots
Simple spam bots complete every input field. Honeypots are effective against these bots.
More advanced bots may examine:
- CSS visibility
- Field positioning
- Input names
aria-hiddenattributes- Tab index values
- JavaScript behavior
- Form completion time
If a honeypot uses a predictable field name such as honeypot, website, or leave_blank, advanced bots may ignore it.
A honeypot should therefore be considered one layer of protection, not a complete anti-spam system.
2. The Form Is Submitted Through AJAX
Many WordPress form plugins submit forms through AJAX rather than loading a new page.
If the honeypot plugin does not correctly hook into the AJAX validation process, the form may bypass the honeypot check.
This can happen when:
- The form plugin changes its AJAX endpoint.
- The anti-spam plugin uses an outdated integration.
- JavaScript errors prevent the honeypot script from loading.
- Cached JavaScript contains an older version of the form code.
3. JavaScript Optimization Breaks the Form
Performance plugins may delay, defer, combine, or minify JavaScript files.
These optimizations can affect anti-spam scripts that depend on:
- Dynamic field creation
- Submission timestamps
- Browser interaction detection
- Nonce generation
- Cookie creation
- Form token validation
Temporarily disable options such as:
- Delay JavaScript execution
- Defer JavaScript
- Combine JavaScript files
- Remove unused JavaScript
- HTML minification
- Cloudflare Rocket Loader
Then test the form again.
If the honeypot begins working, exclude the relevant form and anti-spam scripts from optimization.
4. Page Caching Serves an Expired Token
Some anti-spam systems generate a unique token, nonce, or timestamp when the page loads.
Aggressive page caching may serve the same token to visitors for several hours or days. The plugin may then reject valid submissions or fail to validate the request correctly.
Clear all active cache layers, including:
- WordPress page cache
- LiteSpeed Cache
- WP Rocket
- Object cache
- Redis or Memcached
- Hosting cache
- Cloudflare cache
- Browser cache
Test the form in an incognito or private browser window afterward.
5. The Plugin Added Unrelated Features
A plugin may begin as a simple honeypot tool and later expand to include:
- Login protection
- Comment spam filtering
- Firewall rules
- IP blocking
- Activity monitoring
- CAPTCHA integrations
- Database logging
- Email filtering
- Security headers
Additional features are not automatically a problem. However, they can increase complexity, create conflicts, and make the plugin harder to use when you only need one specific feature.
Before replacing the plugin, check whether unwanted modules can be disabled from its settings.
6. The Form Plugin Changed Its Internal Code
Anti-spam plugins often integrate with specific form plugins through hooks and filters.
A major update to the form plugin may change:
- Form field markup
- Validation hooks
- Submission endpoints
- AJAX actions
- REST API routes
- Form identifiers
- JavaScript events
The honeypot integration may stop working until the anti-spam developer releases a compatibility update.
7. The Theme or Page Builder Hides the Field Incorrectly
A theme, page builder, or custom CSS rule may interfere with the honeypot field.
For example, a global CSS rule may accidentally make hidden fields visible:
input {
    display: block !important;
}
A page builder may also remove unfamiliar fields or rebuild the form markup after page load.
Inspect the live form using your browser’s developer tools and confirm that the honeypot field is present.
How to Check Whether the Honeypot Is Working
Before replacing the plugin, verify whether the honeypot is actually failing.
Step 1: Open the Form in a Private Window
Use an incognito or private browser window to avoid:
- Administrator bypass rules
- Existing cookies
- Cached JavaScript
- Logged-in user exceptions
- Browser autofill
Some anti-spam plugins intentionally apply fewer restrictions to administrators.
Step 2: Inspect the Form HTML
Right-click the form and select Inspect.
Search the form markup for terms such as:
honeypot
website
hidden
anti-spam
spam-check
trap
The exact field name will vary.
Confirm that the field exists inside the form element.
Step 3: Check Whether the Field Is Truly Hidden
The field should be hidden visually but still included in the submitted form data.
Be cautious if it uses:
<input type="hidden">Basic bots may ignore fields with type="hidden". Many honeypot tools therefore use a normal text field that is hidden using CSS.
Step 4: Submit a Normal Test
Complete the form as a genuine visitor.
Confirm that:
- The submission succeeds.
- The notification email arrives.
- The entry appears in the WordPress dashboard, when applicable.
- No JavaScript error appears in the browser console.
Step 5: Submit a Honeypot Test
Using browser developer tools, temporarily make the hidden field visible and enter a value.
Submit the form again.
A functioning honeypot should reject, block, or silently discard the submission.
Do this only on a staging website or during controlled testing.
Step 6: Review Logs
Check whether the plugin provides:
- Spam logs
- Blocked submission logs
- IP records
- Rejection reasons
- Form identifiers
- Timestamps
Also check the WordPress debug log and server error log for failures.
Enable WordPress Debug Logging
Add the following configuration to wp-config.php before the line that says WordPress editing should stop:
define( 'WP_DEBUG', true );
define( 'WP_DEBUG_LOG', true );
define( 'WP_DEBUG_DISPLAY', false );
Reproduce the form problem and inspect:
wp-content/debug.logLook for:
- PHP fatal errors
- Undefined functions
- Deprecated hooks
- Missing classes
- AJAX failures
- REST API errors
- Plugin compatibility warnings
Disable debugging after testing on a production website:
define( 'WP_DEBUG', false );Check the Browser Console
Open the browser developer tools and select the Console tab.
Look for errors such as:
Uncaught TypeError
Failed to fetch
403 Forbidden
Invalid nonce
ReferenceError
CORS policy blocked
A JavaScript error from an unrelated plugin can stop the form’s anti-spam script from running.
Also inspect the Network tab when submitting the form.
Check the response status:
200: The request completed.400: The submitted data may be invalid.403: A firewall or security rule may be blocking the request.404: The form endpoint may be incorrect.429: Rate limiting may be active.500: A PHP or server error occurred.
Test for a Plugin Conflict
Use a staging site whenever possible.
Manual Conflict Test
- Create a full backup.
- Disable all plugins except the form plugin and honeypot plugin.
- Test the form.
- Reactivate plugins individually.
- Test after each activation.
- Identify the plugin that causes the failure.
Start with plugins that modify:
- Caching
- JavaScript
- Security
- Firewall rules
- Forms
- CAPTCHA
- REST API access
- Cookies
- Sessions
Do not perform this test directly on a busy production website unless a maintenance window is available.
Theme Conflict Test
Temporarily switch to a default WordPress theme on staging.
If the honeypot works with the default theme, inspect the active theme for:
- Custom form JavaScript
- Global input styling
- AJAX modifications
- Template overrides
- Script loading changes
Check Whether Your Form Plugin Already Includes Anti-Spam Protection
Before installing another plugin, review the anti-spam options already available in your form plugin.
It may support:
- Native honeypot fields
- Submission time checks
- Email domain blocking
- Keyword blocking
- IP restrictions
- Rate limiting
- CAPTCHA
- Cloud-based spam detection
- Custom validation hooks
Using a native feature may be simpler than installing a separate site-wide anti-spam plugin.
However, do not enable several overlapping systems at once without testing. Multiple anti-spam tools can block legitimate users or create conflicting validation errors.
Better Alternatives to a Basic Honeypot
A reliable setup may combine two or three lightweight techniques.
Option 1: Honeypot Plus Minimum Submission Time
Bots often submit forms almost immediately after the page loads.
A form can record when the page was opened and reject submissions completed unrealistically quickly.
Example logic:
$started_at = isset( $_POST['form_started_at'] )
    ? absint( $_POST['form_started_at'] )
    : 0;

$submitted_at = time();

if ( ! $started_at || ( $submitted_at - $started_at ) < 3 ) {
    wp_die( 'Submission rejected.' );
}
The timestamp should be signed or validated securely. Do not trust an editable timestamp value without server-side protection.
Option 2: Rate Limiting
Rate limiting restricts how frequently the same IP address or browser can submit a form.
For example:
- Maximum three submissions per five minutes
- Temporary blocking after repeated failures
- Different limits for login and contact forms
Avoid overly aggressive limits because offices, schools, and shared networks may use the same public IP address.
Option 3: JavaScript-Generated Token
A token can be inserted into the form after the page loads through JavaScript.
Basic bots that submit the raw HTML without executing JavaScript will not receive the token.
This should not be the only protection because modern automation tools can execute JavaScript.
Option 4: CAPTCHA or Turnstile-Style Challenge
A challenge system may be appropriate when spam continues to bypass honeypot protection.
Use it selectively on:
- Login forms
- Registration forms
- Password reset forms
- Checkout forms
- High-spam contact forms
Always test accessibility, privacy requirements, loading performance, and regional availability.
Option 5: Server-Level Filtering
A web application firewall can block suspicious traffic before WordPress loads.
It may help detect:
- Known malicious IP addresses
- Automated request patterns
- Excessive submissions
- Invalid user agents
- Requests from blocked regions
- Repeated access to form endpoints
Server-level protection can reduce WordPress resource usage but requires careful configuration to prevent false positives.
How to Replace a Honeypot Plugin Safely
Do not simply deactivate the old plugin and assume the website is protected.
Step 1: List Every Protected Form
Create an inventory of forms such as:
- Contact forms
- Newsletter forms
- Registration forms
- Login forms
- Password reset forms
- Comment forms
- Product review forms
- Booking forms
- Checkout forms
- Quote request forms
A plugin may protect more forms than you realize.
Step 2: Record the Existing Settings
Take screenshots or export settings when possible.
Record:
- Enabled integrations
- Whitelisted IP addresses
- Blocked keywords
- Spam thresholds
- Log-retention settings
- CAPTCHA keys
- Form exclusions
- Administrator bypass rules
Step 3: Install the Replacement
Install the new solution without immediately removing the old plugin.
Avoid enabling overlapping validation on the same form unless the plugins are known to work together.
Step 4: Configure One Test Form
Start with a non-critical contact form.
Test:
- A normal submission
- An empty required field
- A honeypot-triggered submission
- A very fast submission
- A mobile submission
- A submission from a private browser
- An email notification
- An AJAX submission
Step 5: Apply It to Other Forms
After the test succeeds, configure protection for the remaining forms.
Pay special attention to checkout and booking forms because incorrect anti-spam rules can prevent revenue-generating transactions.
Step 6: Disable the Old Plugin
Deactivate the old plugin but do not delete it immediately.
Test the website again.
Keep it deactivated for a short monitoring period so it can be restored quickly if necessary.
Step 7: Delete the Old Plugin
Once the replacement is stable:
- Create another backup.
- Confirm that no forms depend on the old plugin.
- Export logs or settings you need to retain.
- Delete the plugin.
- Clear all caches.
- Test the forms again.
Clean Up Plugin Data After Uninstallation
Some plugins leave database records behind after deletion.
Possible leftovers include:
- Options in
wp_options - Custom database tables
- Scheduled cron events
- Transients
- Log files
- Uploaded configuration files
- Custom capabilities
- Firewall rules
Do not delete database records based only on a plugin-name search. Similar names may belong to another plugin or active integration.
Use a staging copy and database backup before removing leftover data.
Check Scheduled Cron Events
You can inspect scheduled tasks using WP-CLI:
wp cron event listLook for tasks clearly associated with the removed plugin.
Delete a confirmed unused event with:
wp cron event delete plugin_cron_hookReplace plugin_cron_hook with the actual hook name.
Check Database Options
Use WP-CLI to search carefully:
wp option list --search='*plugin-name*'Review every result before deletion.
Do not execute bulk deletion commands on a live website without a backup.
Custom Lightweight Honeypot Example
When a full plugin is unnecessary, a developer can add a small custom honeypot to a specific form.
The following example demonstrates the general concept:
function debugnexus_render_honeypot_field() {
    ?>
    <div
        class="debugnexus-honeypot"
        aria-hidden="true"
    >
        <label for="dn_company_url">
            Leave this field empty
        </label>

        <input
            type="text"
            id="dn_company_url"
            name="dn_company_url"
            value=""
            tabindex="-1"
            autocomplete="off"
        >
    </div>
    <?php
}
CSS:
.debugnexus-honeypot {
    position: absolute !important;
    left: -10000px !important;
    top: auto !important;
    width: 1px !important;
    height: 1px !important;
    overflow: hidden !important;
}
Validation example:
function debugnexus_is_honeypot_submission() {
    $honeypot = isset( $_POST['dn_company_url'] )
        ? sanitize_text_field(
            wp_unslash( $_POST['dn_company_url'] )
        )
        : '';

    return '' !== $honeypot;
}
This code is only a starting point. It must be integrated into the validation hooks of the specific form plugin.
Additional protection should include:
- Nonce validation
- Submission timing
- Rate limiting
- Input sanitization
- Output escaping
- Logging
- Form-specific validation
Do not paste generic form code into a production website without adapting it to the actual plugin and submission process.
Common Mistakes to Avoid
Uninstalling Before Testing a Replacement
Removing the old plugin first can leave forms unprotected.
Assuming Every Submission Is Blocked Spam
A broken email notification does not necessarily mean the honeypot failed. The form may have saved the entry while email delivery failed separately.
Enabling Too Many Anti-Spam Tools
Several overlapping plugins may cause:
- Duplicate validation
- Slow submissions
- False positives
- AJAX errors
- Confusing error messages
Testing While Logged In as Administrator
Some security plugins bypass checks for trusted administrators. Always test as a logged-out visitor.
Relying Only on IP Blocking
Spam bots frequently rotate IP addresses. IP blocking alone is rarely sufficient.
Editing the Plugin Files Directly
Custom changes inside a plugin directory will normally be overwritten during the next update.
Use:
- A custom plugin
- An MU plugin
- A child theme
- Official hooks and filters
Recommended Anti-Spam Strategy
For most WordPress websites, a balanced setup includes:
- A hidden honeypot field
- Minimum submission-time validation
- Rate limiting
- Server-side validation
- Firewall protection for repeated abuse
- CAPTCHA only when necessary
This approach reduces spam without creating unnecessary friction for genuine visitors.
High-risk websites may require stronger controls, particularly for:
- User registration
- Account login
- Password resets
- Checkout
- Public posting
- File uploads
Frequently Asked Questions
Why is my WordPress honeypot no longer blocking spam?
The plugin may have a compatibility problem, or the bots may have learned to ignore its hidden fields. Caching, JavaScript optimization, AJAX changes, and predictable field names can also reduce effectiveness.
Can I use two honeypot plugins together?
It is generally unnecessary. Two plugins may add duplicate hidden fields or conflicting validation. Choose one primary solution and test it carefully.
Should I uninstall a plugin that added features I do not need?
First check whether the additional modules can be disabled. If the plugin has become unreliable, resource-heavy, or difficult to maintain, replace it using a controlled migration process.
Are honeypots enough to stop all WordPress spam?
No. Honeypots are most effective against basic automated bots. More advanced spam may require timing checks, rate limiting, firewall rules, or an interactive challenge.
Why are legitimate visitors being blocked?
Possible causes include expired tokens, page caching, autofill, browser extensions, accessibility tools, JavaScript errors, or overly aggressive submission-time restrictions.
Will deleting the honeypot plugin remove my forms?
Normally, the forms are controlled by a separate form plugin. However, any honeypot fields, integrations, shortcodes, or protection provided by the deleted plugin will stop working.
Should I use a CAPTCHA instead?
Use CAPTCHA only when less intrusive methods are insufficient. It can improve spam protection but may affect accessibility, privacy, loading performance, and conversion rates.
Final Thoughts
A honeypot plugin should quietly block basic spam without making the website harder to manage.
When a plugin becomes unreliable, adds unwanted complexity, or no longer integrates correctly with your forms, replacing it may be reasonable. However, removing it from multiple websites without testing can leave contact forms, registration pages, and checkout processes exposed.
The safest approach is to:
- Confirm the honeypot is actually failing.
- Test for caching and JavaScript conflicts.
- Review the form plugin’s native anti-spam features.
- Configure a replacement on staging.
- Test legitimate and spam submissions.
- Disable the old plugin.
- Monitor the website.
- Delete and clean up the old plugin only after verification.
Honeypot protection remains useful, but it works best as part of a layered anti-spam strategy rather than as the website’s only defense.
