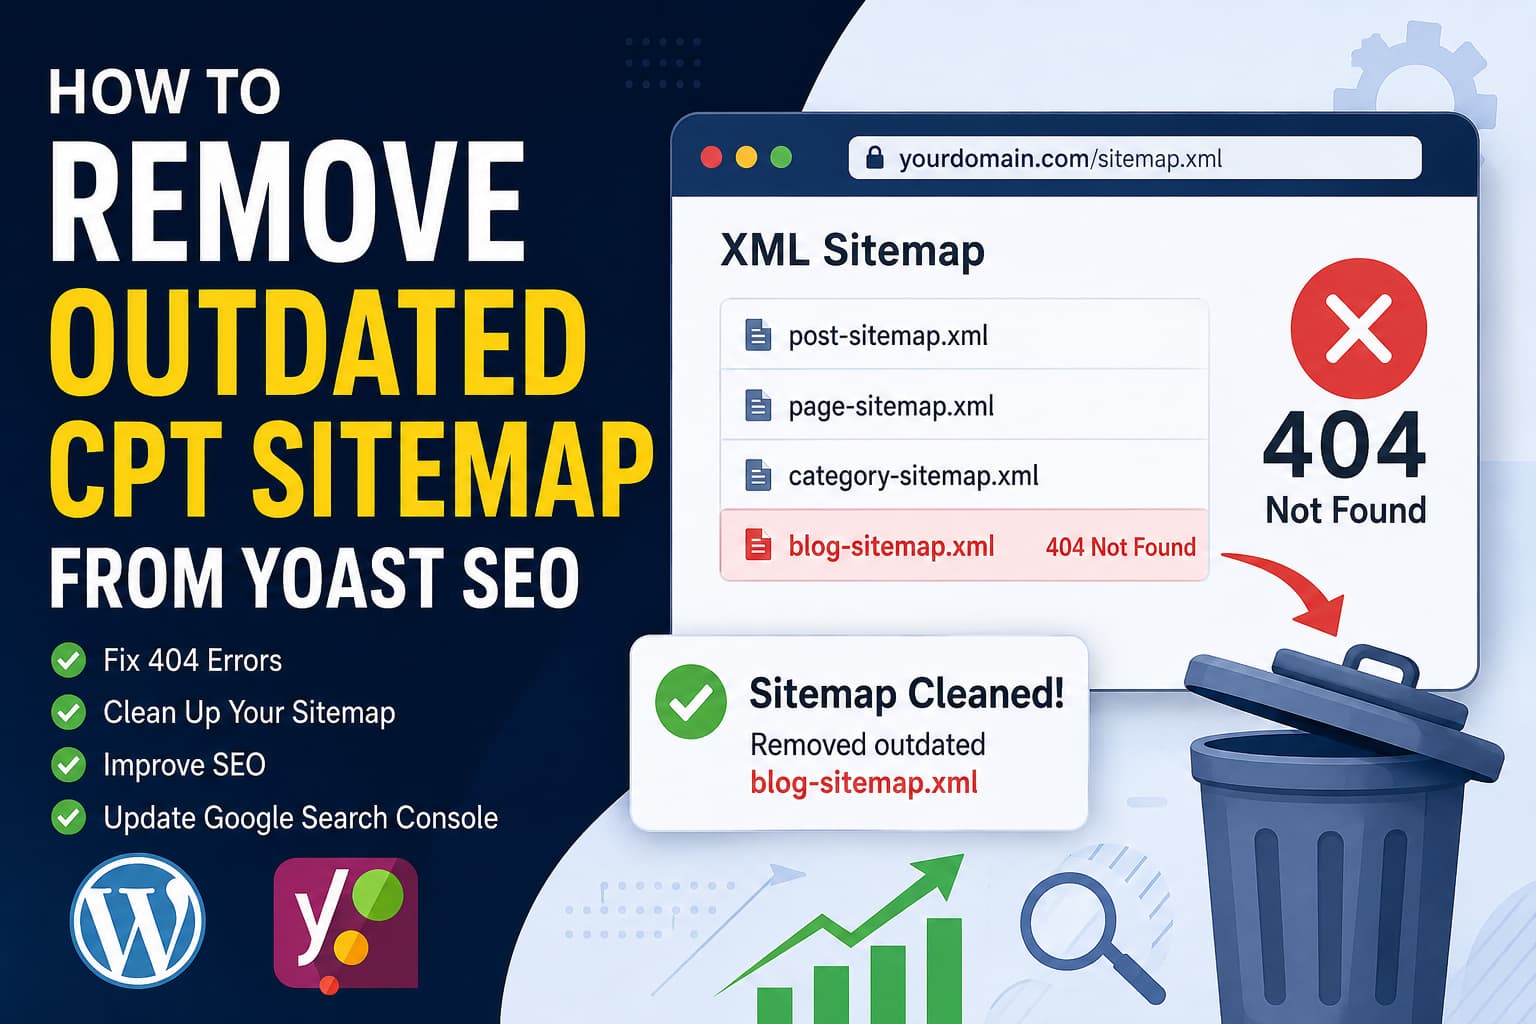
An outdated custom post type sitemap can remain listed in a WordPress sitemap index even after the custom post type has been removed from the website.
For example, the main sitemap may continue referencing:
https://example.com/blog-sitemap.xmlHowever, opening that URL returns a 404 Not Found error because the old blog custom post type no longer exists.
You may try excluding it with the following Yoast SEO filter:
wpseo_sitemap_exclude_post_typeBut the obsolete sitemap remains visible.
In many cases, the filter is not the real problem. The most important clue is whether the sitemap index is located at /sitemap.xml or /sitemap_index.xml.
Yoast SEO normally generates its sitemap index dynamically at:
https://example.com/sitemap_index.xmlYoast specifically states that a sitemap located at /sitemap.xml is generally being generated by another plugin, WordPress configuration, server rule, cache, or physical XML file.
This guide explains how to identify the actual sitemap generator, remove the outdated custom post type sitemap, clear stale caches, and verify the repair.
Symptoms of the Problem
You may be experiencing this issue when:
- Your sitemap index contains
blog-sitemap.xml. - Opening
blog-sitemap.xmlreturns a 404 error. - The old
blogcustom post type no longer appears in WordPress. - The CPT is not listed under the Yoast SEO Content Types settings.
- The
wpseo_sitemap_exclude_post_typefilter makes no difference. - Disabling and re-enabling Yoast XML sitemaps does not remove the entry.
- The sitemap appears at
/sitemap.xmlinstead of/sitemap_index.xml. - Google Search Console reports that one of the submitted sitemaps cannot be fetched.
Why the Yoast Exclusion Filter May Not Work
Yoast provides the wpseo_sitemap_exclude_post_type filter for excluding registered post types from its generated XML sitemaps.
A standard implementation looks like this:
add_filter(
    'wpseo_sitemap_exclude_post_type',
    function ( $excluded, $post_type ) {
        if ( 'blog' === $post_type ) {
            return true;
        }

        return $excluded;
    },
    10,
    2
);
The filter is valid and officially documented by Yoast.
However, it only helps when Yoast is processing a registered post type named blog.
It will not solve the problem when:
/sitemap.xmlis generated by another SEO or sitemap plugin.- A physical
sitemap.xmlfile exists in the website root. - The sitemap is being served from a page cache or CDN.
- Custom PHP code manually adds
blog-sitemap.xmlto the sitemap index. - A must-use plugin registers a custom sitemap.
- A server rewrite sends
/sitemap.xmlto a different generator. - The old entry was added through the
wpseo_sitemap_indexfilter. - The active sitemap is generated by the theme rather than Yoast.
The correct solution is therefore to identify where the obsolete entry originates before adding more exclusion code.
Solution Overview
Use the following order:
- Compare
/sitemap.xmland/sitemap_index.xml. - Determine which plugin or system generates each sitemap.
- Check for a physical sitemap file.
- Remove duplicate sitemap plugins or old custom code.
- Remove the CPT through Yoast settings if it is still registered.
- Clear every caching layer.
- Rebuild the sitemap.
- Reset Yoast indexables only if necessary.
- update Google Search Console.
- Verify that the obsolete sitemap is gone.
Step 1: Check the Correct Yoast Sitemap URL
Open these URLs in separate browser tabs:
https://example.com/sitemap.xml
https://example.com/sitemap_index.xml
https://example.com/wp-sitemap.xml
Replace example.com with your domain.
These URLs commonly represent different systems:
/sitemap_index.xmlUsually generated by Yoast SEO.
/wp-sitemap.xmlGenerated by WordPress core when its native sitemap system is active.
/sitemap.xmlMay be a physical file, another sitemap plugin, custom code, a server redirect, or a cached sitemap.
Yoast confirms that its normal sitemap index uses sitemap_index.xml. It also recommends submitting that index rather than individual child sitemaps.
Check the Final Browser URL
After opening /sitemap.xml, look at the browser address bar.
If it changes to:
/sitemap_index.xmlThen /sitemap.xml is redirecting to the Yoast sitemap.
If the address remains:
/sitemap.xmlIt is likely being handled by another system.
You can also test the response from a terminal:
curl -I https://example.com/sitemap.xml
curl -I https://example.com/sitemap_index.xml
Look for:
HTTP/2 200
HTTP/2 301
HTTP/2 302
location:
x-redirected-by:
server:
cache-control:
cf-cache-status:
To follow redirects automatically, use:
curl -IL https://example.com/sitemap.xmlStep 2: Temporarily Deactivate Yoast SEO
Temporarily deactivate the Yoast SEO plugin and reload:
https://example.com/sitemap.xmlDo not uninstall or delete Yoast.
If /sitemap.xml still loads after Yoast is deactivated, Yoast is not generating it.
The sitemap may instead come from:
- Another SEO plugin
- A dedicated XML sitemap plugin
- WordPress core
- A theme function
- A must-use plugin
- A Code Snippets entry
- A physical XML file
- The hosting platform
- A reverse proxy or CDN cache
Reactivate Yoast after completing the test.
Temporarily deactivating the plugin does not normally delete its saved SEO titles, descriptions, settings, or content metadata.
Step 3: Check for Duplicate Sitemap Plugins
Go to:
WordPress Dashboard > Plugins > Installed PluginsLook for plugins related to:
- XML sitemaps
- Google sitemaps
- Technical SEO
- Search engine indexing
- Sitemap generators
- Redirection
- Static site generation
- Security or performance optimization
Examples of plugins that may generate a separate sitemap include:
- Rank Math
- All in One SEO
- SEOPress
- XML Sitemap Generator for Google
- The SEO Framework
- Jetpack
- Dedicated Google sitemap plugins
Only one system should normally manage the main XML sitemap.
If you want to use Yoast SEO, disable the sitemap feature in the other plugin or deactivate the duplicate sitemap plugin.
Do not run multiple XML sitemap generators unless you have a specific technical reason and understand how their URLs, robots.txt entries, and Search Console submissions interact.
Step 4: Check for a Physical sitemap.xml File
Yoast generates its sitemap dynamically. It does not need to store a physical sitemap_index.xml file in the website root.
Use your hosting file manager, SFTP, or FTP and inspect the WordPress root directory.
This is usually the directory containing:
wp-admin
wp-content
wp-includes
wp-config.php
index.php
Look for files such as:
sitemap.xml
sitemap_index.xml
blog-sitemap.xml
sitemap.xml.gz
If a physical sitemap.xml exists, download a backup copy and inspect it.
Search inside the file for:
blog-sitemap.xmlIf the obsolete entry exists in the physical file, the Yoast exclusion filter cannot remove it. The file is being served directly by the web server before WordPress or Yoast processes the request.
If Yoast is your intended sitemap generator, rename the physical file temporarily:
sitemap.xml.backupThen clear all caches and test:
https://example.com/sitemap_index.xmlDo not delete the file permanently until you confirm that the Yoast sitemap works correctly.
Step 5: Check Whether the CPT Is Still Registered
The custom post type may no longer contain content but may still be registered by a plugin or theme.
Go to:
Yoast SEO > Settings > Content TypesLook for a content type named:
Blog
Blogs
blog
If it appears, open its settings and disable the option that allows the content type to appear in search results.
Removing a post type from search results also removes it from the Yoast sitemap.
After changing the setting:
- Save the Yoast settings.
- Clear all caches.
- Open
/sitemap_index.xmlagain. - Confirm that
blog-sitemap.xmlis gone.
If the post type is not listed, continue to the next step.
Step 6: Search the Website Code for the Old Sitemap
An old theme, custom plugin, or snippet may be manually adding the sitemap.
Search for the following strings:
blog-sitemap.xml
wpseo_sitemap_index
wpseo_sitemap_index_links
register_sitemap
register_post_type( 'blog'
register_post_type( "blog"
Check these locations:
/wp-content/themes/active-theme/
/wp-content/themes/active-child-theme/
/wp-content/plugins/
/wp-content/mu-plugins/
Do not forget the must-use plugin directory:
/wp-content/mu-plugins/Must-use plugins do not appear in the normal Installed Plugins list and can remain active after a regular plugin is deactivated.
Search with SSH
When SSH access is available, run the following from the WordPress installation directory:
grep -Rni \
    --include="*.php" \
    -E "blog-sitemap\.xml|wpseo_sitemap_index|register_sitemap|register_post_type[[:space:]]*\([[:space:]]*['\"]blog['\"]" \
    wp-content/
This searches PHP files for the old sitemap URL and relevant Yoast or CPT registration functions.
Search Code Snippets
When the Code Snippets plugin is installed, search its active snippets for:
blog-sitemap.xml
wpseo_sitemap_index
wpseo_sitemap_exclude_post_type
A snippet may continue adding the old sitemap even after the original custom post type plugin has been deleted.
Search with String Locator
The String Locator plugin can also search themes and plugins from the WordPress dashboard.
Search one term at a time:
blog-sitemap.xml
wpseo_sitemap_index
register_sitemap
Make a backup before changing any matched PHP file.
Step 7: Remove Custom Code That Adds the Old Sitemap
Yoast supports adding external sitemap entries through the following filter:
wpseo_sitemap_indexFor example, old custom code may contain something similar to:
add_filter( 'wpseo_sitemap_index', 'add_custom_blog_sitemap' );

function add_custom_blog_sitemap( $sitemap_custom_items ) {
    $sitemap_custom_items .= '
        <sitemap>
            <loc>https://example.com/blog-sitemap.xml</loc>
        </sitemap>';

    return $sitemap_custom_items;
}
Yoast documents this filter as a method for adding external or custom sitemaps to the sitemap index.
If you find code like this and the custom sitemap is no longer required, remove the filter and its callback function.
Do not merely create another filter to hide the output while leaving the obsolete registration code active. Removing the original code provides a cleaner and more reliable repair.
Step 8: Use the CPT Exclusion Filter Correctly
If the blog custom post type still exists and is being generated by Yoast, use this snippet:
/**
 * Exclude the old "blog" custom post type from Yoast XML sitemaps.
 *
 * Add this through a child theme, a custom plugin, an MU plugin,
 * or a trusted PHP snippets plugin.
 */
add_filter(
    'wpseo_sitemap_exclude_post_type',
    function ( $excluded, $post_type ) {
        if ( 'blog' === $post_type ) {
            return true;
        }

        return $excluded;
    },
    10,
    2
);
The important part is returning the original $excluded value for all other post types.
Avoid using this shortened version:
return 'blog' === $post_type;Although it may remove the target CPT, it can overwrite an exclusion value previously set by Yoast or another integration.
After activating the snippet:
- Clear all caches.
- Disable Yoast XML sitemaps.
- Save the settings.
- Enable XML sitemaps again.
- Open
/sitemap_index.xml.
If the CPT no longer exists, this filter may never receive blog as a post type. In that situation, continue investigating the sitemap source rather than repeatedly modifying the filter.
Step 9: Remove the Sitemap Index Link as a Temporary Safeguard
When blog-sitemap.xml is definitely being added to Yoast’s generated index but the original source cannot immediately be removed, the index links can be filtered.
Use this only as a temporary or last-resort safeguard:
/**
 * Remove blog-sitemap.xml from the Yoast sitemap index.
 *
 * This hides the sitemap index entry but does not remove the code,
 * plugin or configuration that originally created it.
 */
add_filter(
    'wpseo_sitemap_index_links',
    function ( $links ) {
        foreach ( $links as $key => $link ) {
            if ( empty( $link['loc'] ) ) {
                continue;
            }

            $path = wp_parse_url( $link['loc'], PHP_URL_PATH );

            if ( 'blog-sitemap.xml' === basename( (string) $path ) ) {
                unset( $links[ $key ] );
            }
        }

        return array_values( $links );
    },
    999
);
Test this code on a staging site first.
This filter removes only the matching sitemap link. It does not delete posts, change permalink structures, or redirect the 404 URL.
The better long-term solution remains removing the obsolete plugin, physical file, snippet, or external sitemap registration that created the entry.
Step 10: Clear Every Caching Layer
A sitemap can remain outdated even after the underlying configuration has been corrected.
Clear all applicable caches:
- WordPress page cache
- Object cache
- Redis or Memcached
- Hosting cache
- Varnish
- LiteSpeed Cache
- NGINX FastCGI cache
- Cloudflare
- Other CDN cache
- Browser cache
Yoast recommends clearing caches and excluding sitemap URLs from caching when sitemap changes do not appear.
Where supported, exclude patterns similar to:
/sitemap_index.xml
/*-sitemap.xml
/sitemap.xsl
/*-sitemap.xsl
For WP Rocket, a common exclusion pattern is:
/(.*)sitemap(.*).xml
/(.*)sitemap.xsl
Also purge these specific URLs:
/sitemap.xml
/sitemap_index.xml
/blog-sitemap.xml
Test again in a private or incognito browser window.
Step 11: Rebuild the Yoast Sitemap
Go to:
Yoast SEO > Settings > Site FeaturesUnder Technical SEO:
- Turn XML sitemaps off.
- Save the settings.
- Clear the WordPress, hosting and CDN caches.
- Turn XML sitemaps back on.
- Save the settings again.
Yoast’s current settings place the XML sitemap control under Site Features and Technical SEO.
Next, go to:
Settings > PermalinksClick:
Save ChangesDo not change the permalink structure.
This refreshes WordPress rewrite rules and can repair sitemap routes that return an incorrect page or 404 response.
Then reload:
https://example.com/sitemap_index.xmlStep 12: Reset Yoast Indexables if the Entry Remains
Resetting Yoast indexables should not be the first troubleshooting step. Use it only after confirming that:
- The sitemap is generated by Yoast.
- No physical sitemap file exists.
- No duplicate sitemap plugin is active.
- No custom code adds
blog-sitemap.xml. - All caches have been cleared.
First, create a complete database backup.
Yoast’s official reset process uses the Yoast Test Helper plugin:
- Install and activate Yoast Test Helper.
- Go to
Tools > Yoast Test. - Find the Yoast SEO section.
- Click
Reset indexables tables & migrations. - Go to
Yoast SEO > Tools. - Start SEO data optimization.
- Wait for the process to complete.
- Clear all caches.
- Test the sitemap again.
Yoast documents this process for rebuilding its indexable data when the stored SEO information becomes inconsistent.
Do not manually delete rows from Yoast database tables unless you fully understand the schema and have a tested backup.
Step 13: Choose One Canonical Sitemap
After the repair, decide which sitemap system the website will use.
When using Yoast SEO, the preferred sitemap should be:
https://example.com/sitemap_index.xmlRemove or disable unnecessary duplicate sitemap systems.
If visitors or old tools still request /sitemap.xml, you may redirect it to the Yoast sitemap index.
Apache Redirect
Add this before the standard WordPress rewrite block in .htaccess:
RewriteEngine On
RewriteRule ^sitemap\.xml$ /sitemap_index.xml [R=301,L]
NGINX Redirect
Add the following to the appropriate server block:
location = /sitemap.xml {
    return 301 /sitemap_index.xml;
}
Reload the NGINX configuration after testing it.
Do not add server configuration without first backing up the existing file. A syntax error in .htaccess or NGINX configuration can make the website inaccessible.
A redirect is optional. The more important requirement is ensuring that only the correct, current sitemap is submitted to search engines.
Step 14: Update Google Search Console
After fixing the sitemap:
- Open Google Search Console.
- Select the correct property.
- Go to
Indexing > Sitemaps. - Open the obsolete sitemap submission.
- Remove it.
- Submit:
sitemap_index.xmlDo not separately submit:
blog-sitemap.xml
post-sitemap.xml
page-sitemap.xml
Submitting the Yoast sitemap index is normally enough because it automatically references the valid child sitemaps. Yoast also recommends removing outdated or invalid sitemap submissions before submitting the current index.
Google may continue displaying the old sitemap status temporarily until it recrawls the updated sitemap index.
Step 15: Verify the Final Result
Open:
https://example.com/sitemap_index.xmlSearch the page source for:
blog-sitemap.xmlIt should no longer appear.
Next, open:
https://example.com/blog-sitemap.xmlA 404 response is acceptable when the sitemap has been intentionally removed and no current sitemap index references it.
Yoast’s sitemap specification states that requests for nonexistent sitemap URLs should return normal 404 behavior.
Finally, verify the response with:
curl -IL https://example.com/sitemap_index.xml
curl -IL https://example.com/blog-sitemap.xml
The expected results are:
/sitemap_index.xml     200 OK
/blog-sitemap.xml      404 Not Found
Most importantly, the valid sitemap index should no longer link to the 404 URL.
Common Mistakes to Avoid
Editing Yoast Plugin Files
Do not modify files inside:
/wp-content/plugins/wordpress-seo/A plugin update will overwrite the changes.
Use a child theme, custom plugin, must-use plugin, or trusted snippet manager.
Deleting Database Rows Immediately
The stale entry is more likely caused by another sitemap generator, a physical XML file, custom code, or caching.
Direct database deletion should not be the first solution.
Clearing Only the Browser Cache
The outdated sitemap may be stored in:
- Cloudflare
- Varnish
- LiteSpeed
- Redis
- A WordPress page-cache plugin
- NGINX FastCGI cache
Clear all applicable layers.
Redirecting Before Finding the Source
A redirect may hide the outdated /sitemap.xml, but it does not remove the plugin, file, or code that created the stale entry.
Identify the original source first.
Keeping Multiple Sitemap Generators Active
Multiple sitemap systems can create conflicting robots.txt entries, duplicate Search Console submissions, and inconsistent child sitemap lists.
Select one primary sitemap generator.
Frequently Asked Questions
Why is blog-sitemap.xml still showing after deleting the CPT?
The sitemap may be generated by another plugin, a physical XML file, cached output, custom PHP code, or an old external sitemap registration. Deleting the custom post type does not automatically update those separate systems.
Is sitemap.xml generated by Yoast SEO?
Normally, no. Yoast uses /sitemap_index.xml as its sitemap index. A /sitemap.xml URL may redirect to Yoast, but when it loads directly without redirecting, investigate other plugins, files, custom code, or server rules.
Will deactivating Yoast delete my SEO settings?
Temporarily deactivating the plugin normally leaves its stored settings and post metadata in the database. Do not uninstall it or select any option that explicitly removes plugin data.
Should an old sitemap URL return 404?
Yes. A removed sitemap can return 404 as long as no active sitemap index, robots.txt file, or Search Console submission continues referencing it.
Should I redirect blog-sitemap.xml to another sitemap?
Usually not. A child sitemap is not a normal webpage, and redirecting an obsolete child sitemap is rarely necessary. Remove the reference from the sitemap index and allow the unused URL to return 404.
Can the Yoast exclusion filter remove a deleted CPT?
The filter can exclude a registered post type while Yoast is building its sitemap. If the CPT no longer exists, the stale sitemap is probably coming from another source that the post-type exclusion filter cannot control.
Do I need to reset Yoast indexables?
Only after checking the sitemap generator, physical files, duplicate plugins, custom code and caches. Resetting indexables is a later troubleshooting step, not the first fix.
Final Solution
When an outdated blog-sitemap.xml remains in /sitemap.xml, do not assume the Yoast CPT exclusion filter has failed.
First, open:
/sitemap_index.xmlIf the obsolete sitemap appears only inside /sitemap.xml, identify and remove the separate plugin, physical file, custom code, cache, or server rule generating that sitemap.
If it appears inside Yoast’s real /sitemap_index.xml, check the Content Types settings, search the website for custom sitemap registration code, clear all caches, rebuild the XML sitemap, and reset Yoast indexables only when necessary.
After the repair, submit only:
sitemap_index.xmlto Google Search Console and confirm that the valid sitemap index no longer references the obsolete 404 URL.
