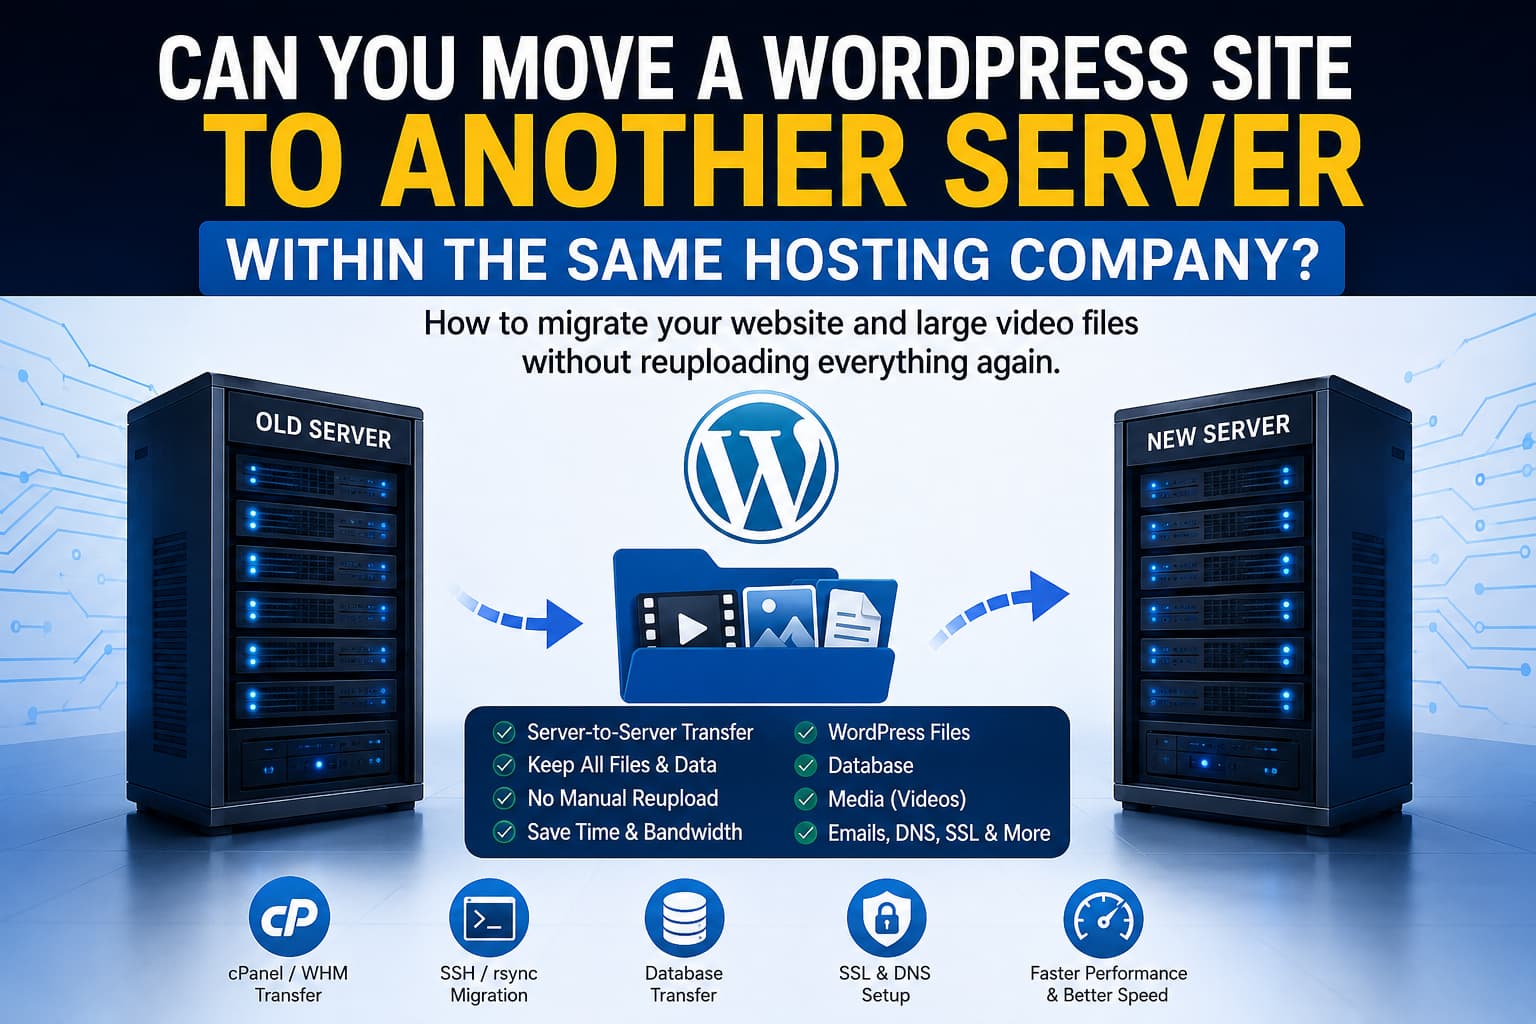
A WordPress website owner purchased a large hosting package because the original plan was to store and serve several video files directly from the website.
Unfortunately, video playback and website performance were much slower than expected.
The owner already had access to a faster reseller hosting package from the same hosting company and wanted to know:
Can I move the website to the faster server without manually downloading and uploading all the video files again?
The answer is yes.
You can move a WordPress website to another server within the same hosting company. Although the website files still need to be transferred to the destination server, you normally do not need to download them to your computer and manually upload them again.
The hosting provider can often perform an internal account transfer, or the files can be copied directly from one server to the other using tools such as cPanel Transfer Tool, SSH, rsync, scp, or a server-side backup.
The Recommended Solution
The best first step is to contact the hosting provider and ask for an internal server migration.
Send them a request similar to this:
I would like to move my WordPress website from my current hosting package to my reseller account. Both accounts are hosted by your company. The website contains several large video files, so I would prefer a server-to-server account transfer instead of downloading and uploading the files manually. Can you migrate the complete website, database, email accounts, cron jobs, SSL configuration, and DNS settings to the reseller server?
Many hosting companies can copy the entire hosting account internally.
This is usually the safest and easiest option because the provider may have administrative access to both servers. They can transfer the data directly through their internal network without sending the files through your home internet connection.
On cPanel-based servers, administrators can use WHM’s Transfer Tool to copy accounts, packages, files, databases, email accounts, and related settings between servers. cPanel also provides options for transferring or restoring individual cPanel accounts.
Do the Video Files Need to Be Uploaded Again?
The video files must exist on the new server, but they do not have to be manually uploaded from your computer.
There is an important difference between these two processes.
Manual transfer
The files follow this path:
Old server
    ↓
Your computer
    ↓
New server
This method can be extremely slow when the website contains many gigabytes of video files.
Server-to-server transfer
The files follow this path:
Old server
    ↓
New server
The servers communicate directly. Your own download and upload speeds are not involved.
Tools such as rsync can copy files directly between local and remote systems over SSH. It can also resume incomplete transfers and copy only files that are missing or have changed.
Therefore, you do not need to add every video to the WordPress Media Library again. When the complete wp-content/uploads directory and WordPress database are copied correctly, the existing media attachments should remain connected to their posts and pages.
What Must Be Transferred?
A complete WordPress migration normally includes more than the visible website files.
The following items should be moved:
- All WordPress files
- The
wp-contentdirectory - The complete uploads directory
- Themes and plugins
- The WordPress database
- The
.htaccessfile - The
wp-config.phpfile - Custom server configuration
- Email accounts, when hosted on the same account
- Cron jobs
- SSL configuration
- DNS records
- Redirects and security rules
WordPress officially documents that a website can be moved to another server without reinstalling WordPress. When the domain and URLs remain unchanged, the process mainly involves copying the files and database, then updating the database settings in wp-config.php when the database credentials change.
Method 1: Ask the Hosting Provider to Transfer the Account
This is the preferred method when both hosting packages belong to the same company.
The hosting provider may be able to:
- Copy the complete hosting account
- Move all website files internally
- Transfer databases
- Preserve file ownership and permissions
- Transfer email accounts
- Copy DNS zones
- Recreate cron jobs
- Install or reissue the SSL certificate
- Update the domain to point to the new server
Before approving the migration, confirm whether the provider will move only the website or the complete hosting account.
A complete account transfer is generally better when the website also uses email addresses, subdomains, scheduled tasks, or custom DNS records.
Method 2: Use the cPanel or WHM Transfer Tool
When the new reseller package includes WHM access, you may be able to transfer the account through WHM.
The exact availability depends on the reseller privileges granted by the hosting provider.
In WHM, look for:
WHM
→ Transfers
→ Transfer Tool
Or:
WHM
→ Transfers
→ Transfer or Restore a cPanel Account
The general procedure is:
- Log in to WHM on the destination server.
- Open the Transfer Tool.
- Enter the source server’s hostname or IP address.
- Enter the source account credentials.
- Select the cPanel account.
- Review the transfer options.
- Start the account copy.
- Review the transfer log for errors.
- Test the copied website.
- Point the domain to the new server.
The Transfer Tool can copy one or more cPanel accounts from a source server to a destination server. Depending on the available permissions, it may also transfer account packages and server configurations.
If the transfer options are unavailable in the reseller WHM interface, the hosting provider may need to perform the migration.
Method 3: Copy the Website Directly With SSH and rsync
When SSH access is enabled on both servers, rsync is one of the best ways to move a website containing large media files.
Run the transfer from the source server:
rsync -av --partial --info=progress2 \
/home/OLDUSER/public_html/ \
NEWUSER@NEW_SERVER_IP:/home/NEWUSER/public_html/
Replace:
OLDUSER
NEWUSER
NEW_SERVER_IP
with the actual account information.
The trailing slash after public_html/ is important. It tells rsync to copy the contents of the directory rather than creating another nested public_html directory.
Before running the real transfer, you can perform a test:
rsync -av --dry-run \
/home/OLDUSER/public_html/ \
NEWUSER@NEW_SERVER_IP:/home/NEWUSER/public_html/
The --dry-run option shows what would be transferred without changing anything.
Why compression may not help with videos
You may see examples that use:
rsync -avzThe -z option compresses data during transfer.
However, MP4, WebM, MOV, and other common video formats are usually already compressed. Compressing them again may consume additional CPU without reducing the transfer size significantly.
For a website containing mostly video files, this command is usually sufficient:
rsync -av --partial --info=progress2Transfer only the media directory
When WordPress has already been installed on the destination server and only the media files are missing, copy the uploads directory:
rsync -av --partial --info=progress2 \
/home/OLDUSER/public_html/wp-content/uploads/ \
NEWUSER@NEW_SERVER_IP:/home/NEWUSER/public_html/wp-content/uploads/
Do not use this media-only method for a complete migration unless the database, themes, plugins, and configuration have already been transferred separately.
Method 4: Create a Server-Side Backup
Another option is to create a compressed backup directly on the source server.
For example:
cd /home/OLDUSER
tar -czf wordpress-files.tar.gz public_html
Transfer the archive directly to the destination server:
scp wordpress-files.tar.gz \
NEWUSER@NEW_SERVER_IP:/home/NEWUSER/
Then connect to the destination server and extract it:
cd /home/NEWUSER
tar -xzf wordpress-files.tar.gz
A cPanel full account backup can also be saved on the server instead of downloaded to your computer. However, restoring a complete cPanel backup may require assistance from the hosting provider or access to WHM’s restoration tools.
Make sure the destination server has enough free disk space for both the compressed archive and the extracted files.
Transfer the WordPress Database
Copying only the WordPress files is not enough. Posts, pages, settings, users, menus, plugin data, and Media Library records are stored in the database.
Export the database on the source server:
mysqldump \
--single-transaction \
--quick \
--default-character-set=utf8mb4 \
-u OLD_DB_USER \
-p \
OLD_DB_NAME > wordpress-database.sql
Transfer it to the new server:
scp wordpress-database.sql \
NEWUSER@NEW_SERVER_IP:/home/NEWUSER/
Create an empty database and database user on the destination server.
Import the database:
mysql -u NEW_DB_USER -p NEW_DB_NAME < wordpress-database.sqlUpdate the following values in wp-config.php:
define( 'DB_NAME', 'NEW_DB_NAME' );
define( 'DB_USER', 'NEW_DB_USER' );
define( 'DB_PASSWORD', 'NEW_DB_PASSWORD' );
define( 'DB_HOST', 'localhost' );
The database host is commonly localhost, but some hosting providers use a separate database hostname. Check the destination account documentation or control panel.
Do You Need to Change the WordPress URLs?
When the same domain name will continue to be used, you normally do not need to change the WordPress Address or Site Address.
For example, when the site remains:
https://example.comthe database URLs can remain unchanged.
You only need to update stored URLs when:
- The domain name changes
- The website moves to a different subdomain
- The installation directory changes
- HTTP changes to HTTPS
- The old server hostname was used in media URLs
- A temporary migration URL was stored in the database
Avoid performing a basic SQL search and replace on the entire WordPress database. WordPress plugins and themes may store serialized data, which can be damaged by an unsafe replacement.
When a URL replacement is required, use WP-CLI:
wp search-replace \
'https://old-example.com' \
'https://new-example.com' \
--all-tables \
--precise \
--skip-columns=guid \
--dry-run
Review the output and then run it again without --dry-run:
wp search-replace \
'https://old-example.com' \
'https://new-example.com' \
--all-tables \
--precise \
--skip-columns=guid
When the domain remains unchanged, this step should not normally be necessary.
How to Minimize Downtime
A large website migration can be completed with very little downtime by performing the transfer in stages.
Step 1: Prepare the new account
Before copying the website:
- Add the domain to the reseller account
- Create the database
- Create the database user
- Confirm the PHP version
- Confirm available disk space
- Check PHP extensions
- Confirm SSH access
- Check file upload and execution limits
Step 2: Perform the initial file transfer
Copy all website files while the old site remains live.
For a large uploads directory, the initial transfer may take some time. Visitors can continue using the original website during this stage.
Step 3: Test the new server
You can test the destination server without changing public DNS by adding an entry to your computer’s hosts file.
Example:
203.0.113.25 example.com
203.0.113.25 www.example.com
Replace 203.0.113.25 with the destination server’s IP address.
Test:
- Homepage
- WordPress dashboard
- Videos
- Images
- Forms
- User login
- Search
- Mobile layout
- Plugin functionality
- Permalinks
- Error logs
Remove the hosts-file entry when testing is complete.
Step 4: Enable maintenance mode
Prevent new content, comments, orders, form submissions, or user changes during the final database transfer.
For WP-CLI:
wp maintenance-mode activateStep 5: Perform a final synchronization
Run rsync again. The second transfer should be much faster because it copies only new or modified files.
rsync -av --partial --info=progress2 \
/home/OLDUSER/public_html/ \
NEWUSER@NEW_SERVER_IP:/home/NEWUSER/public_html/
Export and import a fresh copy of the database.
Step 6: Point the domain to the new server
Update the domain’s DNS A record to the new server IP address.
Also review:
- The
wwwrecord - Any AAAA record
- Email MX records
- SPF
- DKIM
- DMARC
- Subdomains
- Verification records
Do not accidentally replace working email records when changing the website’s IP address.
Step 7: Install or reissue SSL
Install an SSL certificate for the domain on the destination server.
Confirm that both versions work:
https://example.com
https://www.example.com
Step 8: Disable maintenance mode
wp maintenance-mode deactivateStep 9: Keep the old server temporarily
Do not immediately delete the original website.
Keep the old server available for at least several days so that you can restore missing files or settings if necessary.
File Ownership and Permissions
After an SSH or manual transfer, confirm that the files belong to the correct destination account.
Example:
chown -R NEWUSER:NEWUSER /home/NEWUSER/public_htmlRecommended general permissions are:
find /home/NEWUSER/public_html -type d -exec chmod 755 {} \;
find /home/NEWUSER/public_html -type f -exec chmod 644 {} \;
The exact ownership format can differ between hosting environments. Do not run chown commands on managed or shared hosting without confirming the correct user and group.
Avoid using:
chmod -R 777World-writable permissions create a security risk and are not required for a normal WordPress installation.
Will Moving to the Faster Server Fix Slow Video Playback?
It may improve performance, but the migration alone might not completely solve the video problem.
Self-hosted videos consume substantial:
- Bandwidth
- Disk throughput
- Network connections
- Server resources
- Storage
- Backup space
A standard WordPress hosting package may be fast enough for normal pages but still perform poorly when several visitors stream large videos simultaneously.
The destination server should support:
- Fast SSD or NVMe storage
- Sufficient monthly bandwidth
- HTTP range requests
- Correct video MIME types
- Good network throughput
- Adequate connection limits
- CDN integration
- Proper browser caching
Test whether the server correctly supports partial video requests:
curl -I -H "Range: bytes=0-1023" \
https://example.com/wp-content/uploads/video.mp4
A properly handled range request may return:
HTTP/2 206
Accept-Ranges: bytes
Content-Range: bytes 0-1023/FILE_SIZE
Range requests allow a browser to request only part of a video instead of downloading the complete file before playback or seeking.
Consider External Video Hosting
For a small number of low-traffic videos, self-hosting may be acceptable.
For large videos or frequent playback, consider storing videos through:
- A dedicated video hosting platform
- Object storage
- A video CDN
- A streaming service
- YouTube
- Vimeo
- VideoPress
WordPress supports embedding external media without uploading the original content to the WordPress server.
External video hosting can provide:
- Adaptive streaming
- Automatic video conversion
- Lower server bandwidth usage
- Better playback on slow connections
- Multiple video quality options
- Global delivery
- Poster-image generation
- Improved seeking
- Reduced backup size
Moving to a faster reseller server may solve the immediate problem, but using a video-specific platform is generally more scalable when video is an important part of the website.
Post-Migration Checklist
After moving the site, verify all of the following:
- The homepage loads correctly
- WordPress admin login works
- Pages and posts open
- Images are displayed
- Videos play and seek correctly
- Permalinks work
- Contact forms deliver emails
- User accounts work
- WooCommerce checkout works, when applicable
- Scheduled tasks run
- SSL is valid
- HTTP redirects to HTTPS
- The preferred www or non-www version is enforced
- Email accounts continue working
- DNS records are correct
- File permissions are correct
- PHP error logs are clean
- WordPress debug logs contain no new errors
- Caches have been cleared
- CDN settings point to the new origin
- Backups run successfully
- Search engines are not blocked
Go to:
WordPress Dashboard
→ Settings
→ Permalinks
Click Save Changes once to regenerate the WordPress rewrite rules.
Also clear:
- WordPress caching plugins
- Server cache
- Object cache
- CDN cache
- Browser cache
Frequently Asked Questions
Can I move a WordPress website to another server at the same hosting company?
Yes. The hosting provider may be able to perform an internal account transfer, or the website can be copied directly between servers using WHM, SSH, rsync, scp, or server-side backups.
Do I need to manually upload all the videos again?
No. The video files must be copied to the destination server, but this can be done directly from server to server. You do not need to download them to your computer and upload them individually.
Will the videos remain in the WordPress Media Library?
Yes, provided that both the uploads directory and WordPress database are transferred correctly. Keeping the same domain and directory structure also prevents most media URL problems.
Can I move only the public_html folder?
That copies the website files, but it does not copy the WordPress database, email accounts, DNS records, cron jobs, SSL configuration, or other account settings. A complete migration should include all required components.
Can I use a WordPress migration plugin?
Yes, but migration plugins may struggle with websites containing many gigabytes of videos because of PHP limits, execution timeouts, disk-space requirements, and hosting upload restrictions. A direct server-to-server transfer is usually more reliable for large media libraries.
Will the domain name need to change?
No. The domain can remain the same. You normally only need to update its DNS records so that it points to the destination server.
How much downtime should I expect?
A carefully planned migration can limit downtime to only the final database synchronization and DNS switch. DNS propagation may take longer for some visitors, so the original server should remain active temporarily.
Final Answer
You can move the WordPress website to the faster reseller server without manually downloading and uploading every video file.
The recommended order is:
- Ask the hosting company for an internal account transfer.
- Use WHM’s Transfer Tool when reseller permissions allow it.
- Use SSH and
rsyncfor a direct server-to-server copy. - Transfer the WordPress database separately.
- Test the destination server before changing DNS.
- Update the domain records and SSL certificate.
- Keep the original account temporarily as a fallback.
- Consider external video hosting if playback remains slow.
The files still need to be copied to the new server, but the transfer can happen directly between the two servers. This avoids the slow and time-consuming process of transferring every video through your local computer.
