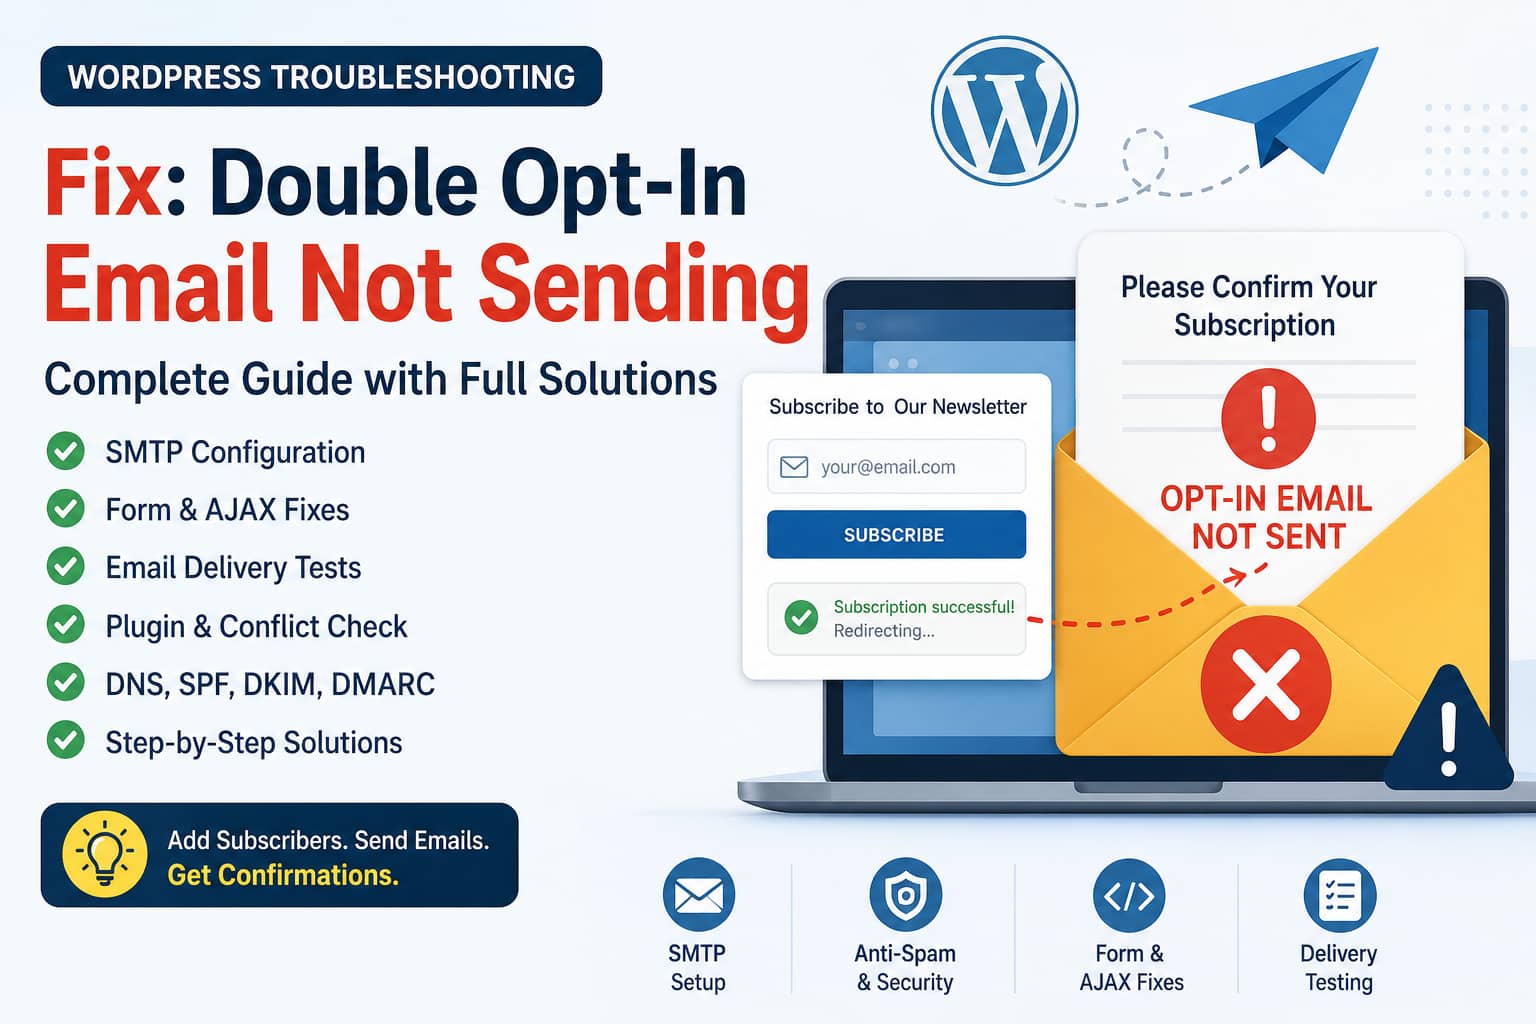
A WordPress newsletter subscription form can appear to work correctly while still failing during the most important part of the process.
You may notice the following symptoms:
- The subscriber is added to the correct mailing list.
- The website redirects to the expected confirmation page.
- The subscriber remains unconfirmed or pending.
- No double opt-in email is received.
- The form displays only a generic “error” message.
- No useful explanation appears on the frontend.
This usually means the subscription request reached WordPress successfully, but the confirmation email failed during generation, sending, or delivery.
In this guide, we will troubleshoot every stage of the process and identify whether the issue is caused by the newsletter plugin, WordPress mail handling, SMTP configuration, caching, a security rule, or the subscription form itself.
What Does Double Opt-In Mean?
Double opt-in requires a subscriber to confirm ownership of their email address before becoming an active newsletter subscriber.
The normal process is:
- The visitor enters an email address.
- WordPress creates an unconfirmed subscriber.
- The newsletter plugin sends a confirmation email.
- The subscriber clicks the confirmation link.
- The subscriber’s status changes to confirmed.
When the subscriber is added to the list but no confirmation email arrives, the failure usually occurs between steps two and three.
That is an important clue: the database and list selection may be working correctly, while the email delivery process is not.
Most Likely Causes
The most common causes of a missing opt-in confirmation email are:
- WordPress cannot send email reliably.
- SMTP is missing or incorrectly configured.
- The sender address does not match the website domain.
- The confirmation email is rejected by the receiving server.
- The message is delivered to spam or quarantine.
- A security or anti-spam plugin blocks the subscription process.
- The subscription form contains invalid or outdated HTML.
- AJAX submission is returning an invalid response.
- Page caching is serving an expired form token or old JavaScript.
- The email address already exists with a blocked subscriber status.
- A plugin or theme conflict interrupts the request.
- A firewall or hosting security rule blocks the form request.
Follow the steps below in order.
Step 1: Check the Subscriber’s Status
Open your WordPress dashboard and go to the subscriber management section of your newsletter plugin.
Find the email address used during testing and check its status.
Possible statuses may include:
- Unconfirmed
- Confirmed
- Subscribed
- Bounced
- Complained
- Unsubscribed
- Pending
If the subscriber is listed as unconfirmed, the form submission probably worked, but the confirmation email was not delivered.
If the subscriber is already confirmed, double opt-in may not be enabled for that particular form.
If the subscriber is marked as bounced, complained, or unsubscribed, the plugin may intentionally prevent another confirmation message from being sent.
Delete the test subscriber or change its status only after confirming that it is safe to do so. Then test again with a new email address.
Step 2: Verify That Double Opt-In Is Enabled
Go to the subscription settings in your newsletter plugin and confirm that the opt-in mode is set to:
Double opt-in
Some plugins allow individual forms, integrations, or shortcodes to override the global opt-in setting.
Check all of the following:
- Global subscription settings
- Form-specific settings
- Popup or page-builder integration settings
- Contact Form 7 integration settings
- WooCommerce subscription settings
- Custom shortcode attributes
- Custom HTML form fields
For the Newsletter plugin, a form can potentially override the default opt-in mode. Make sure a custom form is not forcing single opt-in.
Step 3: Run the Plugin’s Delivery Test
If you are using the Newsletter plugin, open:
Newsletter → System → Delivery
Depending on the version, this may also appear under a Help or System menu.
Send a test email to an address you can access.
Test with at least two providers:
- A Gmail address
- An Outlook, Yahoo, or domain-based address
There are three possible outcomes.
The test email fails immediately
This indicates a WordPress, server, or SMTP configuration problem.
You may see errors such as:
- SMTP connect failed
- Connection timed out
- Could not instantiate mail function
- Authentication failed
- Invalid sender
- Connection refused
Continue to the SMTP configuration steps below.
The test reports success, but no email arrives
A success response means WordPress handed the message to the configured mail system. It does not prove that the recipient’s server accepted or delivered it.
Check:
- Spam folder
- Junk folder
- Quarantine
- Email security gateway
- SMTP provider activity log
- Hosting mail log
- Suppression or bounce list
The test email arrives correctly
If general delivery works but the opt-in email does not, the issue is probably specific to:
- The confirmation email template
- The subscription form
- AJAX processing
- Anti-spam protection
- Subscriber status
- A plugin conflict
Continue with the remaining steps.
Step 4: Configure WordPress SMTP
WordPress normally sends email through wp_mail(), which depends on the hosting server’s mail configuration.
Many hosting environments restrict or poorly configure PHP mail. As a result, WordPress may report that an email was sent even though it never reaches the recipient.
The recommended solution is to connect WordPress to an authenticated SMTP or transactional email service.
Common options include:
- Your hosting provider’s SMTP server
- Google Workspace
- Microsoft 365
- Amazon SES
- Brevo
- Mailgun
- Postmark
- SendGrid
Install a reputable SMTP plugin and configure:
- SMTP host
- Encryption type
- SMTP port
- Authentication
- Username
- Password or API key
- From email
- From name
Common SMTP port combinations are:
- Port 587 with TLS
- Port 465 with SSL
- Port 25 without encryption, although many hosts block it
Use the exact values supplied by your email provider.
After saving the settings, send another test email from the SMTP plugin.
Step 5: Use a Domain-Based Sender Address
Do not send newsletter confirmation emails using an unrelated free address such as:
yourwebsite@gmail.com
For a site running on example.com, use a sender such as:
newsletter@example.com
or:
noreply@example.com
The mailbox should exist when required by the hosting or SMTP provider.
Your newsletter plugin and SMTP plugin should also use compatible sender settings. Otherwise, one plugin may overwrite the sender configured by another.
Check the following places:
- Newsletter plugin sender settings
- SMTP plugin sender settings
- WordPress administrator email
- Hosting email account
- Email service account
- WooCommerce email sender settings
If your SMTP plugin has a Force From Email option, enable it only after entering the correct authenticated sender address.
Step 6: Check SPF, DKIM, and DMARC
Email authentication helps receiving servers verify that your website is authorized to send email for your domain.
Review your domain’s DNS records for:
- SPF
- DKIM
- DMARC
An SMTP provider usually gives you the required DNS records.
Common authentication problems include:
- More than one SPF record
- Missing SMTP provider from the SPF record
- Incorrect DKIM selector
- DKIM record added to the wrong DNS hostname
- Strict DMARC policy before SPF and DKIM are aligned
- Sending from a domain that has not been verified
Do not create several separate SPF TXT records. A domain should generally have one SPF record containing all authorized senders.
After updating DNS, wait for propagation and verify the domain again from your email provider’s dashboard.
Step 7: Check the Confirmation Email Template
Open the subscription or confirmation email template in the newsletter plugin.
Confirm that:
- The email is enabled.
- The subject is not empty.
- The sender email is valid.
- The message body is not empty.
- The confirmation link placeholder is present.
- No broken shortcode is used.
- The template does not contain malformed HTML.
- The message does not contain unsupported PHP or JavaScript.
Temporarily replace the template with a simple message:
Please confirm your newsletter subscription by clicking the link below:

{subscription_confirmation_url}
The exact confirmation placeholder varies by plugin. Use the placeholder provided inside your plugin’s template editor rather than copying one from another system.
Also try changing the email subject to something simple:
Please confirm your subscriptionSome server-side spam filters silently discard messages containing suspicious subjects, excessive capitalization, misleading wording, or heavily promotional content.
Step 8: Replace the Form With the Official Shortcode
Custom-coded forms are a frequent cause of subscription problems.
Temporarily remove the custom HTML form and insert the plugin’s official shortcode.
For the Newsletter plugin, a basic form can be added with:
[newsletter_form /]A minimal version can be tested with:
[newsletter_form type="minimal" /]When using a custom HTML form, important fields such as the subscription action, input names, form action URL, list values, and opt-in parameters must remain correct.
For example, Newsletter custom forms rely on the correct subscription action. A missing or modified action field can cause the form to return an error.
Do not copy an old form from another website or from an outdated tutorial. Generate a fresh HTML form from the plugin’s current subscription form panel.
If the official shortcode works, the original custom form is the source of the problem.
Step 9: Disable AJAX Temporarily
AJAX forms submit data in the background without reloading the page. They provide a smoother experience, but they can hide useful PHP errors behind a generic “error” response.
Temporarily test the form without AJAX.
For Newsletter forms, remove any AJAX attribute or explicitly test a normal shortcode generated by the plugin.
Then submit the form again.
If the non-AJAX form works, investigate:
- JavaScript console errors
- Invalid JSON responses
- Cached JavaScript
- Minification problems
- Security rules blocking
admin-ajax.php - REST API restrictions
- PHP warnings being printed into the AJAX response
Open the browser’s Developer Tools and select:
Network → Fetch/XHR
Submit the form and inspect the request.
Look for:
- HTTP 400
- HTTP 403
- HTTP 404
- HTTP 500
- Invalid JSON
- HTML returned instead of JSON
- Cloudflare challenge pages
- ModSecurity errors
- PHP warning text
A 403 response usually points to a firewall or security rule. A 500 response normally indicates a PHP fatal error.
Step 10: Clear All Caching and Optimization
Newsletter forms can fail when cached HTML or optimized JavaScript becomes outdated.
Clear:
- WordPress page cache
- Object cache
- Browser cache
- Hosting cache
- LiteSpeed Cache
- Cloudflare cache
- CDN cache
- JavaScript minification cache
Temporarily disable:
- JavaScript delay
- JavaScript deferral
- Combine JavaScript
- Remove unused JavaScript
- HTML minification
- Guest optimization
- Rocket Loader
Exclude the subscription page and related scripts from optimization if disabling these features fixes the problem.
Also prevent aggressive caching on pages containing dynamic subscription forms.
Step 11: Check Security and Anti-Spam Plugins
Security plugins, CAPTCHA integrations, and spam filters can block newsletter subscription requests.
Temporarily test without:
- reCAPTCHA
- hCaptcha
- Turnstile
- Anti-spam plugins
- WordPress firewall plugins
- Login protection plugins
- Country blocking
- Bot protection
- Cloudflare Bot Fight Mode
- Hosting ModSecurity
Do not disable all security permanently. Disable one component at a time on a staging site and repeat the subscription test.
Check the security plugin’s activity log for blocked requests involving:
admin-ajax.phpwp-json?na=sor the subscription page URL.
If ModSecurity is blocking the request, ask the hosting provider to identify the triggered rule and whitelist only the necessary request. Do not request that the entire firewall be disabled.
Step 12: Test for a Plugin or Theme Conflict
Create a full backup before performing conflict testing.
On a staging site:
- Switch temporarily to a default WordPress theme.
- Deactivate all plugins except the newsletter plugin.
- Submit a new subscription.
- Confirm whether the opt-in email is sent.
- Reactivate plugins one at a time.
- Test after each activation.
Pay particular attention to:
- SMTP plugins
- Email customization plugins
- Security plugins
- Caching plugins
- Form plugins
- Translation plugins
- Popup plugins
- Code snippet plugins
- WooCommerce email plugins
Running two SMTP plugins or two plugins that rewrite WordPress sender headers can cause unpredictable delivery problems.
Step 13: Enable WordPress Debug Logging
Enable debugging temporarily to catch PHP errors generated during form submission.
Add the following lines above the “That’s all, stop editing” line in wp-config.php:
define( 'WP_DEBUG', true );
define( 'WP_DEBUG_LOG', true );
define( 'WP_DEBUG_DISPLAY', false );
Submit the newsletter form again, then inspect:
/wp-content/debug.logSearch for:
- Fatal error
- Uncaught error
- SMTP
- PHPMailer
- Newsletter
- AJAX
- REST API
- Permission denied
- Memory exhausted
- Undefined function
- Invalid argument
Disable debugging after completing the investigation:
define( 'WP_DEBUG', false );Do not leave debug output publicly visible on a production website.
Step 14: Log WordPress Mail Failures
You can temporarily add the following snippet using a child theme or a code snippets plugin:
add_action( 'wp_mail_failed', function ( $error ) {
    if ( ! $error instanceof WP_Error ) {
        return;
    }

    error_log(
        'WordPress mail failure: ' .
        print_r(
            array(
                'message' => $error->get_error_message(),
                'data'    => $error->get_error_data(),
            ),
            true
        )
    );
} );
After adding the snippet:
- Submit the newsletter form.
- Check
/wp-content/debug.log. - Look for “WordPress mail failure.”
- Remove the snippet after testing.
This hook records failures detected by WordPress. It cannot confirm final inbox delivery, but it can reveal authentication, recipient, header, and mail transport errors.
Step 15: Check the SMTP Provider’s Logs
Most transactional email services provide an activity or message log.
Search for the recipient address and review the delivery result.
Possible statuses include:
- Delivered
- Deferred
- Rejected
- Bounced
- Suppressed
- Blocked
- Dropped
- Queued
If no message appears in the SMTP provider log, WordPress probably never sent the request to the provider.
If the message appears as delivered, check the recipient’s spam folder and email security settings.
If the address is suppressed, remove it from the suppression list only after confirming why it was added.
Step 16: Contact the Hosting Provider
Ask the hosting provider to check:
- PHP mail restrictions
- Outbound SMTP port restrictions
- ModSecurity logs
- Firewall logs
- Mail server logs
- Rate limits
- Failed authentication attempts
- Blocked
admin-ajax.phprequests - Server-level spam filtering
Provide the exact time of your test, recipient domain, sender address, SMTP host, and any error message.
A useful support request would be:
My WordPress newsletter form successfully creates an unconfirmed subscriber, but the double opt-in confirmation email is not sent. Please check the server mail logs, outbound SMTP connectivity, PHP error logs, firewall logs, and ModSecurity events for the test performed at [time and timezone].Never send passwords, API keys, or complete SMTP credentials through an insecure support form.
Recommended Fix Order
For the fastest diagnosis, follow this order:
- Confirm that double opt-in is enabled.
- Check the subscriber’s status.
- Run the newsletter plugin’s delivery test.
- Configure authenticated SMTP.
- Use a domain-based sender address.
- Test the official subscription shortcode.
- Disable AJAX temporarily.
- Clear caching and JavaScript optimization.
- Check security and firewall logs.
- Enable WordPress debugging.
- Perform a plugin conflict test.
- Review SMTP provider and hosting logs.
Most Common Working Solution
In many cases, the issue is resolved by completing these steps:
- Install and configure one SMTP plugin.
- Authenticate it with a valid mail provider.
- Use an existing sender address on the website’s domain.
- Enable “Force From Email” in the SMTP plugin.
- Run a successful SMTP test.
- Replace the custom form with the plugin’s official shortcode.
- Clear all website and CDN caches.
- Delete the unconfirmed test subscriber.
- Subscribe again with a fresh email address.
- Confirm that the activation email appears in the SMTP delivery log.
Frequently Asked Questions
Why is the subscriber added when the confirmation email was not sent?
Adding a subscriber and sending a confirmation email are separate operations. WordPress may successfully save the subscriber in the database but fail when generating or delivering the email.
Why does WordPress say the email was sent when it was not received?
WordPress can report success after handing the message to its configured mail transport. This does not guarantee that the recipient’s email server accepted the message or placed it in the inbox.
Should I use PHP mail or SMTP?
Authenticated SMTP or a transactional email provider is generally more reliable than depending on unauthenticated PHP mail from shared hosting.
Can caching break a newsletter subscription form?
Yes. Caching, JavaScript delay, minification, CDN optimization, or stale form HTML can interfere with AJAX submissions and dynamic form processing.
Can an existing subscriber prevent another opt-in email?
Yes. Some newsletter plugins restrict repeated registrations when an address is already confirmed, bounced, complained, unsubscribed, or pending confirmation.
Why does the form return only “error”?
A generic error can be produced when an AJAX request receives an unexpected response, a firewall blocks the request, PHP generates a fatal error, or the newsletter plugin rejects the subscriber’s current status.
Final Thoughts
When a subscriber is added to the correct list but the opt-in email is missing, the form is not necessarily completely broken.
The successful database entry shows that part of the subscription workflow is functioning. The next step is to isolate whether the problem occurs during email generation, WordPress mail processing, SMTP transmission, or final delivery.
Start with the newsletter plugin’s delivery test, configure authenticated SMTP, use a domain-based sender address, and test with the official form shortcode. If the problem remains, inspect AJAX responses, security logs, WordPress debug logs, and your SMTP provider’s message activity.
Avoid modifying the newsletter plugin’s core files. Direct plugin edits will normally be overwritten during the next update and can introduce additional security or compatibility problems.
