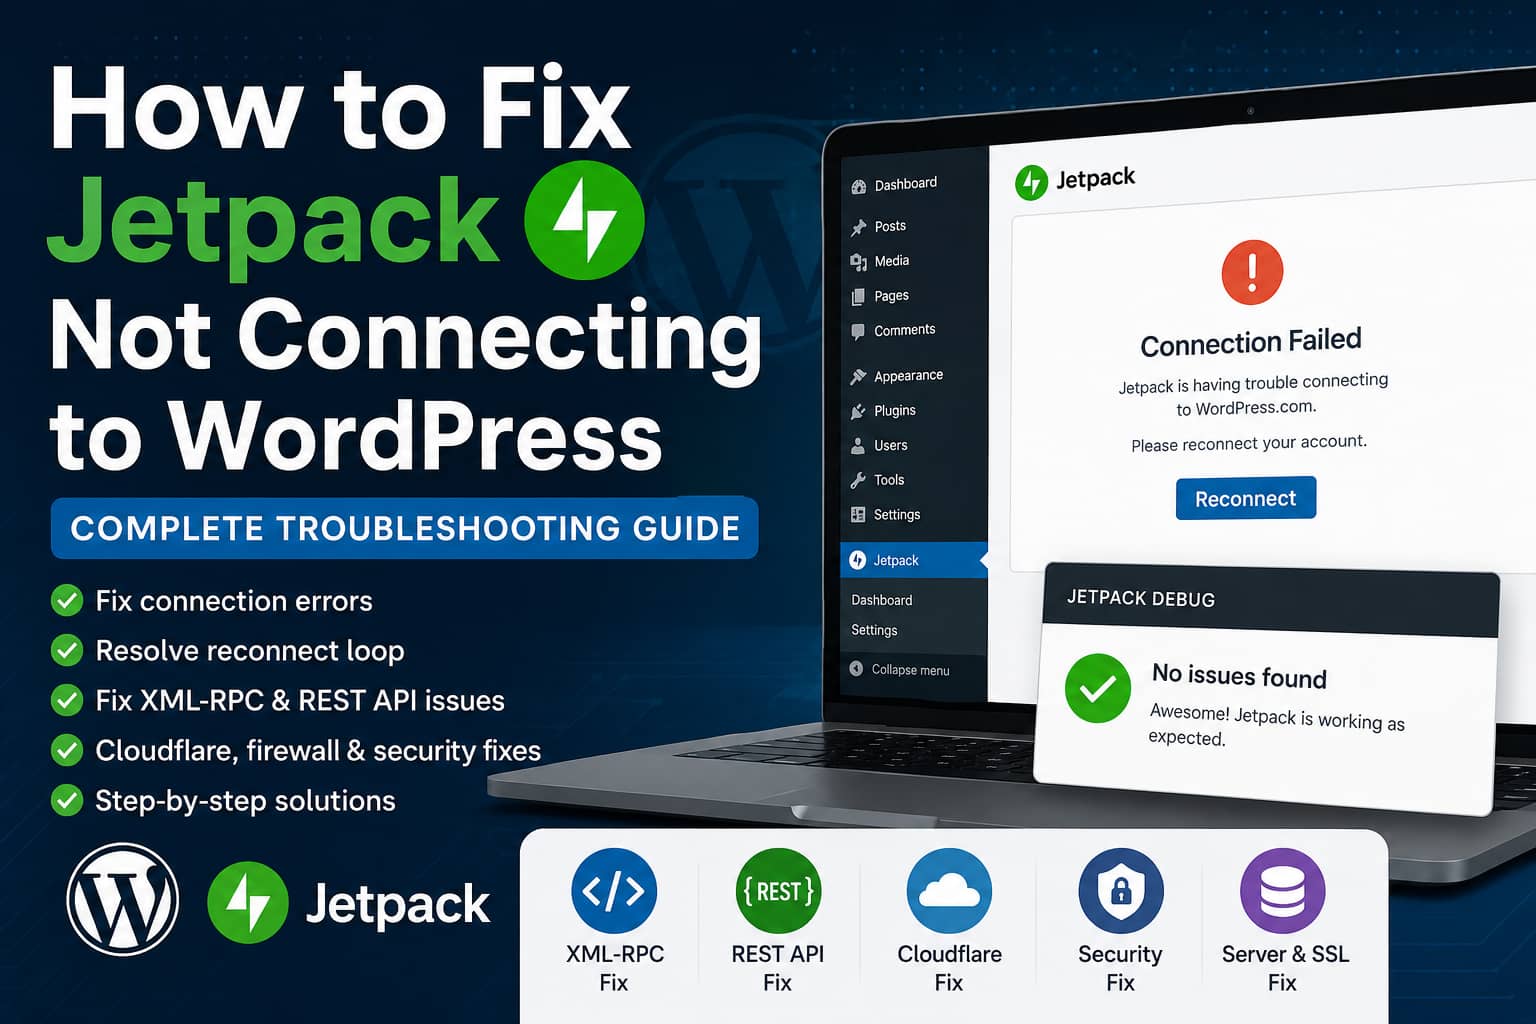
Jetpack may occasionally lose its connection to WordPress.com and repeatedly display a connectivity warning inside the WordPress dashboard.
A common version of this problem looks like this:
- Jetpack reports a connection or connectivity issue.
- The Jetpack Debug Tool says that it cannot detect any problems.
- Clicking Reconnect opens the WordPress.com login page.
- WordPress.com sends you back to the website successfully.
- Jetpack still appears disconnected.
- Deleting and reinstalling Jetpack does not solve the problem.
This can be confusing because the authorization process appears to complete successfully. However, returning to the website does not necessarily mean Jetpack completed the full connection handshake.
In most cases, the underlying problem is related to XML-RPC access, the WordPress REST API, caching, a security rule, Cloudflare, SSL configuration, a plugin conflict, or a server-side error.
This guide explains how to identify and fix each possible cause.
Why Does Jetpack Keep Asking You to Reconnect?
Jetpack connects a self-hosted WordPress website to WordPress.com. It uses both WordPress XML-RPC and REST API endpoints to establish and maintain that connection.
If WordPress.com can authorize your account but cannot communicate properly with your website afterward, you may be returned to the WordPress dashboard without the connection being completed.
Jetpack officially confirms that it requires a publicly accessible website, a working xmlrpc.php file, and access to its REST API namespaces. ling Jetpack replaces the plugin files, but it does not remove a firewall rule, repair an SSL certificate, enable XML-RPC, clear a persistent object cache, or resolve a hosting-level restriction.
Before Making Changes
Create a complete backup of the website before editing WordPress files, changing firewall rules, or disabling plugins.
The backup should include:
- The WordPress database
- The
wp-contentdirectory - The current
wp-config.phpfile - The current
.htaccessfile - Any server or Cloudflare configuration you plan to modify
Perform plugin-conflict testing on a staging website whenever possible.
Step 1: Confirm That the Website Is Publicly Accessible
Jetpack cannot establish its normal WordPress.com connection when the website is hidden behind certain access restrictions.
Temporarily disable or remove:
- Maintenance mode
- Coming Soon mode
- Password protection
- HTTP Basic Authentication
- Hosting-level privacy protection
- IP restrictions that block external visitors
- A staging-site login screen
Jetpack’s documentation states that the website and its XML-RPC endpoint must be publicly accessible during the connection process. moving the restriction, clear the website cache and try connecting Jetpack again.
Step 2: Test the WordPress XML-RPC File
Jetpack depends on WordPress’s xmlrpc.php file to communicate with WordPress.com.
Open the following address in a browser, replacing the example domain with your website:
https://example.com/xmlrpc.phpA working XML-RPC endpoint should display only this message:
XML-RPC server accepts POST requests only.There should be no blank line, PHP warning, HTML, security message, redirect page, or other output before or after it. Jetpack specifically recommends checking for that exact response. ou Receive a 403 Forbidden Error
A 403 response normally means a firewall, security plugin, web application firewall, hosting security system, or Cloudflare rule is blocking access.
Check:
- WordPress security plugins
- ModSecurity
- Cloudflare WAF rules
- Sucuri firewall rules
- Hosting bot-protection features
- Custom
.htaccessrestrictions - Code that disables XML-RPC
Do not permanently block xmlrpc.php while using Jetpack.
If You Receive a 404 Not Found Error
Confirm that xmlrpc.php exists in the root WordPress directory.
It should normally be in the same directory as:
wp-admin
wp-content
wp-includes
wp-config.php
If the file is missing or modified, download a clean copy of the same WordPress version or reinstall the WordPress core files.
Do not replace the wp-content directory or wp-config.php.
If You Receive a 500 Server Error
A 500 response indicates that PHP or the server failed while processing the request.
Check the PHP error log immediately after loading xmlrpc.php. Look for:
- PHP fatal errors
- Memory exhaustion
- Plugin errors
- Theme errors
- ModSecurity blocks
- Database connection errors
- Invalid code in
wp-config.php
Jetpack classifies HTTP 500 connection errors as server-side errors that should be investigated using the PHP error log. xtra Text or Blank Lines Appear
Unexpected output can invalidate the XML response.
Common causes include:
- Blank spaces before
<?phpinwp-config.php - A PHP warning displayed publicly
- A plugin printing debug information
- A theme printing output too early
- A modified
xmlrpc.phpfile
Temporarily deactivate other plugins and switch to a default WordPress theme to locate the source of the output.
Step 3: Test the WordPress REST API
Jetpack also communicates through the WordPress REST API.
Open:
https://example.com/wp-json/The browser should return JSON data. It should not return:
- A 403 error
- A login page
- A maintenance page
- A security challenge
- An empty response
- A server error
Security configurations that require authentication for every REST API request can break Jetpack.
If you intentionally restrict the REST API, allow public access to these Jetpack namespaces:
/jetpack/v4/
/wpcom/v2/
Jetpack’s known-issues documentation specifically identifies REST API restrictions as a possible cause of broken connections. p-json/` returns a 404 error, go to:
WordPress Dashboard → Settings → PermalinksClick Save Changes without changing the permalink structure. This refreshes the WordPress rewrite rules.
Test the REST API again afterward.
Step 4: Disconnect Jetpack Completely
Do not repeatedly click the reconnect notice without first completing a clean disconnection.
In the WordPress dashboard:
- Go to Jetpack → My Jetpack.
- Scroll to the Connection section.
- Click the current connection status.
- Select Disconnect Jetpack.
- Complete all confirmation prompts.
- Return to Jetpack → My Jetpack.
- Start the connection again.
- Confirm that you are authorizing the correct WordPress.com account.
Jetpack recommends disconnecting through the connection-management screen and then completing a fresh authorization. istrator must establish the primary site connection. A non-administrator can connect a personal WordPress.com account only after an administrator has connected the website. 5: Clear Every Cache Layer
A stale registration secret or cached API response can cause Jetpack to return from WordPress.com without saving the new connection properly.
Clear all relevant cache layers:
- Clear your WordPress caching plugin.
- Purge the hosting platform’s page cache.
- Flush Redis or Memcached object cache.
- Purge Cloudflare or another CDN.
- Clear your browser cookies and cache.
- Close the browser completely.
- Retry the connection in a private or incognito window.
Temporarily disable JavaScript combination, minification, and delay features while reconnecting. Jetpack lists JavaScript minification and combination as possible sources of unexpected conflicts. uch as missing_secrets can specifically indicate a caching problem. 6: Check Security Plugins
Security plugins commonly include options such as:
- Disable XML-RPC
- Block XML-RPC authentication
- Restrict REST API access
- Block external application passwords
- Prevent remote publishing
- Block suspicious POST requests
- Limit requests from foreign IP addresses
Temporarily disable these restrictions and reconnect Jetpack.
You do not necessarily need to disable all website security permanently. The goal is to determine which rule is blocking the connection and create the correct exception.
Allow requests to:
/xmlrpc.php
/wp-json/jetpack/v4/
/wp-json/wpcom/v2/
Also check whether the security plugin recorded a blocked request at the exact time you attempted the Jetpack connection.
Step 7: Check Cloudflare, Sucuri, or Another Firewall
Cloudflare is normally compatible with Jetpack, but custom firewall rules, rate limiting, bot protection, managed challenges, and caching rules can interrupt the connection.
Temporarily pause Cloudflare or place it in troubleshooting mode, purge the cache, and reconnect Jetpack.
If the connection works while Cloudflare is paused, review rules affecting:
/xmlrpc.php
/wp-admin/
/wp-json/
Create narrowly scoped exceptions rather than disabling the entire firewall.
Jetpack also publishes a current list of IP ranges that can be added to a firewall allowlist. Those IP ranges can change, so use the official Jetpack list instead of copying an old list from a forum post. re’s default settings should allow Jetpack, but additional WAF or security rules may require Jetpack’s traffic to be allowlisted. 8: Test for a Plugin Conflict
A different WordPress plugin may modify XML-RPC, REST API requests, redirects, cookies, or authentication.
On a staging site:
- Keep Jetpack active.
- Deactivate every other plugin.
- Clear all caches.
- Attempt the Jetpack connection again.
- If it works, reactivate the plugins individually.
- Test the connection after activating each plugin.
Pay particular attention to:
- Security plugins
- Caching and optimization plugins
- Maintenance-mode plugins
- Login and authentication plugins
- REST API restriction plugins
- XML-RPC restriction plugins
- Redirect plugins
- Custom code snippet plugins
Jetpack recommends this exact isolation method when checking for plugin conflicts. 9: Test for a Theme Conflict
A theme can interfere with the Jetpack response by producing PHP warnings, blank output, redirects, or unexpected content.
Temporarily activate a default WordPress theme and test the connection again.
Examples include the currently available default Twenty Twenty themes installed on the website.
If Jetpack connects with the default theme, inspect the original theme for:
- PHP warnings
- Output before headers
- Custom authentication code
- REST API filters
- XML-RPC filters
- Redirect functions
Switch back to the original theme after testing.
Step 10: Verify the SSL Certificate and Website URLs
A broken SSL certificate can prevent WordPress.com from securely connecting to the website.
In WordPress, go to:
Settings → GeneralConfirm that both fields use the same HTTPS domain:
WordPress Address (URL)
Site Address (URL)
Watch for mismatches such as:
http://example.com
https://example.com
or:
https://www.example.com
https://example.com
Choose one canonical HTTPS version and make sure all other versions redirect to it without creating a redirect loop.
Jetpack identifies expired certificates, self-signed certificates, incomplete certificate chains, and HTTP-to-HTTPS configuration problems as possible connection blockers. error 60` commonly indicates that the server is not supplying a valid complete SSL certificate chain.
Step 11: Check the Server Requirements
Ask the hosting provider to confirm the following:
- The PHP XML extension is installed and enabled.
- PHP cURL is enabled.
- Outgoing HTTPS requests are allowed.
- Incoming requests from WordPress.com are not blocked.
- ModSecurity is not blocking
xmlrpc.php. - The server permits concurrent PHP requests.
- The website’s initial response is not excessively slow.
- The server can resolve WordPress.com domains through DNS.
Jetpack states that the PHP XML extension is needed and that the website must initially respond within five seconds for the connection to work reliably. on timeout errors can also occur when the hosting platform restricts concurrent PHP processes. 12: Review the Error Log
Because the hosting provider has already supplied an error log, check entries created at the same time as the failed connection attempt.
Search the log for:
jetpack
xmlrpc
rest_api
rest_forbidden
cURL error 28
cURL error 60
403
409
500
missing_secrets
verify_secrets_missing
cannot_save_secrets
registration secret
memory exhausted
fatal error
To create a private WordPress debug log, add the following settings above the line that says “That’s all, stop editing” in wp-config.php:
define( 'WP_DEBUG', true );
define( 'WP_DEBUG_LOG', true );
define( 'WP_DEBUG_DISPLAY', false );
@ini_set( 'display_errors', 0 );
Attempt the Jetpack connection once more and inspect:
/wp-content/debug.logDo not leave debug logging enabled indefinitely on a production site. Disable it after collecting the necessary errors.
Displaying PHP errors directly on the front end can corrupt Jetpack API responses, so WP_DEBUG_DISPLAY should remain disabled while testing. 13: Check for Jetpack Development Mode
Open wp-config.php and search for:
define( 'JETPACK_DEV_DEBUG', true );Remove the line or change it to:
define( 'JETPACK_DEV_DEBUG', false );Development mode is intended for local or non-public development environments and can affect the expected Jetpack connection state. Jetpack recommends confirming that this constant is not enabled when connecting a normal live website. 14: Check Whether WordPress Can Save Jetpack Secrets
If the log or Jetpack response contains:
cannot_save_secretsthe WordPress options table may not be writable.
Ask the hosting provider or database administrator to check:
- Database user permissions
- The health of the WordPress options table
- Database storage limits
- Read-only database settings
- Database corruption
- Persistent object-cache inconsistencies
Jetpack identifies an unwritable WordPress options table as the likely cause of the cannot_save_secrets error. pairing the database permissions, flush the object cache and attempt the connection again.
Step 15: Replace Damaged WordPress Core Files
If xmlrpc.php is missing, modified, or producing an abnormal response, reinstall the WordPress core files.
From the WordPress dashboard, use:
Dashboard → Updates → Re-install WordPressAlternatively, replace the core files manually using a clean download of the same WordPress version.
Do not overwrite:
wp-content
wp-config.php
Reinstalling WordPress core should restore a missing or damaged xmlrpc.php file. mended Troubleshooting Order
For the fastest diagnosis, perform the checks in this order:
- Confirm the website is publicly accessible.
- Test
xmlrpc.php. - Test
/wp-json/. - Clear page, object, CDN, and browser caches.
- Temporarily disable security restrictions.
- Pause Cloudflare or the external firewall.
- Disconnect Jetpack fully.
- Reconnect using an administrator account.
- Test for plugin conflicts.
- Test with a default theme.
- Verify SSL and WordPress URLs.
- Review PHP, firewall, and ModSecurity logs.
- Confirm server requirements.
- Repair core files or database permissions when indicated.
This order helps identify the root cause instead of repeatedly deleting and reinstalling Jetpack.
Message to Send to Your Hosting Provider
You can send the following message to the hosting company:
Jetpack is unable to complete its connection to WordPress.com. The WordPress.com authorization redirects back to the website, but Jetpack remains disconnected. Please check whether the server, ModSecurity, firewall, or rate-limiting system is blocking incoming or outgoing requests involving
/xmlrpc.php,/wp-json/jetpack/v4/, or/wp-json/wpcom/v2/. Please also confirm that PHP XML and cURL are enabled, outgoing HTTPS connections are permitted, the SSL certificate chain is complete, concurrent PHP requests are supported, and no 403, 409, 500, timeout, or DNS errors are being generated during the connection attempt.
Frequently Asked Questions
Why does the Jetpack Debug Tool show no errors?
The Debug Tool may confirm that the website is reachable at the time of the test while the account authorization, token storage, REST API request, or connection callback is still failing.
It is therefore important to test the actual reconnect process while monitoring the PHP error log, firewall events, and browser developer tools.
Will deleting Jetpack remove my statistics?
Jetpack states that deleting and reinstalling the plugin does not remove existing statistics or followers, although local settings may need to be configured again. I disable XML-RPC and still use Jetpack?
No. Jetpack requires access to WordPress’s xmlrpc.php file for communication with WordPress.com. Blocking that endpoint will break the connection. Cloudflare block Jetpack?
Cloudflare does not normally block Jetpack with its default configuration. However, custom firewall, caching, bot-protection, rate-limiting, or challenge rules can block Jetpack requests. does reconnecting return me to WordPress without fixing anything?
The WordPress.com login portion may have succeeded, but the website might not have completed or stored the final connection handshake. A blocked API request, cached secret, database permission issue, server error, or invalid XML-RPC response can cause this behavior.
Final Thoughts
When Jetpack repeatedly asks you to reconnect, the plugin installation itself is rarely the only thing that needs attention.
Start by testing:
/xmlrpc.php
/wp-json/
Then check caching, security rules, Cloudflare, SSL, plugin conflicts, and the server error log.
The most important step is to reproduce the connection failure while reviewing the server and firewall logs. That normally reveals whether WordPress.com is receiving a 403, timeout, invalid XML response, SSL failure, or PHP error.
Once the blocked request or server error is corrected, disconnect Jetpack completely, clear all cache layers, and complete one fresh connection using a WordPress administrator account.
