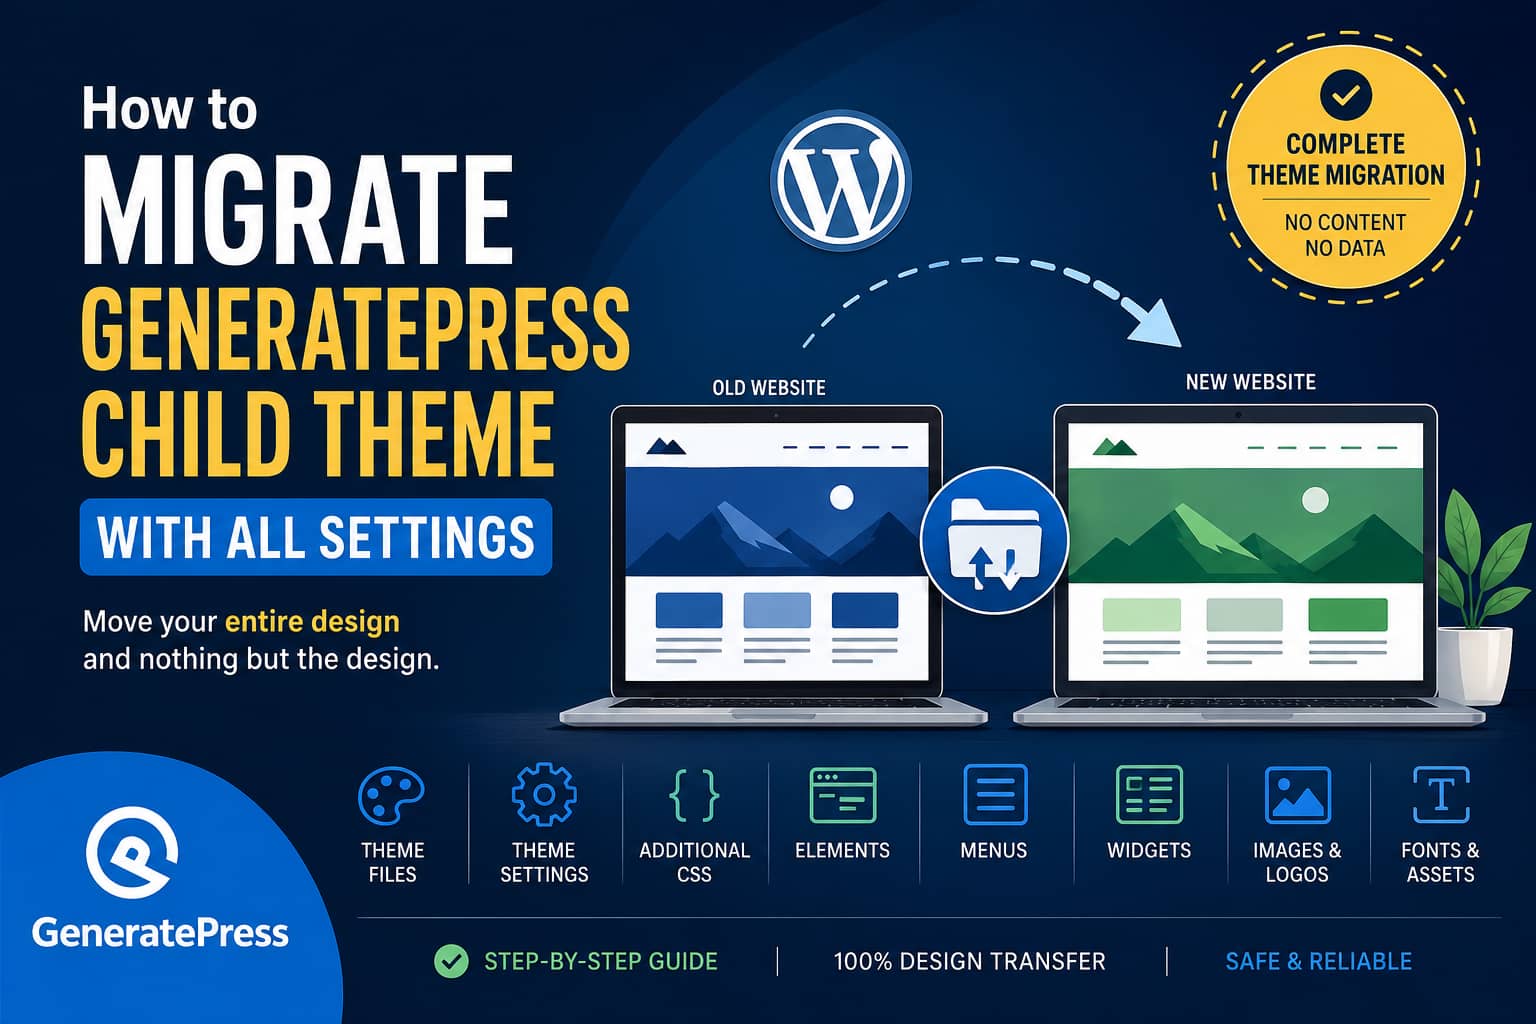
You may want to copy a customized GeneratePress child theme from one WordPress website to another without moving posts, pages, users, orders, or other website content.
The goal is simple:
Move the entire design and nothing except the design.
However, downloading and installing the child-theme ZIP file will not make the second website look identical.
A WordPress theme consists of more than files. Some design information is stored inside the theme directory, while other settings are stored in the WordPress database.
This guide explains how to migrate a GeneratePress child theme with its settings, styles, Elements, menus, widgets, logos, fonts, and other design-related components.
Can You Export the Entire GeneratePress Theme With One Plugin?
Not always.
A normal theme export or ZIP file can transfer:
- The child theme’s
style.cssfile - The child theme’s
functions.phpfile - Template overrides
- Custom JavaScript files
- Theme images and assets
- Locally stored font files inside the theme
- Other files saved in the child-theme directory
However, the theme ZIP normally does not include:
- GeneratePress Customizer settings
- GeneratePress Premium module settings
- Additional CSS from the WordPress Customizer
- GeneratePress Elements
- Navigation menus
- Widgets
- Logos and images from the Media Library
- Plugin settings
- Block patterns stored in the database
- Display conditions connected to specific posts or pages
Therefore, the direct answer is:
You can migrate only the theme and its design, but you must export several separate components. Installing the child-theme ZIP alone is not enough.
What Does “Theme-Only Migration” Mean?
In WordPress, there is no perfect technical separation between “theme” and “website content.”
For example:
- A logo is usually stored in the Media Library.
- A navigation menu is stored in the database.
- GeneratePress Elements are stored as a custom post type.
- Widget configuration is stored in WordPress options.
- Customizer values may be stored as theme modifications or database options.
- Element display conditions may point to specific page, category, or post IDs.
A practical theme-only migration normally includes all design-related files and database settings while excluding regular posts, pages, comments, users, products, orders, and form entries.
Components You Need to Migrate
To reproduce the design accurately, transfer the following components:
- GeneratePress parent theme
- GeneratePress child theme
- GP Premium and other required plugins
- GeneratePress theme settings
- Customizer Additional CSS
- GeneratePress Elements
- Navigation menus
- Widgets and sidebar configurations
- Logos, background images, icons, and local fonts
- Relevant plugin settings
- Any reusable blocks or patterns used by the design
Always create a complete backup of both websites before importing anything.
Step 1: Prepare the Destination Website
Before transferring the child theme, prepare the destination website.
Install the same version, or a compatible version, of:
- WordPress
- GeneratePress
- GP Premium
- GenerateBlocks, when used
- GenerateBlocks Pro, when used
- Any plugin used by the header, footer, menu, sidebar, or Elements
- Any custom functionality plugin used by the child theme
Do not assume that installing the child theme will install its required plugins.
For example, a child theme may contain PHP code that calls a function from GenerateBlocks, Advanced Custom Fields, WooCommerce, or another plugin. Activating the child theme without that dependency could cause a fatal error.
It is safer to install and activate the required plugins before activating the child theme.
Step 2: Export the GeneratePress Child-Theme Files
Connect to the source website using:
- Your hosting File Manager
- FTP or SFTP
- SSH
- A trusted file-management plugin
Open:
/wp-content/themes/Locate the GeneratePress child-theme directory. It might be named something similar to:
generatepress-childor:
generatepress_childDownload the entire child-theme folder and compress it as a ZIP file.
A basic child-theme folder may contain:
generatepress-child/
├── style.css
├── functions.php
├── screenshot.png
├── assets/
├── fonts/
├── images/
└── template-parts/
The exact structure depends on how the theme was developed.
Verify the Child Theme Header
Open the child theme’s style.css file and confirm that it contains a valid theme header:
/*
Theme Name: GeneratePress Child
Template: generatepress
Version: 1.0.0
*/
The following line is essential:
Template: generatepressIt tells WordPress that GeneratePress is the parent theme.
Do Not Import the Parent Stylesheet Manually
GeneratePress automatically handles loading the required child-theme stylesheet. Its documentation advises that you do not need to manually enqueue the parent or child stylesheet. An old-style CSS @import rule can also interfere with GeneratePress functionality.
Remove code like this from style.css:
@import url("../generatepress/style.css");Also check whether functions.php manually loads the parent stylesheet unnecessarily.
Install the Child Theme on the New Website
On the destination website, go to:
Appearance > Themes > Add New > Upload ThemeUpload the ZIP file and install it.
Do not activate it until the GeneratePress parent theme and required plugins are installed.
Step 3: Export the GeneratePress Settings
GeneratePress Premium includes a built-in Import/Export feature.
On the source website, go to:
Appearance > GeneratePressOpen the Import/Export section and export all available GeneratePress settings.
Depending on the installed GeneratePress version, you may be able to export all modules in one file or select individual modules.
The exported settings can include GeneratePress options related to:
- Layout
- Colors
- Typography
- Spacing
- Blog layout
- Navigation
- Secondary navigation
- Menu Plus
- WooCommerce
- Backgrounds
- Copyright
- Other enabled GP Premium modules
GeneratePress confirms that its Import/Export feature can package its options into one export file.
Import the GeneratePress Settings
On the destination website:
- Install and activate GeneratePress.
- Install and activate GP Premium.
- Enable the same GP Premium modules used on the source website.
- Go to
Appearance > GeneratePress. - Open the Import/Export section.
- Upload the settings file.
- Import the settings.
- Clear all website and server caches.
Be aware that importing the file may overwrite existing GeneratePress settings on the destination website.
Step 4: Copy the Customizer Additional CSS
GeneratePress does not include WordPress Customizer Additional CSS in its settings export. GeneratePress specifically documents that this CSS must be copied manually.
On the source website, go to:
Appearance > Customize > Additional CSSCopy all CSS from this section.
You have two choices on the destination website.
Option 1: Paste It Into Additional CSS
Go to:
Appearance > Customize > Additional CSSPaste the CSS and publish the changes.
This is the simplest option.
Option 2: Move It Into the Child Theme
For better portability, paste the CSS into the child theme’s style.css file.
This keeps more of the design inside the child-theme directory and makes future migrations easier.
Before moving the CSS, check for:
- Old website URLs
- Image URLs
- Font URLs
- Page-specific body classes
- Post IDs
- Plugin-generated selectors
- CSS referencing files from the source domain
For example:
.hero-section {
    background-image: url("https://oldsite.com/wp-content/uploads/hero.jpg");
}
This URL must be changed after the image is uploaded to the new website.
Step 5: Export GeneratePress Elements
GeneratePress Elements are not part of the child-theme ZIP.
Elements may control:
- Custom headers
- Page heroes
- Site footers
- Hooks
- Layout rules
- Content templates
- Post templates
- Archive templates
- Mobile headers
- Custom code
- Conditional design sections
GeneratePress support recommends exporting GeneratePress settings through Appearance > GeneratePress and exporting the Element post type separately through WordPress’s Tools > Export screen.
On the source website, go to:
Tools > ExportSelect the GeneratePress Element post type. Depending on the version, it may appear as:
ElementsDownload the XML export file.
Import the Elements
On the destination website:
- Install and activate GP Premium.
- Enable the Elements module.
- Go to
Tools > Import. - Select the WordPress importer.
- Install the importer when prompted.
- Upload the Elements XML file.
- Complete the import process.
WordPress’s built-in export system supports custom post types, custom fields, terms, and other associated data in its WXR export format.
Check Element Display Rules
Imported Elements may contain display conditions connected to source website content.
For example, an Element may be configured to display on:
- A specific page
- A specific category
- A specific product
- A specific post
- A custom post type
- A particular author archive
The destination website may assign different IDs to these objects.
Open every imported Element and verify:
- Display locations
- Exclusion rules
- User-role rules
- Hook location
- Hook priority
- Element type
- Page or post references
- Category and taxonomy conditions
An Element can import successfully but still fail to appear because its display conditions no longer match.
Step 6: Transfer Navigation Menus
WordPress menus are stored in the database, not inside the child theme.
This means the child-theme ZIP will not include:
- Menu structure
- Dropdown hierarchy
- Custom links
- Menu item CSS classes
- Menu descriptions
- Menu location assignments
If the destination website has only a small menu, recreating it manually is usually the safest solution.
Go to:
Appearance > MenusCreate the menus and assign them to the correct GeneratePress locations, such as:
- Primary Menu
- Secondary Menu
- Off-Canvas Menu
- Mobile Menu
For larger menus, a menu import/export plugin can be used. However, menu items connected to pages, posts, products, or categories must be mapped to corresponding content on the destination website.
If the destination website does not contain those pages, importing the menu cannot create a completely identical working navigation system without also importing or recreating the linked content.
Step 7: Transfer Widgets and Sidebars
Widgets and their settings are also stored in the database.
They may include:
- Search widgets
- Recent posts
- Category lists
- Custom HTML
- Social icons
- Newsletter forms
- WooCommerce widgets
- Plugin-generated widgets
- Footer columns
- Sidebar content
For a small number of widgets, recreate them manually under:
Appearance > WidgetsFor a larger website, the Widget Importer & Exporter plugin can move widgets and sidebar configuration between WordPress installations.
After importing, check for inactive widgets. WordPress may place a widget in the inactive area when the destination theme or plugin does not provide the same sidebar location.
Step 8: Transfer Logos, Images, Icons, and Fonts
A theme setting may store an attachment ID or file URL instead of the actual image. WordPress Customizer media settings can use attachment IDs or uploaded file URLs, depending on the type of control used.
You may need to transfer:
- Site logo
- Retina logo
- Mobile header logo
- Sticky navigation logo
- Favicon
- Background images
- Header images
- Footer images
- SVG icons
- Locally hosted fonts
- Images used inside GeneratePress Elements
Download only the required files from the source Media Library and upload them to the destination website.
After uploading them, reselect each image in the Customizer or GeneratePress setting.
Check these locations:
Appearance > Customize > Site Identity
Appearance > Customize > Layout
Appearance > Customize > Colors
Appearance > Customize > Typography
Appearance > Elements
Also inspect the child theme’s CSS and PHP files for hard-coded source-domain URLs.
Step 9: Transfer Reusable Blocks and Patterns
A GeneratePress Element may contain:
- WordPress blocks
- GenerateBlocks blocks
- Reusable blocks
- Synced patterns
- Unsynced patterns
- Block images
- Dynamic data
An Element export does not always guarantee that every separately stored reusable block or synced pattern will follow it.
Open each imported Element in the editor and check for:
- Missing blocks
- Invalid block messages
- Missing images
- Empty patterns
- Broken dynamic data
- Missing GenerateBlocks styles
When a reusable block is missing, convert it to regular blocks on the source website before exporting, or export the relevant pattern separately when supported.
Step 10: Check Plugin-Dependent Design Settings
Some parts of the website may look like theme features but are actually created by plugins.
Common examples include:
- GenerateBlocks containers and grids
- WooCommerce product layouts
- Mega menus
- Header and footer builders
- Custom fields
- Slider plugins
- Popup plugins
- Form plugins
- Breadcrumb plugins
- Icon libraries
- Custom post type plugins
- Code snippet plugins
Install the same required plugins on the destination website.
When a plugin stores its configuration separately, use that plugin’s own export and import feature.
Do not copy the entire WordPress options table from one website to another simply to move a few design settings. Doing so could overwrite the destination URL, active plugins, user roles, email settings, security configuration, and other unrelated data.
Step 11: Replace Old Website URLs
After importing the design, search for references to the source domain.
Check:
- Additional CSS
- Child-theme CSS
- Child-theme PHP
- GeneratePress Elements
- Custom HTML widgets
- Menu custom links
- Background images
- Font-face declarations
- JavaScript files
- Shortcodes
- Button URLs
An old URL may cause:
- Images to load from the source site
- CORS font errors
- Mixed-content warnings
- Broken links
- Missing background images
- Unexpected redirects
A typical local font declaration might look like this:
@font-face {
    font-family: "CustomFont";
    src: url("https://oldsite.com/wp-content/uploads/fonts/custom-font.woff2")
        format("woff2");
    font-weight: 400;
    font-style: normal;
    font-display: swap;
}
Update the URL after uploading the font to the destination website.
Step 12: Clear Generated CSS and Website Caches
After the migration, clear:
- WordPress caching plugin cache
- Server cache
- Object cache
- CDN cache
- Browser cache
- GenerateBlocks generated CSS
- Optimization plugin CSS and JavaScript cache
Open the WordPress Customizer, make a harmless change, publish it, and reverse the change when necessary. This can force the theme to regenerate its dynamic styles.
Also resave:
Settings > PermalinksYou do not need to change the permalink structure. Click Save Changes to refresh rewrite rules.
Step 13: Test the Migrated Theme
Test the destination website as both an administrator and a logged-out visitor.
Header and Navigation
Verify:
- Desktop header
- Tablet header
- Mobile header
- Logo
- Sticky navigation
- Dropdown menus
- Off-canvas menu
- Search icon
- Menu alignment
Design
Verify:
- Global colors
- Typography
- Font weights
- Font files
- Container width
- Spacing
- Sidebar width
- Buttons
- Forms
- Background images
- Responsive breakpoints
GeneratePress Elements
Verify:
- Header Elements
- Hook Elements
- Block Elements
- Layout Elements
- Site footer
- Content templates
- Display rules
- Exclusion rules
Technical Checks
Verify:
- Browser console errors
- Missing CSS files
- Missing JavaScript files
- Image 404 errors
- Font CORS errors
- Mixed-content warnings
- PHP errors
- Mobile responsiveness
- Caching behavior
Can a Migration Plugin Move Only the Theme?
A migration plugin can normally clone an entire WordPress website, including the database, uploads, plugins, themes, and content.
Selective theme-only migration is more complicated.
The plugin would need to transfer:
- The parent and child-theme files
- Specific database options
- Theme modifications
- GeneratePress settings
- GeneratePress Elements and their metadata
- Menu records
- Widget settings
- Selected media attachments
- Plugin settings required by the design
Most general migration plugins cannot automatically determine which database records belong exclusively to the theme.
A plugin that exports only the child-theme directory will not reproduce the complete website design.
For a clean destination website, manually transferring each design component is usually safer than importing the entire database.
The Most Reliable Migration Order
Use the following order to reduce problems:
- Create full backups.
- Install GeneratePress on the destination.
- Install GP Premium and required plugins.
- Enable the same GeneratePress modules.
- Upload and activate the child theme.
- Import GeneratePress settings.
- Copy Additional CSS.
- Import GeneratePress Elements.
- Transfer required media files.
- Recreate or import menus.
- Recreate or import widgets.
- Update old URLs.
- Verify Element display conditions.
- Clear all caches.
- Test desktop, tablet, and mobile layouts.
Common Problems After Migrating a GeneratePress Child Theme
The Child Theme Installs but Looks Different
The GeneratePress settings or Additional CSS were probably not imported.
Import the GP settings and manually copy the Additional CSS.
The Header or Footer Is Missing
The header or footer may have been created as a GeneratePress Element.
Export and import the Elements, then verify their display conditions.
The Logo Is Missing
The setting may reference an attachment ID that exists only on the source website.
Upload the logo to the destination Media Library and select it again.
The Menu Is Empty
Menus are database content and are not included in the child-theme ZIP.
Recreate or import the menu and assign it to the correct theme location.
Fonts Are Not Loading
Check for font files stored on the source domain. Upload them to the new website and update the @font-face URLs.
Also check the browser console for CORS or 404 errors.
Elements Import but Do Not Display
Review their location and exclusion rules. They may still reference pages, categories, products, or post IDs from the source website.
The Website Shows a Critical Error
The child theme may depend on a missing plugin or contain code incompatible with the destination’s PHP version.
Enable WordPress debugging and inspect:
/wp-content/debug.logFrequently Asked Questions
Can I export a GeneratePress child theme from the WordPress dashboard?
WordPress does not provide a built-in button for downloading the complete active theme. Use your hosting File Manager, FTP, SFTP, SSH, or a suitable theme-export tool to download the child-theme directory.
Does the GeneratePress export include Additional CSS?
No. Additional CSS from the WordPress Customizer must be copied separately.
Does the GeneratePress settings export include Elements?
No. Export GeneratePress Elements separately through Tools > Export.
Do I need to install the GeneratePress parent theme?
Yes. A GeneratePress child theme requires the GeneratePress parent theme to be installed.
Can I migrate the design without moving posts and pages?
Yes, but menus, display rules, content templates, and dynamic Elements may depend on existing posts, pages, categories, or products. These connections must be reviewed manually.
Will the logo transfer automatically?
Not always. Upload the logo to the destination website and reselect it when the imported setting still points to the source attachment or URL.
Should I use a full-site migration plugin instead?
Use a full-site migration when the destination should be an exact clone, including content and settings.
For a design-only migration, transferring the theme files and design-related components separately provides better control and reduces the risk of overwriting unrelated destination data.
Final Answer
You can migrate a GeneratePress child theme and make another website look nearly identical without transferring all website content.
However, there is no single “whole theme and nothing but the theme” ZIP file because important design settings are stored in several places.
For a complete migration, transfer:
- The GeneratePress parent theme
- The child-theme files
- GP Premium and required plugins
- GeneratePress settings
- Additional CSS
- GeneratePress Elements
- Menus
- Widgets
- Theme-related media
- Fonts and other assets
- Required plugin settings
A child-theme ZIP alone transfers only the files inside the child-theme directory. It does not transfer the complete WordPress design configuration.
