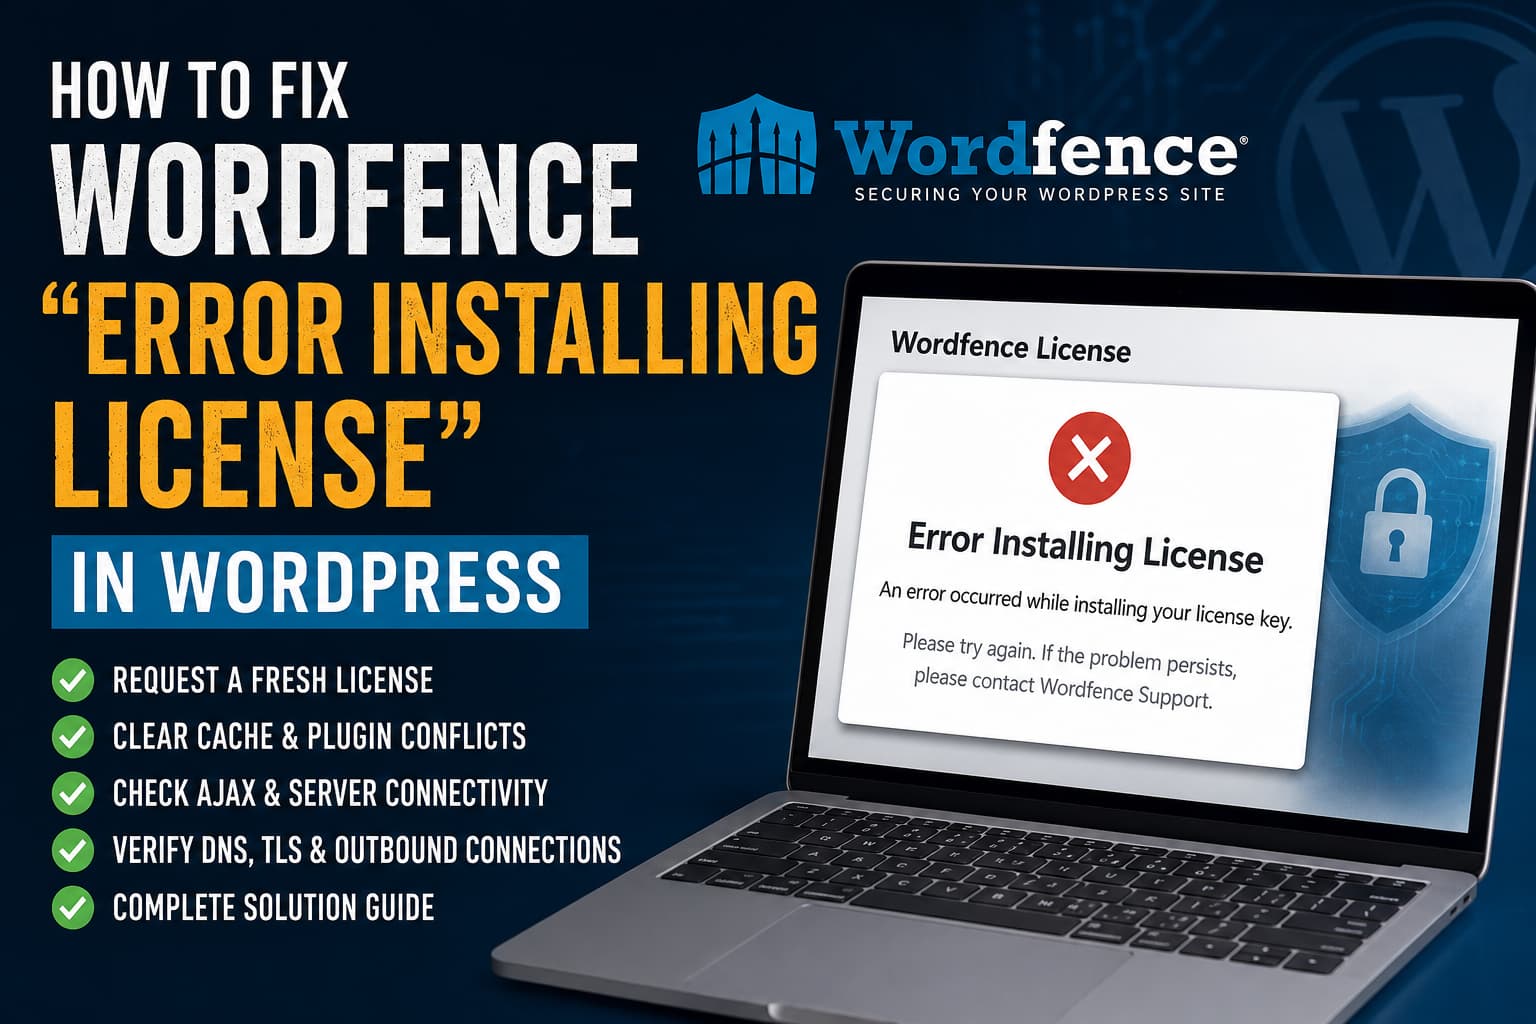
When installing Wordfence Security on a WordPress website, the license activation process may fail with the following message:
Error Installing License

An error occurred while installing your license key.

Please try again. If the problem persists, please contact Wordfence Support.
The error can occur with both newly requested free licenses and existing Premium licenses. Requesting the license repeatedly with different email addresses does not necessarily solve it because the email address is often not the actual cause.
The failure can instead be caused by an expired automatic installation link, an incomplete license key, a different browser session, a JavaScript conflict, cached administrator files, blocked WordPress AJAX requests, DNS problems, outdated SSL libraries, or restrictions on outbound server connections.
This guide explains how to identify the cause and complete the Wordfence license installation safely.
What Does “Error Installing License” Mean?
Every Wordfence installation requires a license key, including the free version. The key identifies the WordPress installation when it communicates with Wordfence’s servers. Separate WordPress installations generally require separate license keys.
The error does not automatically mean that:
- The license has been cancelled
- The email address is invalid
- Wordfence is incompatible with the website
- The website has been hacked
- A Premium license must be purchased
It only means that Wordfence could not finish validating and saving the supplied key.
The correct fix depends on whether the failure occurs in the browser, WordPress, the server, or Wordfence’s external infrastructure.
Solution 1: Check the Wordfence Service Status
Before changing plugins or server settings, verify that Wordfence is not experiencing an outage.
Wordfence license installation depends on external Wordfence services. If those services are unavailable, generating additional keys or reinstalling the plugin will not solve the problem.
At the time this guide was prepared on July 30, 2026, Wordfence reported all services as operational. However, Wordfence had a resolved service outage on July 24, 2026, and previous incidents have affected the infrastructure supporting noc1.wordfence.com.
When an outage is active:
- Do not repeatedly generate new keys.
- Do not reset a working Premium license.
- Do not delete Wordfence database tables.
- Wait until Wordfence confirms that the affected services are operational.
- Request a fresh key after the incident has been resolved.
When all Wordfence services are operational, continue with the following checks.
Solution 2: Request a Fresh License and Install It Promptly
The automatic installation link in a Wordfence Free license email is time-sensitive.
Wordfence states that the email installation link must be used within 24 hours. The automatic process may also fail when the link is opened in a different browser from the one used to request the license.
Use this process:
- Open the WordPress dashboard.
- Go to Plugins > Installed Plugins.
- Find Wordfence Security.
- Click Resume Installation or Get Your Wordfence License.
- Request a new free license.
- Keep the original browser window open.
- Open the license email in the same browser.
- Use the installation link within 24 hours.
If you previously requested the key yesterday or opened the email on another computer, browser, or mobile device, skip the automatic installation link and install the key manually.
Solution 3: Copy and Paste the Entire License Key Manually
Manual installation is more reliable when the automatic email link fails.
Open the Wordfence email and copy the complete license key. Make sure the copied text does not contain:
- A missing character at the beginning or end
- Extra quotation marks
- A line break in the middle
- An extra space
- Email formatting or surrounding text
- An older key from a previous email
Next:
- Return to Plugins > Installed Plugins.
- Select Install an existing license.
- Delete anything already present in the license field.
- Paste the complete key.
- Accept the applicable terms.
- Click Install License.
For an existing installation, the license field may also be available under:
Wordfence > Dashboard > Global Options > Wordfence LicenseWordfence specifically recommends clearing the field and copying the key again when the “Error Installing License” message appears. If the manually copied key still fails, request a new key rather than repeatedly using the same one.
Solution 4: Deactivate and Reactivate Wordfence
A temporary initialization or database-state problem can prevent the license modal from completing.
Try the following:
- Go to Plugins > Installed Plugins.
- Deactivate Wordfence Security.
- Wait several seconds.
- Reactivate Wordfence.
- Return to the Wordfence installation screen.
- Request or manually install a fresh license.
Wordfence support has recommended deactivating and reactivating the plugin as an early troubleshooting step for this exact licensing error.
Do not delete the plugin at this stage. Deactivating Wordfence normally preserves its settings and database records.
Solution 5: Clear Every Relevant Cache
A caching or optimization plugin can serve outdated JavaScript in the WordPress administrator area or interfere with the license verification request.
Clear the following where applicable:
- Browser cache
- WordPress page cache
- Hosting cache
- Redis or Memcached object cache
- Varnish cache
- Cloudflare cache
- JavaScript optimization cache
- CDN cache
After clearing the caches:
- Log out of WordPress.
- Close all WordPress administrator tabs.
- Open a private or incognito browser window.
- Log in again.
- Attempt the manual license installation.
Temporarily disable JavaScript optimization features such as:
- Combine JavaScript
- Delay JavaScript
- Defer all JavaScript
- Remove unused JavaScript
- Cloudflare Rocket Loader
- Administrator-page optimization
The WordPress administrator area, admin-ajax.php, and REST API requests should not be processed by public page-cache rules.
Wordfence support has reported that disabling caching plugins can resolve some license installation failures.
Solution 6: Test for a Plugin JavaScript Conflict
The license interface relies on browser-side code and WordPress requests. Another plugin can generate a JavaScript error that prevents the verification process from reaching Wordfence.
Create a backup before performing conflict testing on a live website.
Then:
- Deactivate every plugin except Wordfence.
- Clear all caches.
- Open a private browser window.
- Attempt to install the license again.
If the license installs successfully, reactivate the other plugins one at a time.
After each activation:
- Refresh the Wordfence page.
- Check the browser console.
- Confirm that the Wordfence dashboard still loads.
- Continue until the conflicting plugin is identified.
Wordfence support has repeatedly recommended testing license activation while Wordfence is the only active plugin because another plugin’s JavaScript can stop the verification request.
Check the Browser Console
Open the Wordfence license page and press:
F12Select the Console tab and attempt the installation again.
Look for errors containing terms such as:
Uncaught TypeError
admin-ajax.php
403 Forbidden
500 Internal Server Error
Failed to fetch
CORS
nonce
jQuery
JSON
Unexpected token
Next, open the Network tab and inspect the request that fails when you click Install License.
Common meanings include:
400 Bad Request: invalid request data or expired security token401 Unauthorized: authentication or session problem403 Forbidden: firewall, ModSecurity, CDN, or access restriction500 Internal Server Error: PHP or server-side fatal error502/504: proxy, server, or upstream connectivity problem
Save the response body and request URL before contacting the hosting provider or Wordfence support.
Solution 7: Confirm That WordPress AJAX Is Working
A blocked admin-ajax.php file can break Wordfence and many other WordPress administrator features.
Open the following address in your browser:
https://example.com/wp-admin/admin-ajax.phpReplace example.com with the actual website domain.
A normal unauthenticated response is usually:
0Wordfence’s troubleshooting documentation also uses this test to confirm that the WordPress AJAX handler is accessible. A 403, 500, redirect, homepage, security challenge, or custom error page indicates a problem that should be corrected.
If the request returns 403 Forbidden, check:
.htaccessrestrictions- Nginx location rules
- Hosting ModSecurity
- Cloudflare WAF rules
- Basic Authentication
- Password-protected staging environments
- IP allowlists
- Security headers
- Another security plugin
Do not publicly allow the complete /wp-admin/ directory when correcting this problem. Only remove the incorrect rule blocking legitimate WordPress AJAX processing.
Solution 8: Run Wordfence Diagnostics
Wordfence includes a diagnostics screen that can identify connectivity and server-configuration problems.
Go to:
Wordfence > Tools > DiagnosticsReview the Connectivity section and look for failed tests involving:
- Connecting to Wordfence servers
- DNS resolution
- SSL or TLS
- WordPress HTTP requests
- Loopback connections
- IPv4 or IPv6
- cURL
- OpenSSL
- PHP configuration
The Diagnostics page can also export or email a complete report for the hosting provider or Wordfence support.
A failed IPv6 test does not always prevent Wordfence from working. However, a failure to connect to Wordfence’s external servers is directly relevant to license activation.
Solution 9: Check DNS and Outbound HTTPS Connections
The WordPress server must be able to make outbound connections to Wordfence.
Wordfence documentation identifies noc1.wordfence.com as an important server used for cloud communication and states that the web server must be able to connect over ports 80 and 443.
Users with SSH access can test DNS resolution with one of these commands:
dig noc1.wordfence.comnslookup noc1.wordfence.comhost noc1.wordfence.comgetent hosts noc1.wordfence.comTest the HTTPS connection with:
curl -Iv --connect-timeout 15 https://noc1.wordfence.com/You can also test port 443 with:
nc -vz noc1.wordfence.com 443The server does not need to receive a normal webpage for the test to be useful. The main objective is to confirm that:
- DNS resolves the hostname
- A TCP connection can be established
- The TLS handshake completes
- The request is not blocked by the server firewall
If DNS resolution fails, check the server’s DNS resolver or contact the host.
If the connection times out, ask the host to check:
- Outbound firewall restrictions
- CSF or iptables rules
- Network-level security policies
- Container restrictions
- DNS filtering
- Proxy configuration
- Disabled external PHP requests
- Hosting account isolation rules
Do not permanently whitelist a fixed Wordfence IP address based on an old tutorial. Cloud infrastructure and IP addresses can change. Prefer hostname-based permission where the hosting platform supports it, or confirm current requirements with Wordfence.
Solution 10: Verify cURL, OpenSSL, and TLS Support
Wordfence requires the server to establish a secure connection with its cloud services.
Its current system requirements state that Wordfence cloud servers require modern SSL/TLS support and that connectivity can be checked under Wordfence > Tools > Diagnostics.
Check the following in WordPress Site Health or PHP information:
- cURL is enabled
- OpenSSL is enabled
- The CA certificate bundle is current
- The server clock is accurate
- TLS connections are supported
- PHP is not using an obsolete SSL library
wp_remote_get()andwp_remote_post()are not disabled
An incorrect system clock can make a valid SSL certificate appear expired or not yet valid.
Do not disable SSL verification permanently. Doing so weakens server-to-server certificate validation and hides the underlying CA certificate, TLS, or hosting problem.
If disabling SSL verification makes the connection work during a controlled diagnostic test, ask the host to update the server’s CA certificate bundle and SSL libraries. Re-enable verification afterward.
Solution 11: Check the WordPress and Site URLs
A domain mismatch can interfere with license registration.
Go to:
Settings > GeneralConfirm that these values are correct:
WordPress Address (URL)
Site Address (URL)
Check for differences involving:
http://versushttps://www.example.comversusexample.com- Live domain versus staging domain
- Temporary hosting URL
- Old domain after migration
- Different admin and frontend domains
- Internationalized domain or punycode
- Reverse-proxy URL rewriting
Wordfence’s license documentation notes that registration may detect different website and administrator URLs. This can happen with local sites, virtual machines, domain aliases, or internationalized domains.
Also inspect wp-config.php for hardcoded values:
define( 'WP_HOME', 'https://example.com' );
define( 'WP_SITEURL', 'https://example.com' );
Do not add these constants unless the website actually needs them. If they already exist, make sure they match the live canonical domain.
After correcting a URL mismatch:
- Clear all caches.
- Log in through the correct domain.
- Request a fresh Wordfence license.
- Install the new key manually.
Solution 12: Do Not Reuse a Free License Across Unrelated Sites
Each separate WordPress installation should have its own Wordfence license key.
Using the same free key on several unrelated installations can cause licensing and scanning problems. Wordfence permits a Premium license to be used on an associated staging or development site under specific conditions, but that does not make one key a general multi-site license.
For a free installation:
- Request a new free key for the affected domain.
- Do not copy a key from another website.
- Install the key directly on the intended domain.
For a Premium installation:
- Log in to the Wordfence account.
- Open the Licenses area.
- Confirm which domain is assigned to the key.
- Reset the key if it was moved from another production site.
- Install it on the correct domain.
Premium Care and Response licenses may have different reset restrictions, so check the license account or contact Wordfence before attempting to move them.
Solution 13: Check for a Cloned or Migrated Wordfence Installation
The error may appear after:
- Migrating to a new domain
- Cloning production to staging
- Restoring an old backup
- Changing from a temporary URL to the live domain
- Duplicating a website
- Moving between hosting providers
A cloned website may contain the original site’s Wordfence configuration, license information, firewall paths, and Wordfence Central connection data.
Under:
Wordfence > Tools > Diagnosticslook for Wordfence Central connection warnings.
If the cloned site reports that it is connected under another URL, use the available option to clear local Wordfence Central connection data. Wordfence recommends clearing this local data when a site connected to Central has been cloned for staging.
Do not clear the production website’s Central data unless you intend to disconnect it as well.
Solution 14: Ask the Hosting Provider to Check the Request
When the browser and plugin checks pass but Diagnostics reports a connectivity failure, send the following information to the hosting provider:
Wordfence cannot install or validate its license key.

Please check whether this hosting account can resolve and make outbound
HTTP/HTTPS connections to Wordfence services, including
noc1.wordfence.com over ports 80 and 443.

Please also check:

1. Outbound firewall or CSF rules
2. ModSecurity logs
3. DNS resolver errors
4. cURL and OpenSSL support
5. The server CA certificate bundle
6. TLS handshake failures
7. PHP restrictions affecting wp_remote_get() or wp_remote_post()
8. Proxy or container-level network restrictions
9. Server error logs at the exact time of the failed activation

Wordfence > Tools > Diagnostics reports the following failure:

[PASTE THE FAILED TEST HERE]
Include:
- The exact time of the failed request
- The server timezone
- A screenshot of the Wordfence error
- The Diagnostics result
- The HTTP status code from the browser Network panel
- Relevant PHP or web-server log entries
Do not send the complete license key in a public ticket or forum post.
Solution 15: Completely Reset Wordfence as a Last Resort
A reset should only be used after browser, plugin, AJAX, URL, and server-connectivity checks have been completed.
Deleting the Wordfence plugin through the Plugins page may not remove all of its database tables, firewall configuration, or stored options.
Wordfence provides an option named:
Delete Wordfence tables and data on deactivationA complete reset removes Wordfence configuration and recreates its database records. Wordfence also documents the Wordfence Assistant plugin as an alternative for removing Wordfence data when the normal interface cannot do so.
Before resetting:
- Create a full website backup.
- Export Wordfence options where possible.
- Record firewall configuration.
- Confirm that you have FTP or hosting file access.
- Confirm that you are not currently relying on Wordfence country blocking or login rules.
- Disable Extended Protection correctly before a server migration.
Then:
- Enable Delete Wordfence tables and data on deactivation.
- Save the settings.
- Deactivate Wordfence.
- Delete the plugin.
- Clear object and hosting caches.
- Install a fresh copy from the WordPress plugin directory.
- Activate it.
- Request a new license.
- Install the license manually.
- Reconfigure and optimize the firewall.
Do not manually delete random wf database tables or firewall files unless you understand the complete Wordfence removal process.
Recommended Troubleshooting Order
Use this order to avoid unnecessary changes:
- Check Wordfence service status.
- Request a fresh license.
- Install it manually in the same browser.
- Clear all caches and use a private window.
- Deactivate and reactivate Wordfence.
- Test with only Wordfence active.
- Check the browser Console and Network tabs.
- Test
wp-admin/admin-ajax.php. - Review Wordfence Diagnostics.
- Check DNS, cURL, TLS, and outbound port 443.
- Verify the WordPress URL and assigned domain.
- Check for cloned or migrated Wordfence data.
- Contact the hosting provider.
- Perform a complete Wordfence reset only as a last resort.
How to Confirm the Problem Is Fixed
After the license is accepted:
- Open Wordfence > Dashboard.
- Confirm that the installation-completion message has disappeared.
- Check that the correct Free or Premium license type is displayed.
- Open Wordfence > Tools > Diagnostics.
- Confirm that the Wordfence server connectivity test passes.
- Start a manual scan.
- Confirm that the scan begins without a license or API error.
- Reload the dashboard in a private browser window.
- Check that no new JavaScript or PHP errors are generated.
For Premium licenses, also confirm that the license account shows the correct production domain.
Frequently Asked Questions
Does Wordfence Free require a license?
Yes. Wordfence Free requires a free license key. A paid subscription is not required, but the free installation must still be registered and assigned a key.
Why does the Wordfence email installation link fail?
The automatic link can fail when it is more than 24 hours old or opened in a different browser from the one used to request the key. Copying and pasting a newly generated key manually is the recommended alternative.
Can I request a Wordfence license using another email?
Yes, but changing the email will not fix a plugin conflict, blocked request, DNS failure, or server connectivity problem. Repeatedly requesting keys from different addresses should not replace proper diagnostics.
Can I use one Wordfence license on multiple websites?
Each separate WordPress installation generally requires a unique key. Certain Premium staging and development environments can use the corresponding production license under Wordfence’s staging rules.
Will reinstalling Wordfence fix the license error?
It may fix corrupted plugin files, but a normal reinstall may preserve the existing Wordfence database configuration. A complete reset should only be attempted after checking browser conflicts, AJAX, URLs, and outbound connectivity.
Should I disable SSL verification?
Not permanently. A temporary test may help identify a CA certificate or TLS problem, but the correct solution is to repair the server’s SSL configuration and re-enable verification.
Why does the license work on one server but not another?
When the same activation process works on a different server, the affected server may have blocked outbound requests, DNS problems, outdated TLS libraries, an invalid CA certificate bundle, firewall restrictions, or a PHP HTTP API problem.
Final Solution
For most websites, the fastest successful fix is:
- Generate a new Wordfence key.
- Copy the entire key from the email.
- Paste it manually in the same browser.
- Clear all caches.
- Temporarily deactivate other plugins.
- Confirm that
admin-ajax.phpreturns0. - Check Wordfence > Tools > Diagnostics.
- Ask the host to allow outbound HTTPS connections to Wordfence services.
If manual installation fails even when Wordfence is the only active plugin and Diagnostics reports a connectivity error, the problem is probably at the hosting, DNS, TLS, or network level rather than with the email address used to request the license.
