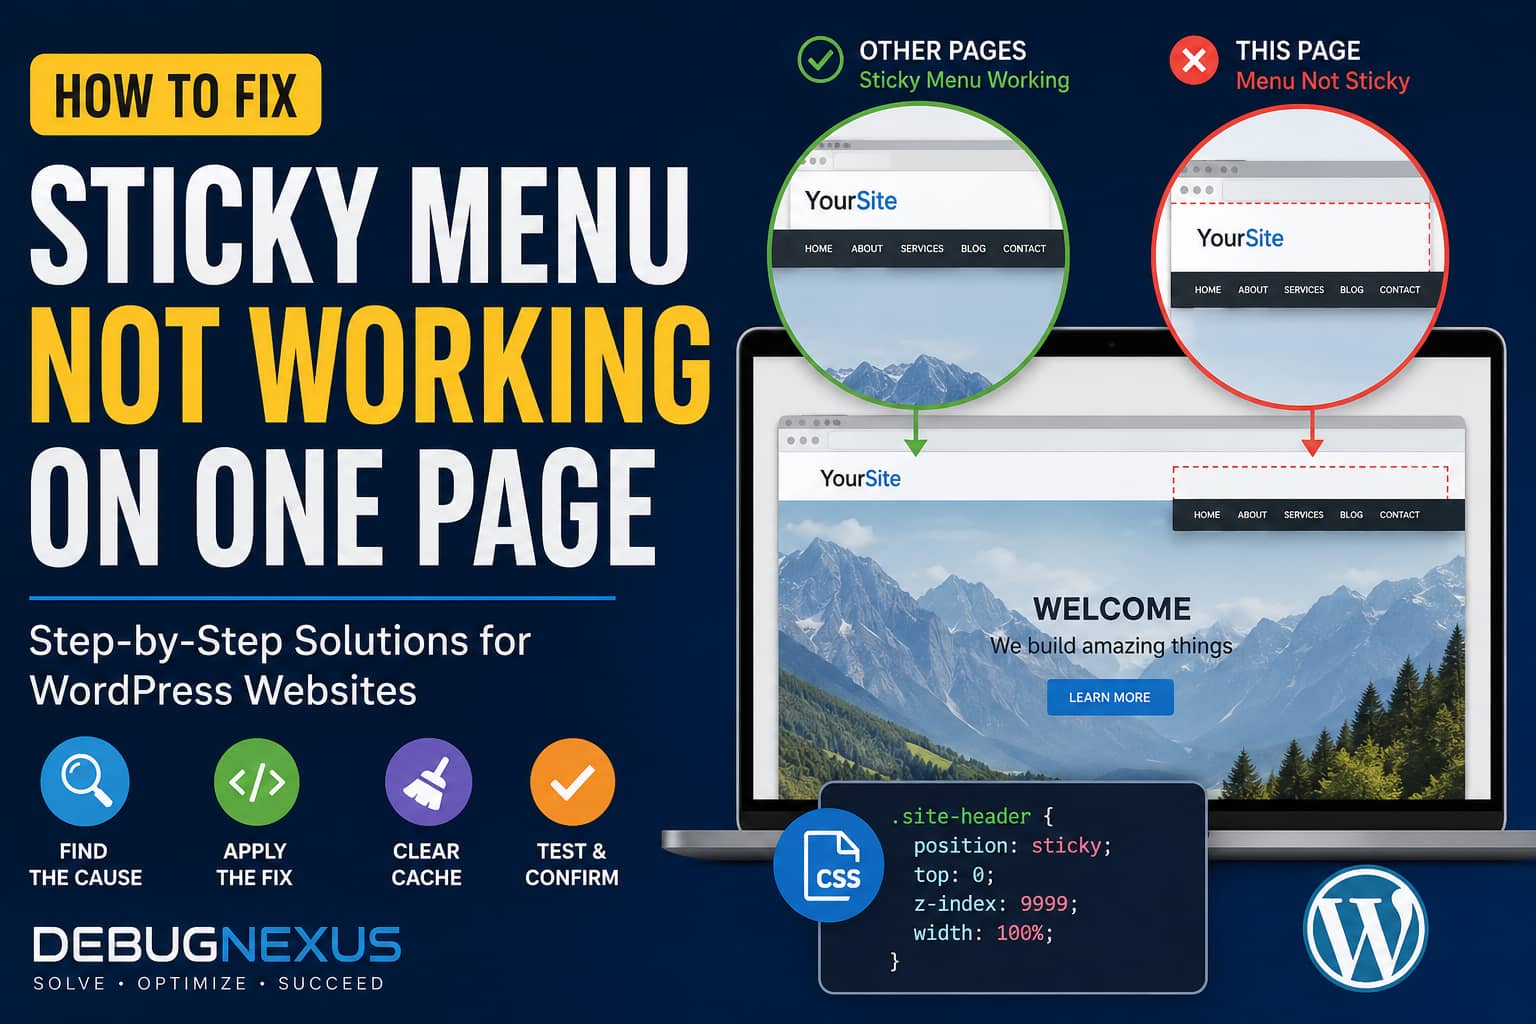
A sticky navigation menu should remain visible at the top of the browser while visitors scroll down a page. However, a common WordPress problem occurs when the sticky menu works correctly across most of the website but fails on one specific page.
You may also notice a strange space between the top of the browser and the website header on other pages. On the affected page, the space may disappear, but the menu no longer sticks.
These two symptoms are often connected.
The affected page may be using:
- A different page template
- A different header template
- A wrapper with an incompatible
overflowproperty - Page-specific CSS
- A separate Elementor or block-editor layout
- JavaScript that prevents the sticky plugin from initializing
- Different header spacing or offset settings
This guide explains how to identify the exact cause and fix it without blindly forcing the header into a fixed position.
Why Does the Sticky Menu Fail on Only One Page?
When a sticky menu fails across the entire website, the problem is usually related to the sticky-header configuration or the selector being used.
When it fails on only one page, the sticky feature itself is probably working. The affected page usually has a different structure or CSS rule.
The most common causes are:
- An ancestor container uses
overflow: hidden,overflow: auto, oroverflow: scroll. - The sticky element does not have a
topvalue. - The page uses a different header or page template.
- The plugin targets an element that does not exist on that page.
- A parent container uses
transform,filter, orcontain. - The page does not contain enough scrollable content.
- JavaScript optimization delays the sticky-header script.
- The header is being pushed down by an announcement bar or admin-bar offset.
- A page builder has added page-specific margin or padding.
A sticky element attaches itself to its nearest scrolling ancestor rather than automatically attaching itself to the browser viewport. An ancestor with an overflow rule can therefore change or prevent the expected sticky behavior. A sticky element also needs an offset such as top: 0 before it can stick to the top.
Step 1: Confirm Whether the Page Uses a Different Template
First, edit the affected page in WordPress.
Check the page template under:
Pages → Edit Page → Template
Depending on the theme, you may see options such as:
- Default Template
- Full Width
- Elementor Canvas
- Elementor Full Width
- Landing Page
- Blank Page
- No Header or Footer
A landing-page or canvas template may not load the normal global header structure. It may also load a visually similar header with different classes or IDs.
Switch the page temporarily to the same template used by a working page. Clear the cache and test it again.
WordPress normally adds the page ID and page-template information to the <body> element. This makes it possible to compare templates and apply a fix to only one page.
For example, the affected page may contain body classes similar to:
<body class="page page-id-123 page-template-full-width">You can then target that specific page using:
.page-id-123 .site-header {
    position: sticky;
    top: 0;
    z-index: 9999;
}
Replace 123 with the actual page ID.
Step 2: Check Whether the Sticky Selector Exists
Sticky-header plugins normally ask you to enter a CSS selector.
Common selectors include:
#masthead.site-header.main-header.elementor-location-headerheader.wp-block-template-partThe selector that works on most pages may not exist on the affected page.
Open the page in Chrome, right-click the header, and select Inspect. Find the outermost element that contains the entire header, including the logo and navigation.
Do not target only the menu links when the entire header should remain sticky.
For example, this may target only the navigation:
#main-navigationThis may be the correct selector for the complete header:
#mastheadOr, on an Elementor website:
.elementor-location-headerChoose only one matching outer-header selector. Do not apply sticky positioning to several nested header elements at the same time.
Step 3: Apply the Basic Sticky Header CSS
Once you have identified the correct selector, add the following CSS under:
Appearance → Customize → Additional CSS
For block themes, the Additional CSS section may be available through:
Appearance → Editor → Styles → Additional CSS
Use the selector that matches your website:
.site-header {
    position: sticky;
    top: 0;
    z-index: 9999;
    width: 100%;
}
For an Elementor header, it may be:
.elementor-location-header {
    position: sticky;
    top: 0;
    z-index: 9999;
    width: 100%;
}
For a theme using #masthead, use:
#masthead {
    position: sticky;
    top: 0;
    z-index: 9999;
    width: 100%;
}
Do not add all three versions unless all three are genuinely required. Making nested elements sticky can cause jumping, overlapping, and incorrect offsets.
Step 4: Check Parent Containers for Overflow
This is one of the most common reasons position: sticky fails on only one page.
A parent or ancestor container may have one of these properties:
overflow: hidden;overflow: auto;overflow: scroll;For example:
.page-wrapper {
    overflow: hidden;
}
Even when the overflow rule was added only to prevent horizontal scrolling, it can interfere with sticky positioning.
Inspect the header in Chrome DevTools and move upward through its parent elements. Check the Computed panel for:
overflowoverflow-xoverflow-y
You can also run this script in the browser console:
let element = document.querySelector('.site-header');

while (element) {
    const styles = getComputedStyle(element);

    if (
        ['hidden', 'auto', 'scroll', 'overlay'].includes(styles.overflow) ||
        ['hidden', 'auto', 'scroll', 'overlay'].includes(styles.overflowX) ||
        ['hidden', 'auto', 'scroll', 'overlay'].includes(styles.overflowY)
    ) {
        console.log('Possible sticky conflict:', element, {
            overflow: styles.overflow,
            overflowX: styles.overflowX,
            overflowY: styles.overflowY
        });
    }

    element = element.parentElement;
}
Replace .site-header with the correct header selector.
When you find the conflicting wrapper, change only that element:
.page-id-123 .page-wrapper {
    overflow: visible;
}
Do not globally force every website container to use overflow: visible. Off-canvas menus, sliders, popups, and horizontal layouts may depend on controlled overflow.
Target the exact wrapper and preferably limit the change to the affected page.
Step 5: Check for Transform, Filter, and Containment Rules
A page builder or animation plugin may apply properties such as:
transform: translate3d(0, 0, 0);filter: blur(0);contain: paint;These properties can create a new containing or stacking context and change how a sticky or fixed element behaves.
Check the header’s parent containers in DevTools.
A page-specific correction may look like:
.page-id-123 .page-wrapper {
    transform: none;
    filter: none;
    contain: none;
}
Only remove these properties after identifying the exact parent responsible for the conflict. Removing transforms from animated sections indiscriminately can break animations and visual effects.
Step 6: Fix the Gap Above the Header
A gap above the header is normally caused by one of the following:
- Top margin on the body or header
- Top padding on the page wrapper
- An empty announcement-bar container
- Sticky-plugin top-spacing settings
- A logged-in WordPress admin-bar offset
- A hidden element that still occupies space
- A page-builder spacer
- Theme CSS intended for a transparent header
Inspect the empty space with Chrome DevTools. Move your cursor over the surrounding elements until the highlighted margin or padding appears.
Look for rules such as:
margin-top: 30px;padding-top: 40px;top: 32px;A general header reset may be:
.site-header {
    margin-top: 0;
    top: 0;
}
When the gap comes from a page wrapper:
.site-content,
.site-wrapper,
.page-wrapper {
    padding-top: 0;
    margin-top: 0;
}
Use only the selector responsible for the gap. Avoid applying this entire rule globally without checking the layout first.
Check the WordPress Admin Bar
When you are logged into WordPress, the admin toolbar appears above the website. Some sticky-header tools automatically add an offset for it.
Test the page in:
- An incognito browser window
- A logged-out browser
- Another browser where you are not logged in
When the gap appears only while logged in, it is probably related to the admin toolbar and is not visible to normal visitors.
Do not remove the admin-bar offset globally unless the gap also appears for logged-out users.
Check Announcement Bars
A disabled announcement bar may be visually hidden while its wrapper still has a fixed height.
For example:
.announcement-bar {
    visibility: hidden;
    height: 40px;
}
Although the text is hidden, the 40-pixel container remains.
A better hidden state is:
.announcement-bar.is-hidden {
    display: none;
}
Alternatively, remove the empty announcement-bar section from the header template.
Step 7: Check the Page Height
A sticky element needs enough available scrolling distance.
If the affected page contains very little content, the browser may have no meaningful scroll range in which to activate the sticky state.
Temporarily add additional content or use this test CSS:
.page-id-123 main {
    min-height: 150vh;
}
If the header starts sticking after adding height, the original page was simply too short to demonstrate the sticky behavior.
Remove the test CSS afterward.
Step 8: Check Flexbox and Grid Layouts
Sticky elements sometimes behave unexpectedly when placed inside a flex or grid container, particularly when the element or its parent is stretched.
Inspect the header’s parent container for:
display: flex;or:
display: grid;Try adding:
.site-header {
    align-self: start;
}
When the direct parent is the issue:
.header-wrapper {
    align-items: flex-start;
}
Use this only when the header is genuinely inside a flex or grid layout.
Step 9: Fix a Sticky Header in a WordPress Block Theme
In a block theme, applying the sticky option to the wrong block can prevent it from working.
The sticky setting should normally be applied to a suitable top-level Group block that contains the header content. Deeply nested sticky blocks may attach themselves to a smaller container instead of the page viewport. Official WordPress guidance also notes that Group blocks may add their own padding, which can explain unexpected space around a sticky header.
Open:
Appearance → Editor → Design → Templates
Then:
- Open the template used by the affected page.
- Open List View.
- Find the Group block containing the header.
- Confirm it is not nested inside an overflow-controlled container.
- Select the appropriate top-level Group block.
- Open Position and choose Sticky.
- Check the Group block’s margin and padding.
- Save the template.
Also compare the affected page template with a template where the sticky header works.
Step 10: Check Elementor Sticky Settings
For Elementor websites:
- Edit the header template.
- Select the outer header container or section.
- Open Advanced → Motion Effects.
- Set Sticky to Top.
- Choose the required devices.
- Set the offset to
0. - Confirm that the outer header container is selected, not only the navigation widget.
- Update the template.
Next, open:
Elementor → Tools
Run:
- Regenerate CSS and Data
- Sync Library, when applicable
Then clear all website caches.
If the problem occurs only on one Elementor page, check whether that page uses:
- Elementor Canvas
- A separate Theme Builder condition
- A custom header assigned through display conditions
- Motion effects on the page’s main wrapper
- Entrance animations on the header or its parent
Step 11: Disable JavaScript Optimization Temporarily
Some sticky-header plugins use JavaScript to:
- Calculate header height
- Add a sticky class
- Detect scrolling
- Apply offsets
- Clone or resize the header
Delayed or combined JavaScript can prevent this initialization from running correctly.
Temporarily disable the following performance settings:
- Delay JavaScript execution
- Defer JavaScript
- Combine JavaScript
- Remove unused JavaScript
- Async JavaScript loading
- JavaScript minification
Test the affected page after disabling one setting at a time.
When the menu starts working, exclude the sticky-header script from that optimization feature.
Possible script keywords include:
sticky
sticky-header
stickymenu
elementor-sticky
frontend-modules
The exact exclusion depends on the theme, plugin, and performance tool.
After changing optimization settings, clear:
- WordPress cache
- Page cache
- Server cache
- CDN cache
- Browser cache
Step 12: Check for JavaScript Errors
Open Chrome DevTools and select the Console tab.
Reload the affected page and look for red errors such as:
Uncaught TypeErrorjQuery is not definedCannot read properties of nullFailed to load resourceA JavaScript error from another plugin can stop later scripts from running, including the sticky-header script.
Compare the console on:
- A page where the sticky menu works
- The page where the sticky menu fails
When an error appears only on the affected page, temporarily disable the plugin or widget responsible for that script and test again.
Step 13: Use a Page-Specific Fix
If the problem is limited to one page, apply the correction using its WordPress page ID.
Example:
.page-id-123 .site-header {
    position: sticky;
    top: 0;
    z-index: 9999;
    width: 100%;
}
When the affected page wrapper has an overflow conflict:
.page-id-123 .page-wrapper {
    overflow: visible;
}
When both corrections are necessary:
.page-id-123 .page-wrapper {
    overflow: visible;
    transform: none;
}

.page-id-123 .site-header {
    position: sticky;
    top: 0;
    z-index: 9999;
    width: 100%;
}
Replace:
123with the affected page ID.page-wrapperwith the conflicting parent selector.site-headerwith the real header selector
Page-specific body classes are generated by WordPress when the theme correctly uses body_class().
Step 14: Use Fixed Positioning Only as a Last Resort
You may find recommendations that use:
.site-header {
    position: fixed;
    top: 0;
    width: 100%;
}
This can keep the header visible, but fixed positioning removes the header from the normal document flow. The page content may move underneath it.
You would then need to add top spacing equal to the header height:
.site-header {
    position: fixed;
    top: 0;
    left: 0;
    right: 0;
    width: 100%;
    z-index: 9999;
}

.site-content {
    padding-top: 90px;
}
This is less flexible because the header height may change between desktop, tablet, and mobile.
Use position: sticky whenever the existing layout permits it.
Recommended Complete CSS Example
The following is a safe starting point for a website using .site-header and .page-wrapper:
/* Normal sticky header */
.site-header {
    position: sticky;
    top: 0;
    z-index: 9999;
    width: 100%;
    margin-top: 0;
}

/* Repair the conflicting wrapper on one page only */
.page-id-123 .page-wrapper {
    overflow: visible;
    transform: none;
}

/* Ensure the affected page header keeps the correct behavior */
.page-id-123 .site-header {
    position: sticky;
    top: 0;
    z-index: 9999;
}
Do not paste this code without replacing the selectors and page ID.
Final Troubleshooting Checklist
Before considering the issue resolved, confirm the following:
- The affected page uses the correct template.
- The global header is loaded on the affected page.
- The sticky selector exists on that page.
- The entire header is targeted rather than only the menu links.
- The sticky element includes
top: 0. - No parent container has conflicting overflow.
- No parent container has an unnecessary transform or containment rule.
- The page has enough content to scroll.
- Header margins and padding are correct.
- Empty announcement bars are removed.
- The issue is tested while logged out.
- JavaScript optimization has been tested.
- Browser console errors have been checked.
- Elementor CSS has been regenerated, when applicable.
- WordPress, server, CDN, and browser caches have been cleared.
- Desktop, tablet, and mobile views have been tested.
Frequently Asked Questions
Why does my sticky menu work on every page except one?
The affected page probably uses a different page template, header template, wrapper, body class, or optimization rule. Compare its HTML structure and computed CSS with a page where the sticky menu works.
Why does position: sticky not work in WordPress?
The most common reasons are a missing top value, an ancestor with controlled overflow, a short parent container, a different page template, or a JavaScript conflict.
Does overflow: hidden break a sticky header?
It can. A sticky element uses its nearest scrolling ancestor. When a parent creates a scrolling mechanism through its overflow settings, the header may stick relative to that parent instead of the browser viewport.
Why is there a gap above my WordPress header?
The gap may come from body margin, header margin, wrapper padding, a hidden announcement bar, an admin-toolbar offset, or a sticky-plugin top-spacing setting. Inspect the empty area with browser developer tools to locate the responsible element.
Should I use position: fixed instead of position: sticky?
Use fixed positioning only when sticky positioning cannot work with the existing layout. A fixed header is removed from the document flow and can cover page content unless additional spacing is added.
How do I target one WordPress page with CSS?
Find the page ID and use its generated body class:
.page-id-123 .site-header {
    position: sticky;
    top: 0;
}
Replace 123 with the actual WordPress page ID.
Conclusion
When a sticky menu works across a WordPress website but fails on one page, replacing the sticky-header plugin is rarely the first solution.
Start by comparing the affected page with a working page. Check the page template, header selector, parent overflow rules, top offset, JavaScript errors, and optimization settings.
In most cases, the problem can be fixed by targeting the correct outer header and removing an incompatible overflow or transform rule from a page-specific parent container.
Always back up the website before editing theme files or adding custom code, and test the final solution on desktop, tablet, mobile, and a logged-out browser session.
