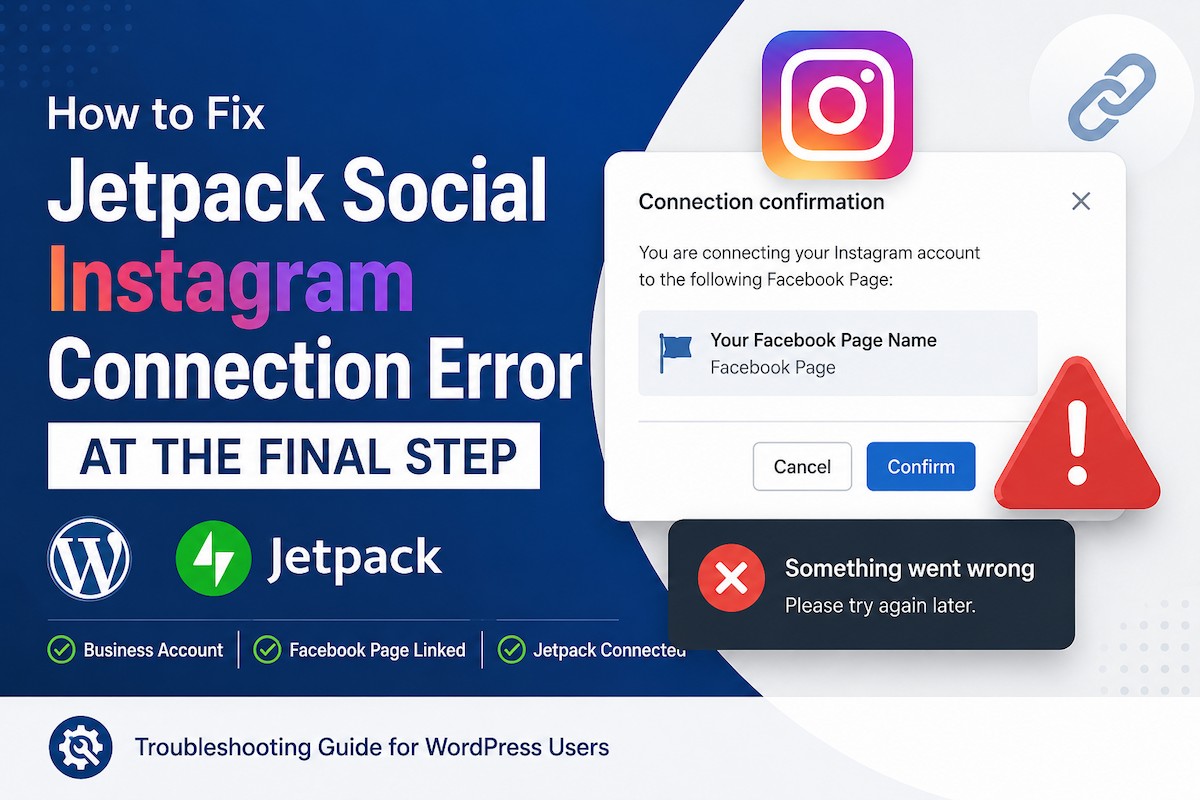
A Jetpack Social Instagram connection error can be especially frustrating when the setup works until the final confirmation step.
Jetpack may correctly detect your Facebook Page, display its name in the connection confirmation window, and then show a generic “Something went wrong” message immediately after you click Confirm.
This can happen even when:
- Instagram is configured as a Business account.
- The Instagram account is connected to the correct Facebook Page.
- The correct WordPress.com account is being used.
- The connection has been tested in multiple browsers.
- Browser cookies and cached data have already been cleared.
- Instagram and Facebook have been disconnected and linked again.
When Jetpack can identify the correct Facebook Page but fails during confirmation, the initial Meta login is probably working. The failure is more likely to involve an expired authorization, missing permission, an unhealthy Jetpack connection, or a server request being blocked during the final authorization step.
This guide explains how to diagnose and fix the problem properly.
What the Jetpack Instagram Connection Requires
Before troubleshooting, confirm that the basic account structure is correct.
Jetpack’s official documentation says that Instagram auto-sharing requires an Instagram Business account connected to a Facebook Page that you manage. The connection is then authorized from Jetpack → Social in the WordPress dashboard.
You should have:
- An Instagram Business account
- A Facebook Page linked to that Instagram account
- A Facebook profile with permission to manage the Page
- A working Jetpack connection to WordPress.com
- Administrator access to the WordPress website
- A publicly accessible website
- A valid SSL certificate
- Working WordPress REST API and XML-RPC access
If Jetpack displays the correct Page name before failing, the Instagram-to-Facebook link is probably being detected. However, that does not prove that every permission required to finalize the Jetpack connection is valid.
Is This a Known Jetpack Bug?
Jetpack currently documents a known Instagram issue involving previously scheduled posts not sharing after an Instagram account has been reconnected.
However, Jetpack’s official Instagram support page does not currently identify the generic final-confirmation failure as a confirmed widespread issue. This means you should troubleshoot permissions and the underlying Jetpack connection before assuming that the problem is an active platform-wide bug.
A temporary problem on Jetpack or Meta’s side is still possible, particularly when every connection test passes. However, several local account and server issues can produce the same generic error.
Solution 1: Check the Main Jetpack Connection
Jetpack Social depends on the main connection between your WordPress website and WordPress.com.
The Instagram authorization can fail even when other Jetpack screens appear to work normally.
Jetpack recommends checking the website with its Jetpack Debug Tool first. A healthy website should pass the connection tests and display an “Everything looks great” message.
If the debugger reports an error, reconnect the main Jetpack connection before trying Instagram again.
Reconnect Jetpack
In your WordPress dashboard:
- Go to Jetpack → My Jetpack.
- Scroll to the connection section.
- Click Site and account connected.
- Choose Disconnect Jetpack.
- Complete the disconnection process.
- Return to Jetpack → My Jetpack.
- Reconnect the site to the correct WordPress.com account.
- Run the Jetpack Debug Tool again.
- Retry the Instagram connection.
Be aware that disconnecting Jetpack can temporarily affect Jetpack Stats, backups, subscriptions, social connections, and other cloud-based features. Confirm that the site is reconnected successfully before proceeding.
Solution 2: Remove the Old Meta Authorization
One of the most likely causes is a stale or incomplete Meta authorization.
Disconnecting Instagram inside Jetpack does not always remove the authorization that already exists on Facebook. Jetpack’s official troubleshooting instructions recommend resetting the application authorization from the social network itself when an initial connection cannot be completed.
Follow this reset process.
Step 1: Disconnect Instagram From Jetpack
Go to:
Jetpack → SocialRemove any incomplete or existing Instagram connection.
Also check whether an old Facebook connection is using the same Page. Disconnect it temporarily when necessary.
Step 2: Remove the Existing WordPress or Jetpack Authorization From Facebook
Log in to the Facebook profile that manages the connected Page.
Open Facebook’s settings and look for a section named one of the following:
Business Integrations
Apps and Websites
Connected Experiences
The exact wording can vary as Meta changes its interface.
Look for an existing WordPress.com, Jetpack, or WordPress integration associated with social publishing. Remove that authorization.
Removing the authorization forces Meta to display the full permission request again during the next connection attempt.
Step 3: Sign Out of Extra Accounts
Sign out of:
- Other Facebook profiles
- Other Instagram accounts
- Unrelated WordPress.com accounts
Then sign back in using only:
- The Facebook profile that manages the Page
- The Instagram Business account linked to that Page
- The WordPress.com account connected to the website
Multiple active Meta or WordPress.com sessions can cause the connection process to use the wrong account or an old authorization token.
Step 4: Reconnect Through Jetpack
Return to:
Jetpack → Social → Connect an Account → Instagram BusinessContinue through the Meta authorization process.
When Meta asks which permissions Jetpack may use, allow the permissions required for Page and Instagram publishing. Avoid disabling individual permissions during the authorization process.
Confirm that the correct Facebook Page appears, then complete the connection.
Solution 3: Verify Facebook Page Management Access
Seeing a Page inside the confirmation window does not always mean the Facebook user has enough access to authorize publishing.
Confirm that the Facebook profile being used can actually manage the Page.
Check the Page access settings and verify that your profile has permission to:
- Manage the Page
- Access the connected Instagram account
- Create and publish Page content
- Manage linked business integrations
If another person or a Meta Business Portfolio owns the Page, ask its administrator to confirm your access.
It may also help to have the Page owner complete the initial Jetpack authorization. After the connection is created, Jetpack allows a social connection to be made available to other administrators, editors, and authors.
Solution 4: Reconnect Instagram to the Facebook Page Properly
A connection may appear under Facebook’s Linked Accounts area while still being incomplete inside Meta’s account system.
To rebuild it:
- Disconnect the Instagram account from the Facebook Page.
- Check Meta Accounts Center for any incomplete or duplicate connection.
- Confirm that the intended Instagram profile is still a Business account.
- Reconnect Instagram from the Facebook Page’s linked-profile settings.
- Complete any Instagram confirmation request.
- Verify that the same Page appears inside Instagram’s professional settings.
- Wait several minutes for Meta to synchronize the change.
- Retry the Jetpack connection.
Jetpack states that only one Facebook Page can be connected to the Instagram Business account for this setup. It also requires the account to be linked to a Page you manage.
Avoid repeatedly unlinking and reconnecting the accounts within a few minutes. Give Meta time to synchronize each change before testing again.
Solution 5: Test XML-RPC and the WordPress REST API
Jetpack communicates with the website through XML-RPC and the WordPress REST API.
Security plugins, hosting firewalls, Cloudflare rules, and custom server configurations can block these requests.
Test XML-RPC
Open the following address in your browser:
https://example.com/xmlrpc.phpReplace example.com with your domain.
The expected response is:
XML-RPC server accepts POST requests only.Jetpack says that this message should appear by itself. A 403, 404, server error, login screen, or security challenge can indicate that Jetpack communication is being blocked.
Do not enable unrestricted XML-RPC access merely because a security scan reports it as disabled. Configure your firewall so that legitimate Jetpack requests can reach it while abusive traffic remains protected.
Test the REST API
Open:
https://example.com/wp-json/You should receive a JSON response rather than a 403 error, login page, or Cloudflare challenge.
Jetpack specifically uses REST API namespaces including:
/jetpack/v4/
/wpcom/v2/
If your security system requires authentication for all REST API requests, allow these Jetpack namespaces. Jetpack’s connection documentation confirms that both XML-RPC and the REST API are required for its services.
Solution 6: Temporarily Disable Security Restrictions
A security layer can allow the Meta popup to load while blocking the final request sent back to the WordPress website.
Temporarily test without restrictions from:
- Wordfence
- Solid Security
- All-In-One Security
- Cloudflare Bot Fight Mode
- Cloudflare managed challenges
- Hosting Web Application Firewall rules
- REST API restriction plugins
- XML-RPC blocking plugins
- Login-hiding plugins
- Content Security Policy rules
Do not permanently disable website security.
Temporarily pause one layer, test the connection, and restore it immediately. When the connection succeeds, review that product’s logs to identify the exact blocked request and create a narrow exception.
Solution 7: Check for Plugin or Theme Conflicts
A plugin conflict can affect the authorization callback or Jetpack connection.
Jetpack recommends testing with other plugins disabled when connection problems continue. If Jetpack works with the other plugins disabled, reactivate them one by one until the conflict returns.
A safer production-site method is to use WordPress troubleshooting mode instead of disabling plugins for visitors.
Pay particular attention to:
- Security plugins
- Social sharing plugins
- Cookie and consent plugins
- Redirect plugins
- REST API restriction tools
- Caching and optimization plugins
- Plugins that change the WordPress login URL
- Plugins that modify HTTP security headers
Also test temporarily with a default WordPress theme when plugin testing does not reveal the cause.
Solution 8: Update Jetpack and WordPress
Before continuing with advanced troubleshooting, update:
- WordPress core
- Jetpack
- Jetpack Social, when installed separately
- The active theme
- Security and caching plugins
Create a full backup before updating a production website.
After updating:
- Clear the WordPress cache.
- Clear the server cache.
- Clear the CDN or Cloudflare cache.
- Sign out of WordPress.com and Meta.
- Sign back in.
- Retry the Instagram connection.
A cached administration script or outdated Jetpack component can interfere with the account authorization flow.
Solution 9: Check the Browser Console and Network Response
The generic “Something went wrong” notice does not reveal the actual failed request.
Open the browser’s developer tools before clicking Confirm.
In Chrome or Firefox:
- Press
F12. - Open the Network tab.
- Enable Preserve log.
- Retry the Instagram connection.
- Find the failed request shown in red.
- Check its response status and message.
Common results include:
401 Unauthorized
403 Forbidden
429 Too Many Requests
500 Internal Server Error
502 Bad Gateway
Possible interpretations:
- 401: Expired or invalid authorization
- 403: Permission, firewall, or security restriction
- 429: Too many attempts or temporary rate limiting
- 500: PHP, plugin, or server-side error
- 502/504: Hosting, proxy, or timeout problem
Do not publish access tokens, cookies, authorization codes, or complete request headers when asking for support.
Solution 10: Check the PHP Error Log
When the failed request returns an HTTP 500 response, inspect the site’s PHP error log.
Jetpack’s troubleshooting guide recommends asking the web host to review PHP logs when a 500 error occurs during a social connection attempt.
Record the exact time you clicked Confirm, then look for errors generated at that moment.
Possible causes include:
- A PHP fatal error
- Insufficient PHP memory
- A blocked outbound request
- A plugin conflict
- A database error
- A timeout
- An invalid Jetpack token
- A security rule terminating the callback
Share the relevant error with Jetpack support or your hosting provider, but remove passwords, tokens, and private account information first.
What to Do When Every Test Passes
When all of the following are true:
- The Instagram account is a Business account.
- It is linked to the correct Facebook Page.
- The Facebook profile can manage that Page.
- Jetpack Debug reports a healthy connection.
- XML-RPC and the REST API are working.
- Meta authorization has been completely removed and recreated.
- Security rules are not blocking the request.
- The error occurs in multiple browsers and networks.
The problem is more likely to be within the Jetpack-to-Meta authorization process rather than your browser.
Contact Jetpack support and provide:
- Your website URL
- Jetpack version
- Jetpack Social version
- WordPress version
- The exact time of the failed attempt
- The Facebook Page name
- Confirmation that Instagram is a Business account
- The failed request’s HTTP status code
- Any relevant PHP error-log entry
- A screenshot of the final error
- Confirmation that the Jetpack Debug Tool passes
Do not send passwords, Facebook cookies, access tokens, or private authorization URLs.
Frequently Asked Questions
Why does Jetpack find my Facebook Page but fail after I click Confirm?
Jetpack has probably completed the initial Facebook login and Page discovery. The final step may still fail because of an expired authorization, insufficient publishing permission, an unhealthy Jetpack connection, or a blocked callback request.
Does Jetpack Social work with a personal Instagram account?
Jetpack’s Instagram setup documentation requires an Instagram Business account connected to a Facebook Page. Converting the account to Business and linking it to a Page is the safest supported configuration.
Will clearing browser cookies fix the problem?
It can fix a stale login session, but it will not repair a broken Jetpack connection, missing Page permissions, a stale Meta application authorization, or a server-side firewall restriction.
Should I disconnect my entire Jetpack account?
Reconnect the main Jetpack account only after running the Jetpack Debug Tool. If the main connection is healthy, first reset the Instagram and Meta authorization because disconnecting Jetpack can temporarily affect other Jetpack features.
Can Cloudflare cause the Instagram connection to fail?
Yes. Cloudflare or another firewall can challenge or block Jetpack’s REST API, XML-RPC, or authorization callback requests. Review firewall events generated at the exact time the confirmation failed.
Final Recommendation
When Jetpack correctly displays the Facebook Page but fails immediately after clicking Confirm, do not keep repeating the same browser troubleshooting steps.
Use this order instead:
- Run the Jetpack Debug Tool.
- Confirm Facebook Page management access.
- Disconnect Instagram from Jetpack.
- Remove the existing WordPress or Jetpack authorization from Meta.
- Sign in using only the correct Facebook and WordPress.com accounts.
- Reauthorize all required permissions.
- Test XML-RPC and the REST API.
- Check security and Cloudflare logs.
- Inspect the failed network request and PHP error log.
- Contact Jetpack support when all local tests pass.
In many cases, completely removing the stale Meta authorization and creating a fresh connection resolves the Jetpack Social Instagram connection error. When it does not, the Network panel and server logs usually reveal whether the final confirmation is being rejected by Meta, Jetpack, WordPress, or the hosting environment.
