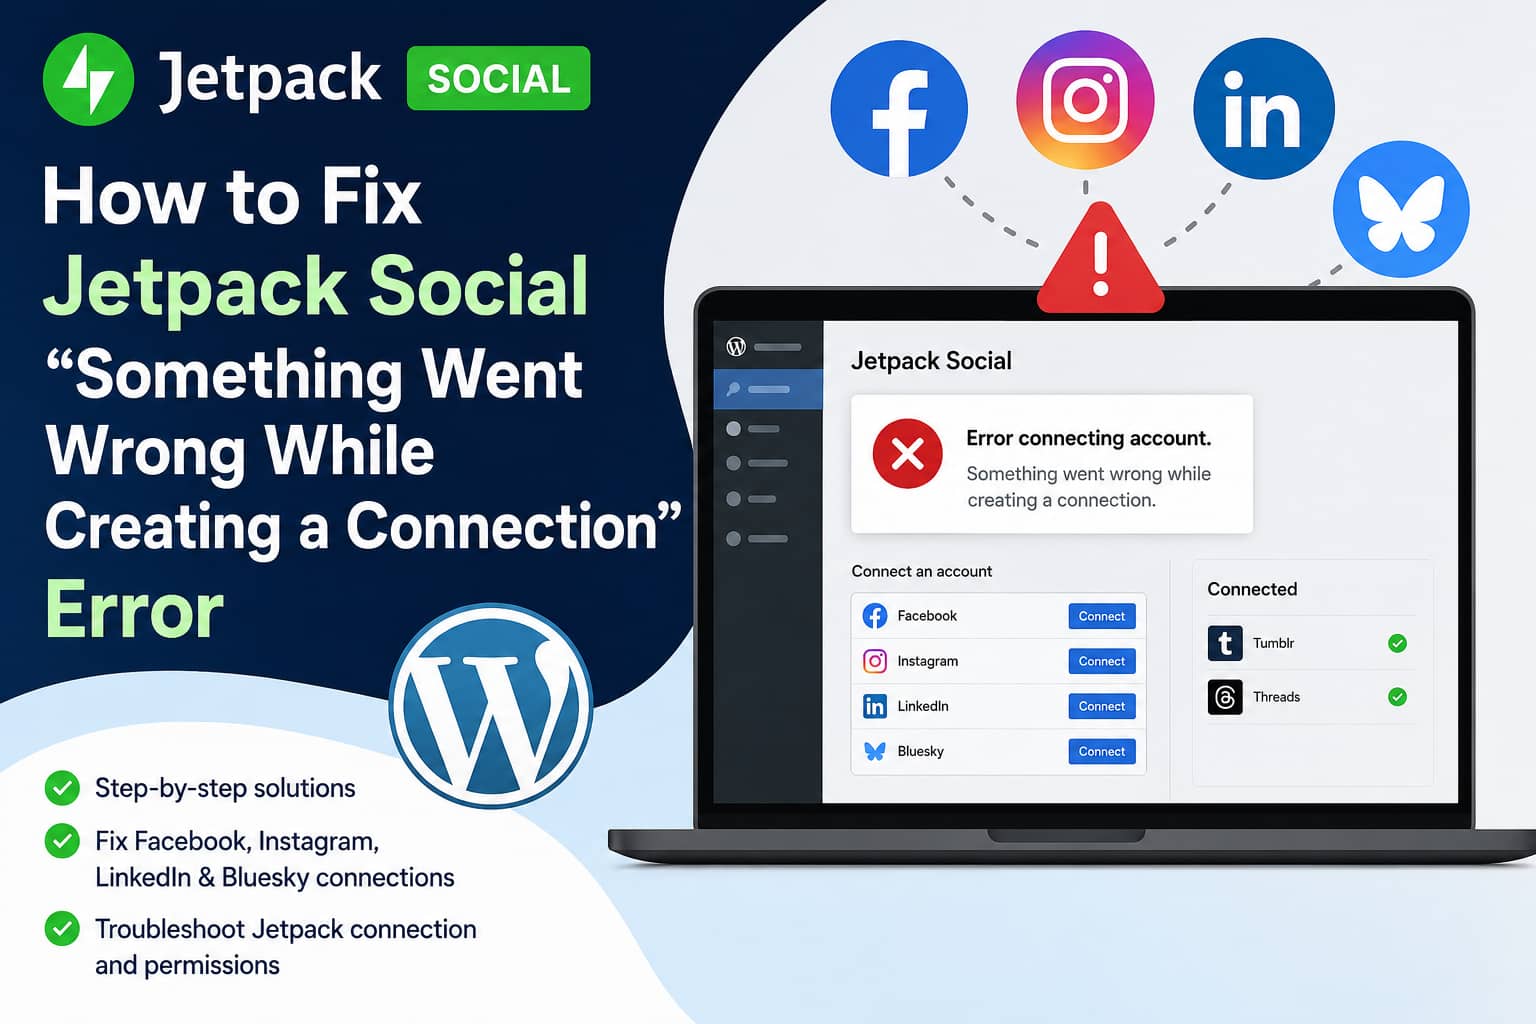
Are you unable to connect Facebook, Instagram, LinkedIn, or Bluesky to Jetpack Social?
When attempting to add an account through Jetpack → Social, you may receive this message:
Error connecting account. Something went wrong while creating a connection.
In some cases, previously connected Facebook and Instagram accounts suddenly stop sharing. After disconnecting them as a troubleshooting step, Jetpack refuses to reconnect them. Tumblr or Threads may still connect, while Facebook, Instagram, LinkedIn, and Bluesky continue to fail.
This usually does not mean that all of those social media accounts developed separate problems at the same time. When multiple networks fail together, the more likely causes are:
- A broken Jetpack-to-WordPress.com connection
- Expired or corrupted social authorization tokens
- Browser cookies or pop-up restrictions
- XML-RPC or REST API access being blocked
- A security plugin, firewall, CDN, or hosting rule
- Incorrect platform-specific account permissions
- A stale connection copied from a staging site
- A temporary problem with Jetpack or the social platform
This guide explains how to identify the cause and restore your Jetpack Social connections safely.
Quick solution
For most websites, the problem can be resolved using the following order:
- Update WordPress, Jetpack, and Jetpack Social.
- Clear your browser cookies and cache.
- Try the connection in an incognito window.
- Check the main Jetpack connection.
- Test your website’s
xmlrpc.phpfile. - Remove the old Jetpack authorization from the social network.
- Reconnect Jetpack to WordPress.com.
- Temporarily disable security, caching, and optimization plugins.
- Check your firewall and hosting logs.
- Reinstall Jetpack only if the earlier steps fail.
Do not repeatedly disconnect and reconnect every social network before checking the main Jetpack connection. If the underlying connection is broken, every new authorization attempt may fail.
Step 1: Update Jetpack and WordPress
Before changing account permissions, make sure the website is using supported and current versions.
In your WordPress dashboard, go to:
Dashboard → Updates
Update the following:
- WordPress core
- Jetpack
- Jetpack Social
- Your active theme
- Other installed plugins
Create a backup before performing updates on a production website.
After updating, clear all available caches:
- WordPress page cache
- Server cache
- Object cache
- CDN cache
- Browser cache
Then return to:
Jetpack → Social → Connect an account
Try connecting one account again.
Step 2: Clear browser cookies and allow pop-ups
Jetpack Social uses external authorization windows and redirects. Old login cookies, blocked pop-ups, browser extensions, and cross-site tracking restrictions can prevent the authorization process from returning successfully to WordPress.
Jetpack recommends clearing browser cookies and cache when a social connection cannot be created.
Try the following:
- Log out of WordPress.com and the affected social network.
- Clear cookies for your website, WordPress.com, and the social platform.
- Close the browser completely.
- Open an incognito or private window.
- Log in to the correct WordPress administrator account.
- Log in to the correct social media account in another tab.
- Allow pop-ups and redirects for your WordPress website.
- Temporarily disable ad blockers and privacy extensions.
- Attempt the Jetpack connection again.
You should also test in another browser. For example, try Firefox if the connection fails in Chrome.
If it works in another browser, the WordPress site itself is probably not the problem. The original browser likely contains a stale cookie, blocked redirect, or extension conflict.
Step 3: Check the main Jetpack connection
Jetpack Social depends on a healthy connection between your WordPress website and WordPress.com. Social sharing will not work properly when that connection is unhealthy.
Open:
Jetpack → My Jetpack
Scroll to the Connection section.
Confirm that:
- The website is connected to WordPress.com.
- Your WordPress user is connected.
- The correct WordPress.com account is being used.
- Jetpack is not displaying Safe Mode, Offline Mode, or an identity warning.
You should also run the official Jetpack Debug Tool. Enter your website address into the tool. A healthy connection should return:
Everything looks great!
Jetpack recommends using this tool as the first diagnostic step for connection failures.
Reconnect the main Jetpack connection
If the Debug Tool reports an error:
- Go to Jetpack → My Jetpack.
- Find the connection status at the bottom of the page.
- Click the connection status.
- Select Disconnect Jetpack.
- Complete the disconnection process.
- Return to Jetpack → My Jetpack.
- Click Supercharge my site.
- Approve the connection using the correct WordPress.com account.
- Run the Jetpack Debug Tool again.
Jetpack states that disconnecting and reconnecting often resolves connection and activation errors.
After the primary connection is healthy, return to Jetpack → Social and test one social network.
Step 4: Test the XML-RPC file
Jetpack uses WordPress XML-RPC to communicate with WordPress.com. Security plugins and hosting firewalls commonly block this file because it can be targeted by automated login attacks.
However, completely blocking XML-RPC also prevents Jetpack from working correctly.
Open the following address in your browser, replacing the domain with your own:
https://example.com/xmlrpc.phpA working WordPress XML-RPC endpoint should display exactly:
XML-RPC server accepts POST requests only.There should be no HTML, warning, blank line, security message, redirect, or additional output. Jetpack documents this as the expected response.
XML-RPC problems and their meanings
403 Forbidden
A security plugin, web application firewall, ModSecurity rule, CDN, or hosting firewall is probably blocking the request.
404 Not Found
The xmlrpc.php file may have been deleted, renamed, moved, or blocked at the server level.
500 Internal Server Error
A PHP error, plugin conflict, corrupted WordPress file, or server configuration problem may be involved.
A login page or maintenance page appears
The website may be password-protected, behind maintenance mode, or redirecting external requests.
Extra spaces, warnings, or PHP notices appear
A plugin, theme, or custom PHP snippet may be producing output before WordPress processes the XML-RPC request.
How to fix blocked XML-RPC
Check your security plugin for settings such as:
- Disable XML-RPC
- Block XML-RPC authentication
- Disable remote publishing
- Block external application access
- Protect
xmlrpc.php - Disable pingbacks and XML-RPC
Do not disable the entire security plugin permanently. First, temporarily allow XML-RPC and retest Jetpack.
Ask your host to confirm that requests to the following file are not being blocked:
/xmlrpc.phpIf the host uses ModSecurity, request that they check the logs for blocked Jetpack or WordPress.com requests.
Step 5: Check the WordPress REST API
Jetpack also relies on WordPress REST API endpoints. Plugins that require authentication for the entire REST API can break the Jetpack connection.
Jetpack specifically advises allowing these namespaces:
/jetpack/v4/
/wpcom/v2/
Security plugins should not require authentication for these Jetpack namespaces.
Open:
https://example.com/wp-json/You should receive WordPress REST API information, usually formatted as JSON.
A 401, 403, security challenge, CAPTCHA, or redirect may indicate that the REST API is blocked.
Temporarily disable settings such as:
- Disable REST API
- REST API authentication for visitors
- Bot protection for
/wp-json/ - Country blocking
- Aggressive rate limiting
- WordPress endpoint protection
After making changes, clear the server and CDN cache before testing again.
Step 6: Make sure the site is publicly accessible
Jetpack must be able to contact the website from an external server.
The connection can fail when the site is:
- Behind HTTP authentication
- Protected by a hosting password
- In maintenance mode
- Using a Coming Soon plugin
- Restricted by IP address
- Accessible only on a private network
- Redirecting visitors through a login page
- Protected by a CAPTCHA challenge
Jetpack’s official troubleshooting guidance confirms that maintenance and Coming Soon plugins can prevent communication with the website.
Temporarily turn off these restrictions and run the Jetpack Debug Tool again.
Step 7: Completely reset the Facebook authorization
Disconnecting Facebook only inside WordPress may not remove the old authorization stored by Meta.
To perform a complete reset:
- Log in to Facebook using the profile that manages the target page.
- Open Settings and privacy.
- Select Settings.
- Find Business Integrations under activity and permissions.
- Locate Jetpack Social.
- Remove the integration.
- Return to your WordPress dashboard.
- Open Jetpack → Social.
- Connect Facebook again.
- During authorization, review the permissions carefully.
- Allow Jetpack access to the page you want to use.
Jetpack recommends removing the existing integration from Facebook when permission changes or repeated authentication problems prevent reconnection.
Important Facebook requirements
Jetpack Social can publish to Facebook Pages, but not personal profiles or Facebook Groups.
The Facebook profile used for authorization must have administrative rights to the target Page. Jetpack also warns that page-only accounts and some Business Manager configurations cannot be used for this connection.
During reconnection, do not remove permissions that Jetpack requires to identify and publish to the Page.
Warning for multiple websites
Removing Jetpack Social from Facebook Business Integrations can disconnect other websites using the same Facebook profile.
Make a list of all connected websites before removing the integration. You may need to reconnect each site afterward.
Step 8: Verify the Instagram account configuration
Jetpack Social does not connect to a standard personal Instagram account.
The Instagram account must be:
- An Instagram Business account
- Linked to a Facebook Page
- Managed through a Facebook profile with the necessary permissions
Jetpack’s current instructions require an Instagram Business account linked to a Facebook Page.
Check the Instagram account type
Open Instagram and go to:
Settings → Account type and tools
Confirm that the account is a Business account.
If the account is set as a Creator account, switch it to Business before reconnecting.
Check the Facebook Page connection
Confirm that the Instagram Business account is connected to the correct Facebook Page.
Then verify that the Facebook profile being used during the Jetpack authorization manages that same Page.
If the wrong Facebook account appears automatically during authorization:
- Log out of Facebook in every browser tab.
- Clear Facebook and Instagram cookies.
- Remove Jetpack Social from Facebook Business Integrations.
- Open a private browser window.
- Log in to the correct Facebook account.
- Start the Instagram connection again from Jetpack.
Step 9: Reauthorize LinkedIn
LinkedIn connections use authorization tokens that can expire or become invalid.
Jetpack’s current documentation states that LinkedIn connections can remain active for up to 12 months when regularly used. Jetpack should display a reconnection notice when the token approaches expiration.
To reset LinkedIn:
- Log out of LinkedIn.
- Clear LinkedIn and WordPress.com cookies.
- Open a private browser window.
- Log in to the correct LinkedIn account.
- Go to Jetpack → Social.
- Connect LinkedIn again.
- Approve all required permissions.
If a LinkedIn company page does not appear immediately, wait at least five minutes and try again. Jetpack documents a known LinkedIn API permission-caching delay for company pages.
Step 10: Use a Bluesky app password
Bluesky should not be connected using your normal account password.
Jetpack requires:
- Your complete Bluesky handle
- A Bluesky app password
For a standard handle, use this format:
username.bsky.socialFor a custom-domain handle, enter the domain used as the handle.
Create a new app password from the app-password section of your Bluesky settings, then paste that app password into Jetpack Social.
If a previous Bluesky connection failed, delete the old app password and generate a new one before trying again.
Step 11: Check for plugin conflicts
A security, caching, optimization, login, or privacy plugin can interrupt Jetpack’s scripts or authorization callbacks.
Jetpack warns that JavaScript minification and combination can conflict with its functionality.
Create a backup or staging copy, then test as follows:
- Keep Jetpack and Jetpack Social active.
- Temporarily deactivate all other plugins.
- Clear every cache.
- Attempt to connect one social account.
- If the connection works, reactivate the other plugins one at a time.
- Test Jetpack Social after each activation.
Start with plugins that control:
- XML-RPC
- REST API access
- Firewalls
- Login security
- Two-factor authentication
- JavaScript optimization
- Script delaying
- Cookie consent
- Maintenance mode
- Redirects
- Cloudflare integration
- Bot protection
When the error returns after activating a particular plugin, review that plugin’s settings before replacing it.
Step 12: Temporarily disable JavaScript optimization
Jetpack’s Social screen and authorization process use JavaScript.
Temporarily disable:
- Combine JavaScript
- Minify JavaScript
- Delay all JavaScript
- Defer JavaScript
- Remove unused JavaScript
- Localize external scripts
- Cloudflare Rocket Loader
Clear all caches and try again.
If this resolves the problem, exclude Jetpack, WordPress.com, and social-connection scripts from optimization rather than leaving performance optimization completely disabled.
Step 13: Check Cloudflare, ModSecurity, and hosting firewalls
A connection may begin correctly but fail when the social platform redirects back to the website.
Ask your hosting provider to inspect:
- ModSecurity logs
- Web application firewall logs
- PHP error logs
- Reverse proxy logs
- Requests returning 401, 403, 429, 500, 502, or 503
- Requests involving
xmlrpc.php - Requests involving
/wp-json/jetpack/v4/ - Requests involving
/wp-json/wpcom/v2/
Jetpack recommends allowing access to xmlrpc.php and, when necessary, allowlisting Jetpack’s official IP ranges.
When contacting the host, provide the exact time at which you attempted the connection. This makes the blocked request easier to find.
Step 14: Check for staging or Safe Mode problems
The Jetpack connection can be damaged after:
- Cloning production to staging
- Migrating the site
- Changing the domain
- Switching from HTTP to HTTPS
- Restoring an old database
- Pushing a complete staging database to production
Jetpack may interpret the copied website as the original site and trigger Safe Mode or an identity conflict.
A staging site is not supposed to send data to WordPress.com in the same way as production. Jetpack’s staging documentation confirms that staging and Safe Mode protect the production connection from copied environments.
Check wp-config.php for development or staging settings that were accidentally copied to production.
For example:
define( 'WP_ENVIRONMENT_TYPE', 'staging' );On the live website, the environment should normally be production:
define( 'WP_ENVIRONMENT_TYPE', 'production' );Only edit wp-config.php when you understand the effect and have a current backup.
Step 15: Reinstall Jetpack
Use this only after checking XML-RPC, the REST API, firewalls, and social permissions.
To reinstall Jetpack:
- Go to Jetpack → My Jetpack.
- Disconnect the Jetpack connection.
- Go to Plugins → Installed Plugins.
- Deactivate Jetpack.
- Delete the Jetpack plugin.
- Go to Plugins → Add New.
- Search for Jetpack.
- Install and activate a fresh copy.
- Reconnect the correct WordPress.com account.
- Run the Jetpack Debug Tool.
- Connect one social network.
Jetpack states that stats and followers are not deleted when Jetpack is disconnected. However, statistics cannot be collected while the site remains disconnected, so a long disconnection may create a gap.
Previously scheduled posts may still fail
Restoring the social connection does not always repair posts that were already scheduled before the reconnection.
Jetpack documents this issue for Facebook, Instagram, and LinkedIn.
For an affected scheduled post:
- Change the post from Scheduled to Draft.
- Remove the affected social connection.
- Reconnect the social account.
- Schedule the post again.
This creates a new sharing instruction using the repaired social connection.
Most likely solution when Tumblr and Threads work
When Tumblr and Threads connect but Facebook, Instagram, LinkedIn, and Bluesky all return the same connection-creation error, use this order:
- Test from an incognito window.
- Allow pop-ups and cross-site redirects.
- Run the Jetpack Debug Tool.
- Verify the exact
xmlrpc.phpresponse. - Check REST API access.
- Reconnect the main Jetpack connection.
- Remove old authorizations from each social platform.
- Temporarily disable security and optimization plugins.
- Check firewall and hosting logs.
- Reinstall Jetpack if everything else passes.
The fact that some networks still connect shows that Jetpack Social is not completely unavailable. However, it does not prove that the primary Jetpack connection, callback process, or permissions are healthy.
Information to send Jetpack support
If the error continues, collect the following information before opening a support ticket:
- Website URL
- WordPress version
- Jetpack version
- Jetpack Social version
- PHP version
- Hosting provider
- Jetpack Debug Tool result
- Screenshot of the connection error
- Date and exact time of the failed attempt
- Browser name and version
- Whether incognito mode was tested
- Whether
xmlrpc.phpreturns the correct message - Whether
/wp-json/is publicly accessible - PHP error log entries
- Firewall or ModSecurity log entries
- Names of active security and caching plugins
- List of social platforms that work and fail
Do not send passwords, access tokens, Bluesky app passwords, or private authentication codes in a public support forum.
Frequently asked questions
Why did Jetpack Social suddenly disconnect Facebook and Instagram?
Social authorization tokens can expire or be revoked after permission changes, security checks, account changes, platform updates, or connection interruptions. Resetting the Meta Business Integration and reconnecting with the correct Page permissions often resolves the issue.
Can Jetpack Social publish to my personal Facebook profile?
No. Jetpack Social supports publishing to Facebook Pages, not personal profiles or Facebook Groups.
Can Jetpack Social connect to a personal Instagram account?
No. The account must be an Instagram Business account linked to a Facebook Page.
Why does Bluesky reject my password?
Jetpack Social requires a Bluesky app password rather than your normal Bluesky password. Generate a new app password from your Bluesky account settings.
Does disconnecting Jetpack delete my statistics?
Jetpack says that existing statistics and followers are retained. However, no new statistics are collected while the site is disconnected.
Does this error confirm a Jetpack outage?
No. “Something went wrong while creating a connection” is a general error. Browser sessions, account permissions, XML-RPC restrictions, REST API restrictions, firewalls, plugin conflicts, and external platform problems can all produce similar symptoms.
Final thoughts
The Jetpack Social connection error is often treated as a Facebook or Instagram problem, but the actual cause may be deeper inside the WordPress-to-WordPress.com connection.
Start by checking the Jetpack Debug Tool, xmlrpc.php, the WordPress REST API, and browser authorization flow. Once those are healthy, completely reset the affected social integrations and reconnect them using the correct account type and permissions.
In most cases, this structured approach resolves the problem without needing to replace Jetpack Social or rebuild the website.
