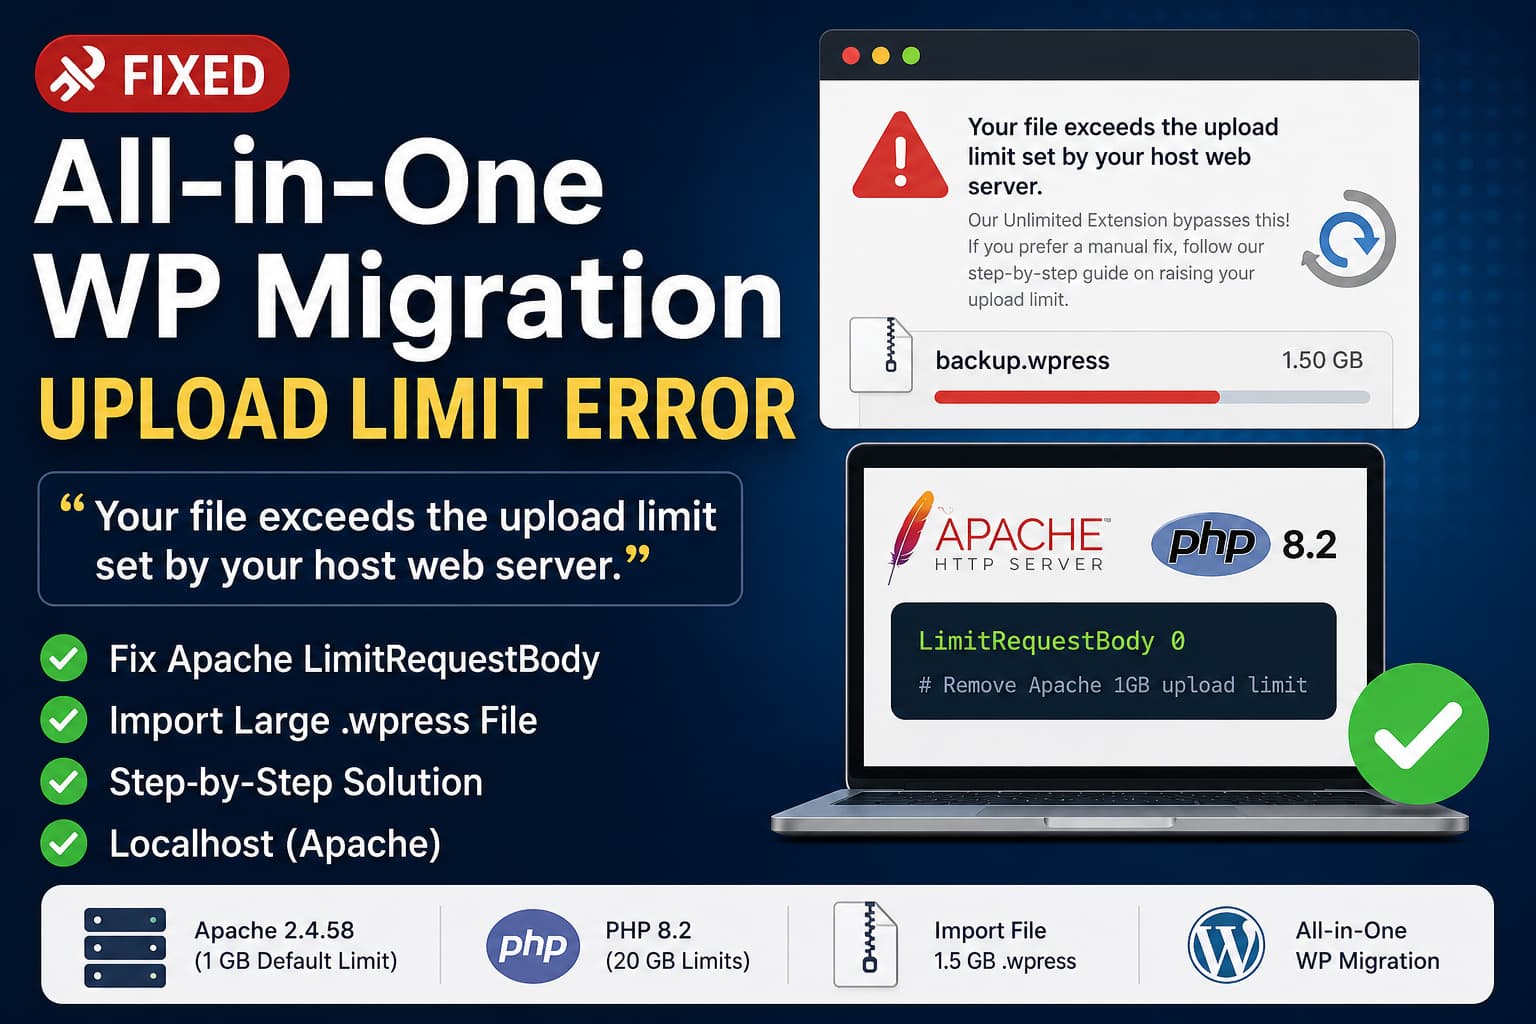
A common problem when importing a large WordPress backup through All-in-One WP Migration is the following message:
Your file exceeds the upload limit set by your host web server. Our Unlimited Extension bypasses this! If you prefer a manual fix, follow our step-by-step guide on raising your upload limit.
This message can be especially confusing on a local development system where the PHP upload limits have already been increased.
For example, consider a local WordPress installation with the following configuration:
Web server: Apache/2.4.58
PHP version: 8.2
PHP SAPI: apache2handler
PHP memory limit: 20048M
Upload max filesize: 20048M
PHP post max size: 20048M
PHP time limit: 3000 seconds
Maximum input time: 600 seconds
Import file size: 1.5 GB
At first glance, a 1.5 GB backup should upload successfully because PHP permits files of approximately 20 GB.
However, PHP is not the only component that can restrict an upload. In this case, the request is most likely being rejected by Apache before PHP, WordPress, or All-in-One WP Migration can process it.
The Most Likely Cause: Apache’s 1 GB Request Limit
Starting with Apache versions newer than 2.4.53, the default value of the LimitRequestBody directive changed from unlimited to:
LimitRequestBody 1073741824That number represents 1,073,741,824 bytes, or exactly 1 GiB.
A 1.5 GB .wpress backup exceeds this limit. Therefore, Apache can reject the upload even when these PHP values are much higher:
upload_max_filesize = 20048M
post_max_size = 20048M
memory_limit = 20048M
Apache documents that LimitRequestBody controls the maximum total size of an HTTP request body. When the request exceeds the configured value, Apache rejects it instead of sending it to the application. A value of 0 means unlimited.
This also explains why changing plugin versions does not resolve the problem. The request is being blocked at the web-server level.
Does All-in-One WP Migration Have Its Own Free-Version Upload Limit?
According to the plugin developer’s documentation, the upload limit displayed by All-in-One WP Migration comes from the server configuration. The plugin reads the available server limit and displays it on the Import page.
The free plugin does not impose a fixed import-size limit by itself. It can import a file of any size that the server permits.
The paid Unlimited Extension can bypass server upload restrictions by transferring the backup in smaller chunks, but purchasing the extension is not required when you control the local Apache configuration.
Solution 1: Change LimitRequestBody in the Apache Virtual Host
For an Ubuntu or Debian-based local server, updating the active Apache virtual host is the most reliable solution.
Step 1: Identify the active virtual host
Run:
sudo apachectl -SThis command displays the active virtual hosts and the configuration files controlling them.
The relevant file may be:
/etc/apache2/sites-available/000-default.confHowever, a custom local domain may use a different file, such as:
/etc/apache2/sites-available/mysite.local.confEdit the configuration file that actually controls the affected WordPress website.
Step 2: Open the virtual host configuration
For the default Apache site, run:
sudo nano /etc/apache2/sites-available/000-default.confFind the <VirtualHost> block and the <Directory> block associated with the WordPress document root.
For example:
<VirtualHost *:80>
    ServerName localhost
    DocumentRoot /var/www/html

    <Directory /var/www/html>
        Options FollowSymLinks
        AllowOverride All
        Require all granted

        LimitRequestBody 0
    </Directory>
</VirtualHost>
The important line is:
LimitRequestBody 0A value of 0 disables Apache’s request-body size limit.
Do not create a second <Directory> block unnecessarily. When the configuration already contains one for the WordPress directory, add only the LimitRequestBody directive to the existing block.
Replace /var/www/html with the actual document-root path of the local website.
Step 3: Update the HTTPS virtual host when necessary
When the local website is accessed over HTTPS, the import request may be handled by a separate <VirtualHost *:443> configuration.
Add the same directive to the HTTPS virtual host:
<VirtualHost *:443>
    ServerName example.local
    DocumentRoot /var/www/example

    <Directory /var/www/example>
        AllowOverride All
        Require all granted
        LimitRequestBody 0
    </Directory>

    SSLEngine on
</VirtualHost>
Changing only the port 80 configuration will not help when WordPress redirects the dashboard to HTTPS.
Step 4: Test the Apache configuration
Before reloading Apache, run:
sudo apachectl configtestThe expected result is:
Syntax OKIf an error is displayed, correct it before restarting or reloading Apache.
Step 5: Reload Apache
Run:
sudo systemctl reload apache2If reloading does not apply the change, restart Apache:
sudo systemctl restart apache2On systems that do not use systemd, use:
sudo service apache2 restartReturn to:
WordPress Dashboard → All-in-One WP Migration → ImportThe 1.5 GB .wpress file should now pass Apache’s request-size check.
Use a Finite Limit Instead of Unlimited
Because this is a local development system, using LimitRequestBody 0 is generally reasonable.
On a publicly accessible server, it is safer to allow only the amount required for the migration.
For a 1.5 GB backup, the following value permits requests up to just under 2 GiB:
LimitRequestBody 2147483647This is enough for a 1.5 GB .wpress file, including normal multipart request overhead.
After completing the migration, restore a smaller limit or remove the custom directive so the server returns to its normal security configuration.
Solution 2: Add LimitRequestBody to .htaccess
Apache permits LimitRequestBody in directory and .htaccess contexts when the server’s override configuration allows it.
Open the .htaccess file in the WordPress root directory and add this line before the standard WordPress rules:
LimitRequestBody 0

# BEGIN WordPress
<IfModule mod_rewrite.c>
RewriteEngine On
RewriteBase /
RewriteRule ^index\.php$ - [L]
RewriteCond %{REQUEST_FILENAME} !-f
RewriteCond %{REQUEST_FILENAME} !-d
RewriteRule . /index.php [L]
</IfModule>
# END WordPress
Save the file and try the import again.
What if .htaccess causes a 500 error?
A 500 Internal Server Error usually means the server does not permit that directive inside .htaccess.
Remove the new line immediately and use the virtual-host method instead.
You can inspect the Apache error log with:
sudo tail -n 50 /var/log/apache2/error.logThe virtual-host method is preferable because it avoids relying on per-directory override permissions.
Check for Another LimitRequestBody Directive
A different Apache configuration file may already contain an explicit request limit.
Search the entire Apache configuration directory:
sudo grep -Rni --include="*.conf" "LimitRequestBody" /etc/apache2/Example result:
/etc/apache2/sites-enabled/example.conf:18:LimitRequestBody 1073741824Change or remove the conflicting directive and reload Apache.
Remember that an empty search result does not prove that requests are unlimited. Apache 2.4.54 and newer can apply the 1 GiB default even when LimitRequestBody does not appear anywhere in the configuration.
Confirm That the Correct PHP Configuration Is Being Edited
The reported PHP SAPI is:
apache2handlerThis means Apache is using the PHP configuration for its Apache module. On Ubuntu, the relevant file is normally:
/etc/php/8.2/apache2/php.iniIt is not normally:
/etc/php/8.2/cli/php.iniThe CLI configuration is used by terminal commands. Editing it may change the values shown by:
php -ibut it may not change the values used by WordPress in the browser.
After changing the Apache PHP configuration, restart Apache:
sudo systemctl restart apache2Recommended PHP Settings for a 1.5 GB Import
The reported PHP settings are already high enough, so they are not the primary cause of this particular problem.
For another system with lower limits, the relevant values can be adjusted in:
/etc/php/8.2/apache2/php.iniExample:
upload_max_filesize = 2048M
post_max_size = 2200M
max_execution_time = 3600
max_input_time = 3600
post_max_size should be larger than upload_max_filesize because the total POST request contains both the uploaded file and additional form data. PHP’s documentation specifically states that post_max_size must be larger than upload_max_filesize for large uploads.
Do not set extremely high values without considering the computer’s available memory, disk space, and security requirements.
The existing values of 20048M are much larger than necessary for a 1.5 GB import. They do not need to be increased further.
Verify the Effective PHP Values
You can verify the values used by WordPress from:
Tools → Site Health → Info → ServerAlternatively, create a temporary file named phpinfo.php in the document root:
<?php
phpinfo();
Open it in the browser and check:
Loaded Configuration File
upload_max_filesize
post_max_size
memory_limit
max_execution_time
max_input_time
upload_tmp_dir
Delete phpinfo.php immediately after checking it because it exposes detailed server information.
Check the PHP Temporary Upload Directory
Large browser uploads are normally written to a temporary location before WordPress receives them.
Check the configured temporary directory:
php -i | grep upload_tmp_dirBecause the CLI and Apache SAPIs may use different configurations, also verify the browser-side value through Site Health or phpinfo().
If upload_tmp_dir is empty, PHP normally uses the operating system’s default temporary directory, commonly /tmp.
Check its available space:
df -h /tmpAlso check the WordPress partition:
df -h /var/wwwA 1.5 GB archive requires enough space for the original temporary upload, plugin working files, extracted website files, database processing, and the completed WordPress installation.
As a practical precaution, keep several times the archive size available during the migration. ServMask also notes that the server must have enough storage to hold the backup and recreate the website.
Check WordPress Directory Permissions
All-in-One WP Migration must be able to write to locations inside wp-content.
Check the ownership and permissions:
ls -ld /var/www/html/wp-content
ls -ld /var/www/html/wp-content/ai1wm-backups
For a standard Ubuntu Apache installation, the web-server user is commonly www-data.
Example:
sudo chown -R www-data:www-data /var/www/html/wp-content
sudo find /var/www/html/wp-content -type d -exec chmod 755 {} \;
sudo find /var/www/html/wp-content -type f -exec chmod 644 {} \;
Replace /var/www/html with the real WordPress path.
Do not run chmod -R 777. World-writable permissions are unnecessary and create a security risk.
Why Changing wp-config.php May Not Fix This Error
Some tutorials recommend adding the following code to wp-config.php:
@ini_set('upload_max_filesize', '2048M');
@ini_set('post_max_size', '2200M');
@ini_set('memory_limit', '3072M');
@ini_set('max_execution_time', '3600');
This can sometimes change PHP values that are configurable at runtime.
However, it cannot override Apache’s LimitRequestBody. Apache evaluates the request size before wp-config.php is loaded.
Therefore, increasing WordPress or PHP limits will not solve an Apache-level 1 GiB restriction.
Why .user.ini Is Not the Best Method Here
A .user.ini file is commonly used with CGI or FastCGI PHP configurations, including many Nginx, LiteSpeed, and PHP-FPM setups.
The reported server uses:
PHP SAPI: apache2handlerFor this configuration, edit the Apache PHP configuration or use permitted php_value directives in .htaccess.
More importantly, .user.ini cannot override Apache’s LimitRequestBody because that is an Apache directive, not a PHP directive.
How to Identify the Layer Blocking the Import
Different symptoms can help identify the responsible component.
The plugin reports an upload limit below the PHP value
Check:
LimitRequestBodyAlso check reverse proxies, web application firewalls, CDN limits, and security modules.
The browser receives a 413 error
A response such as:
413 Request Entity Too Largestrongly indicates that the request was rejected by Apache, Nginx, a proxy, or another server layer before WordPress processed it.
The upload fails immediately
Check:
upload_max_filesize
post_max_size
upload_tmp_dir
Also check Apache’s request-body limit and the server error log.
The upload reaches 100% but the import stops
Check:
Available disk space
PHP execution time
File permissions
Apache error log
PHP error log
WordPress debug log
Backup integrity
PHP documents that max_input_time includes the time PHP is allowed to receive file-upload data. Slow or very large uploads can therefore exceed a low input-time value.
Can You Copy the .wpress File Into ai1wm-backups?
All-in-One WP Migration stores backups in:
wp-content/ai1wm-backups/You can copy a .wpress file directly into this directory, which avoids uploading it through the browser. The file may then appear on the plugin’s Backups page.
However, restoring a backup directly from the Backups page may require restore functionality provided by a commercial extension, depending on the installed plugin version and license.
For that reason, copying the file into ai1wm-backups is not a reliable free workaround for everyone. Fixing Apache’s request limit allows the normal Import From File process to work as intended.
Should You Install the Unlimited Extension?
The Unlimited Extension is useful when:
- You do not control the server configuration.
- The hosting provider refuses to raise the limit.
- A proxy, CDN, firewall, or security layer imposes another limit.
- You regularly migrate very large websites.
- You prefer a chunked import process without manually editing server files.
For a local Apache environment under your control, changing LimitRequestBody is normally the more direct solution.
Complete Recommended Fix for This Configuration
For the reported environment:
Apache: 2.4.58
PHP: 8.2
PHP SAPI: apache2handler
PHP upload limit: 20048M
PHP post limit: 20048M
Import file: 1.5 GB
perform these steps:
- Run
sudo apachectl -Sand identify the active virtual host. - Add
LimitRequestBody 0to the WordPress<Directory>block. - Add it to the HTTPS virtual host as well when the dashboard uses HTTPS.
- Run
sudo apachectl configtest. - Reload or restart Apache.
- Confirm that the PHP temporary directory and WordPress disk have enough free space.
- Retry the import through All-in-One WP Migration.
- After the migration, restore a finite request limit if the server is publicly accessible.
Example final configuration:
<VirtualHost *:80>
    ServerName localhost
    DocumentRoot /var/www/html

    <Directory /var/www/html>
        Options FollowSymLinks
        AllowOverride All
        Require all granted
        LimitRequestBody 0
    </Directory>
</VirtualHost>
Then run:
sudo apachectl configtest
sudo systemctl restart apache2
Final Diagnosis
The 1.5 GB import is not being blocked by the reported PHP settings. Both upload_max_filesize and post_max_size are approximately 20 GB.
The likely blocker is Apache 2.4.58, whose default request-body limit is 1 GiB. The backup exceeds that limit, so Apache rejects it before WordPress receives it.
Adding the following directive to the active virtual host or an allowed .htaccess file resolves the underlying server restriction:
LimitRequestBody 0There is no need to keep testing older versions of All-in-One WP Migration or increase the PHP upload limit beyond 20 GB. The correct fix is to update Apache’s request-body configuration.
Frequently Asked Questions
Why does All-in-One WP Migration show an upload-limit error when PHP allows 20 GB?
Because PHP is only one layer of the upload process. Apache can reject the HTTP request before PHP or WordPress processes it. Apache 2.4.54 and newer use a default request-body limit of 1 GiB.
What value should I use for LimitRequestBody?
Use 0 for unlimited requests on a private local development system:
LimitRequestBody 0For a public server and a 1.5 GB backup, you can temporarily use:
LimitRequestBody 2147483647Remove or reduce the custom value after completing the migration.
Where should I add LimitRequestBody?
The preferred location is the <Directory> block inside the active Apache virtual host. It can also work in .htaccess when the server permits the directive there.
Do I need the All-in-One WP Migration Unlimited Extension?
Not when you control the Apache server and can increase its request-body limit. The extension is useful when hosting restrictions cannot be changed.
Why did changing upload_max_filesize not solve the problem?
upload_max_filesize controls PHP uploads. It does not override Apache’s LimitRequestBody. When Apache rejects the request first, PHP never receives the file.
