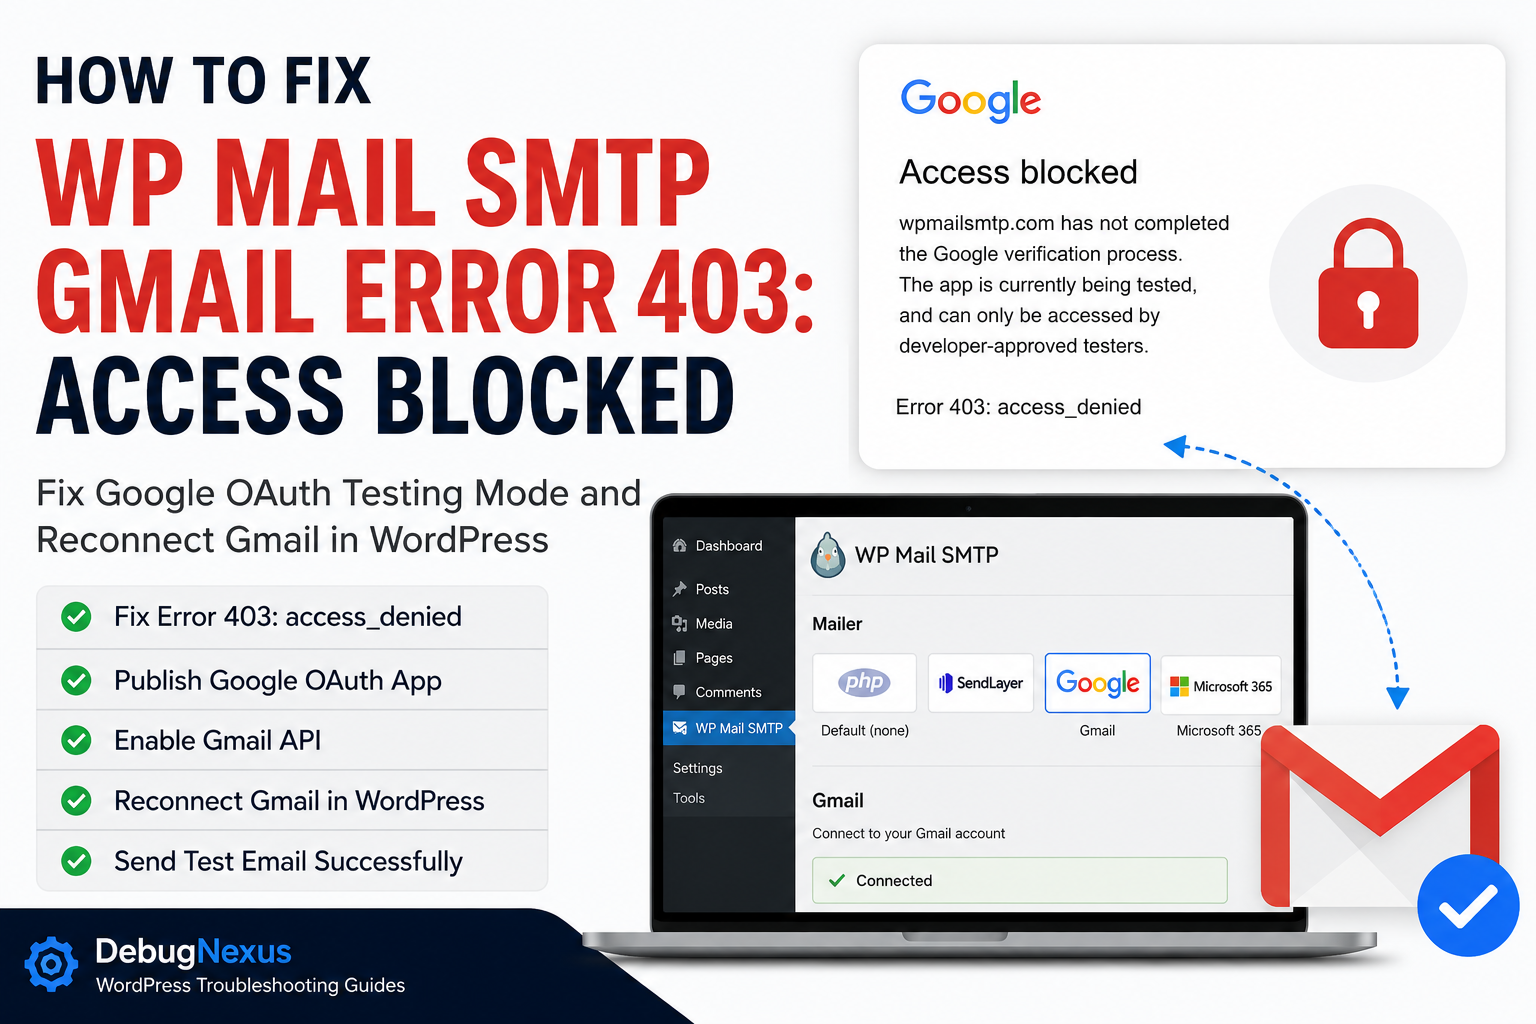
The WP Mail SMTP Gmail Error 403 can appear while connecting a WordPress website to Gmail or Google Workspace through the WP Mail SMTP plugin.
Instead of completing the connection, Google displays an error similar to this:
Access blocked: wpmailsmtp.com has not completed the Google verification process.

wpmailsmtp.com has not completed the Google verification process. The app is currently being tested, and can only be accessed by developer-approved testers.

Error 403: access_denied
This message can be confusing, especially when you have successfully configured WP Mail SMTP on other WordPress websites.
In most cases, the problem does not mean that Gmail, WordPress, or the WP Mail SMTP plugin is unavailable. It means the Google OAuth application connected to the website is still in Testing mode, and the Gmail account attempting to authorize it is not an approved test user.
The permanent solution is usually to publish the Google OAuth application to production and then reconnect the Gmail account in WP Mail SMTP. Identical reports in the WP Mail SMTP support forum were resolved by changing the app from Testing to production and repeating the authorization process.
What Causes WP Mail SMTP Gmail Error 403?
WP Mail SMTP uses Google OAuth to request permission to send WordPress emails through a Gmail or Google Workspace account.
When you manually configure the Gmail mailer, you create a Google Cloud project, enable the Gmail API, create OAuth credentials, and connect those credentials to WP Mail SMTP.
Google OAuth applications can have one of two publishing states:
- Testing
- In production
When an application remains in Testing mode, only Google accounts added to the project’s Test users list can authorize it.
If the account attempting to connect is not on that list, Google blocks authorization and returns:
Error 403: access_deniedGoogle confirms that applications in Testing mode are limited to listed test users. It also states that authorizations granted to test users can expire after seven days.
For a WordPress website that needs to send emails continuously, leaving the application in Testing mode is therefore not an ideal permanent configuration.
Why Does the Error Mention wpmailsmtp.com?
WP Mail SMTP’s manual Gmail configuration uses an OAuth callback to complete the connection between Google and WordPress.
The default authorized redirect URI used by the plugin is:
https://connect.wpmailsmtp.com/google/Because the authorization process passes through this callback, Google may display the wpmailsmtp.com name or domain on the authorization screen.
This does not automatically mean that WP Mail SMTP’s main Google application has stopped working. In the commonly reported version of this error, the custom Google Cloud application created for the website has not been published or the connecting user has not been approved.
WP Mail SMTP’s official setup guide confirms the default redirect URI and instructs users to move the OAuth application from Testing to production before authorizing Gmail.
Before Making Changes
Before editing your Google Cloud configuration, collect the following information:
- The Gmail or Google Workspace address used for sending
- The Google Cloud project used for WP Mail SMTP
- The OAuth Client ID entered in WordPress
- The authorized redirect URI shown by WP Mail SMTP
- Access to the WordPress administrator dashboard
- Access to the relevant Google Cloud project
You should also create a backup of your WordPress website before changing plugin settings.
Although this solution does not normally modify the website database significantly, keeping a recent backup is always recommended before troubleshooting a production website.
Solution: Publish the Google OAuth Application
Follow these steps to resolve the access-denied error.
Step 1: Identify the Correct Google Cloud Project
Log in to the Google Cloud Console using the Google account that owns the OAuth application.
At the top of the Google Cloud Console, open the project selector and choose the project created for the affected WordPress website.
This step is important when you have configured WP Mail SMTP on several websites. Each site may use a different Google Cloud project and OAuth Client ID.
To confirm the Client ID used by WordPress, open:
WP Mail SMTP > Settings > GeneralScroll to the Google / Gmail mailer section and compare the Client ID with the OAuth client in Google Cloud.
Do not change a different project by mistake.
Step 2: Open the Google Auth Platform
Inside the correct Google Cloud project, open:
Google Auth Platform > AudienceDepending on the Google Cloud interface displayed in your account, you may instead find it under:
APIs & Services > OAuth consent screen > AudienceGoogle now organizes OAuth configuration into sections including Branding, Audience, Clients, Data Access, and Verification Center.
Step 3: Check the Publishing Status
Look for the application’s publishing status.
When the status is:
Testingclick:
Publish AppThen confirm the change.
The status should become:
In productionFor some Google Workspace projects, you may first see an option to make the application External. Follow the WP Mail SMTP setup instructions for the account type being connected.
Publishing the application allows accounts outside the temporary test-user list to begin the authorization process.
Step 4: Understand the Verification Warning
Publishing an application to production and completing Google’s full OAuth verification are not the same thing.
After publishing, Google may display a warning saying:
Google hasn’t verified this appFor a private OAuth application that you created only to connect your own WordPress website, WP Mail SMTP’s documentation says you can continue by selecting:
Advancedand then:
Go to wpmailsmtp.com (unsafe)Only proceed when all the following are true:
- You created or control the Google Cloud project.
- The OAuth Client ID belongs to your project.
- The application is being used for your own WordPress website.
- The redirect URI matches the one shown in WP Mail SMTP.
- You intentionally installed and configured WP Mail SMTP.
Do not bypass an unverified-app warning for an unknown application or an OAuth request you did not initiate.
A public application intended for many unrelated users may require Google’s formal verification process. Google provides a Verification Center for production applications that request sensitive or restricted permissions.
Step 5: Confirm That the Gmail API Is Enabled
In Google Cloud, go to:
APIs & Services > LibrarySearch for:
Gmail APIOpen it and confirm that it is enabled.
If you see an Enable button, click it.
If the page displays Manage, the Gmail API is already enabled.
The Gmail API must be active in the same project that contains the OAuth Client ID used by WP Mail SMTP.
Step 6: Check the OAuth Client Type
Open:
Google Auth Platform > ClientsSelect the OAuth client used by WP Mail SMTP.
The application type should be:
Web applicationDo not use:
- Desktop app
- Android
- iOS
- Chrome extension
- Service account
WP Mail SMTP requires a Web application OAuth client for its normal manual Gmail authorization flow. Using the wrong application type can cause a separate unauthorized_client error.
Step 7: Verify the Authorized Redirect URI
Inside the OAuth client settings, find:
Authorized redirect URIsFor the default WP Mail SMTP configuration, the URI should be:
https://connect.wpmailsmtp.com/google/It must match exactly, including:
https- The full hostname
- The
/google/path - The final trailing slash
Do not add this address under Authorized JavaScript origins. It belongs under Authorized redirect URIs.
When WP Mail SMTP displays a different callback URL in its settings, use the exact URL provided by the plugin instead.
An incorrect callback commonly produces:
Error 400: redirect_uri_mismatchThat is a different error from the Error 403 discussed in this guide, but it may appear after the publishing-status problem has been corrected.
Reconnect Gmail in WP Mail SMTP
After publishing the application, return to your WordPress dashboard.
Open:
WP Mail SMTP > Settings > GeneralScroll to the Google / Gmail section.
If an incomplete or previous connection is shown, click:
Remove ConnectionConfirm that the correct Client ID and Client Secret are entered, then click:
Save SettingsAfter the page reloads, click:
Allow plugin to send emails using your Google accountSign in using the Gmail or Google Workspace account that should send the website’s emails.
Review the requested permissions and approve the connection.
When authorization succeeds, WP Mail SMTP should return you to the WordPress dashboard and display the connected Google account.
Temporary Alternative: Add the Account as a Test User
When you do not want to publish the OAuth application immediately, you can add the sending Gmail account as a test user.
In Google Cloud, open:
Google Auth Platform > AudienceFind the Test users section and add the exact Google account used by WP Mail SMTP.
Save the changes and repeat the connection process in WordPress.
This may remove the immediate Error 403, but it is not the best permanent solution. Google states that authorizations for test users can expire seven days after consent.
That can cause the WordPress email connection to stop working again and require repeated authorization.
For a live website, publishing the application is generally more reliable.
Send a Test Email
After reconnecting Gmail, verify the configuration.
In WordPress, go to:
WP Mail SMTP > Tools > Email TestEnter an email address you can access.
Leave the HTML email option enabled and click:
Send EmailWP Mail SMTP should display a success message.
Check:
- The recipient’s inbox
- The spam or junk folder
- The sender’s Gmail Sent folder
- WP Mail SMTP’s email log, when logging is enabled
A successful plugin test confirms that WordPress can send through Gmail, but you should also test the website features that generate real emails.
For example:
- Submit the contact form.
- Request a password-reset email.
- Place a WooCommerce test order.
- Test an appointment-booking notification.
- Test an administrator notification.
What to Check When the Error Continues
If publishing the application does not solve the problem, review the following possibilities.
The Wrong Google Cloud Project Was Updated
This is common when one Google account contains several projects.
Compare the OAuth Client ID in WP Mail SMTP with the Client ID inside Google Cloud. They must be identical.
Publishing an unrelated project will not affect the website connection.
The Connecting Account Is Different
Make sure you authorize the same Gmail or Google Workspace account intended for sending WordPress emails.
WP Mail SMTP’s setup documentation recommends signing out of other Google accounts during configuration to avoid selecting the wrong account.
You can also use a private browser window and sign in only to the required Google account.
The Client ID or Client Secret Is Incorrect
Copy both values again from the correct OAuth client.
Check for:
- Missing characters
- Extra spaces
- Credentials from another project
- An old deleted client secret
- A Client ID from a Desktop application
Save the settings before attempting authorization again.
The Existing Connection Is Stale
Remove the current connection from WP Mail SMTP and authorize it again.
Changing the Google Cloud publishing status does not always repair an existing incomplete authorization automatically.
Google Workspace Is Blocking the Application
Google Workspace administrators can restrict which third-party applications are allowed to access organizational data.
When the Google Cloud configuration appears correct but a Workspace account is still blocked, ask the Workspace administrator to review:
Google Admin Console > Security > Access and data control > API controlsThe administrator may need to mark the application as trusted or allow access to the required Gmail service.
WP Mail SMTP notes that Workspace restrictions can prevent OAuth authorization even when the client settings are otherwise correct.
Gmail Is Disabled for the Workspace User
The Gmail service must be enabled for the Google Workspace account used by WordPress.
A Workspace user may be able to sign in to Google while still lacking permission to use Gmail.
Ask the Workspace administrator to confirm that Gmail is enabled for the user’s organizational unit.
The Redirect URI Is Incorrect
Copy the authorized redirect URI directly from WP Mail SMTP.
Do not type it manually when it can be copied, as a missing trailing slash is enough to make the URI fail validation.
Browser Extensions Are Interfering
Privacy, ad-blocking, and security extensions can sometimes interrupt OAuth redirects.
Retry the authorization in a private browser window with extensions disabled.
Also temporarily allow cookies and pop-ups for WordPress, Google, and the OAuth callback.
Is This a WP Mail SMTP Plugin Bug?
Usually, no.
The Error 403 is returned by Google before the final WordPress connection is created. The most common cause is the OAuth application’s Testing status or a user-access restriction.
Several WP Mail SMTP users have reported the same message, and support repeatedly resolved it by publishing the application and reconnecting the Google account.
However, a plugin-side issue is still possible when:
- One-Click Setup suddenly fails for many unrelated websites.
- The plugin’s OAuth callback is unavailable.
- A recent plugin update introduced a connection problem.
- The same credentials work on another plugin but fail only in WP Mail SMTP.
In that situation, update WP Mail SMTP, clear the website cache, review the plugin’s debug output, and contact WP Mail SMTP support.
Manual Setup Versus One-Click Setup
WP Mail SMTP currently offers two Gmail connection methods.
Manual Gmail Setup
Manual setup requires you to:
- Create a Google Cloud project
- Enable the Gmail API
- Configure the consent screen
- Create a Web application OAuth client
- Add the redirect URI
- Enter the Client ID and Client Secret
- Publish and authorize the application
It requires more work but gives you direct control over the Google Cloud project.
One-Click Setup
One-Click Setup is available with qualifying WP Mail SMTP paid plans. It reduces the number of manual Google Cloud steps and is designed to complete the connection more quickly.
When you manage many websites and prefer not to maintain separate Google Cloud projects manually, One-Click Setup may be more convenient.
Should You Use Gmail for WordPress Transactional Email?
Gmail can work well for websites with a relatively small number of transactional emails.
However, it may not be ideal for:
- Large WooCommerce stores
- Membership websites sending many notifications
- Newsletter campaigns
- High-volume booking systems
- Applications sending automated messages frequently
For higher-volume websites, consider a dedicated transactional email provider such as:
- SendLayer
- Brevo
- Mailgun
- SendGrid
- Amazon SES
- SMTP.com
Dedicated transactional providers generally offer better scalability, sending logs, domain authentication, bounce handling, and deliverability monitoring.
Do not use a WordPress transactional email connection to send unsolicited marketing messages.
Frequently Asked Questions
Do I need to reinstall WP Mail SMTP?
Normally, no.
The problem is usually related to Google OAuth configuration, not damaged plugin files. Publishing the application and reconnecting Gmail should be attempted before reinstalling the plugin.
Will clearing the WordPress cache fix Error 403?
Usually not.
The Error 403 comes from Google’s authorization system. Clearing the cache may help when an old settings page or redirect is being displayed, but it will not change the application’s publishing status.
Can I leave the application in Testing mode?
You can add the Gmail account as a test user, but Google may expire the authorization after seven days. Production is generally more suitable for a live WordPress email connection.
Does publishing the app make it publicly searchable?
Publishing changes the OAuth application’s authorization status. It does not automatically list your WordPress website or Google Cloud project in a public application directory.
Why do I still see an unverified-app warning after publishing?
Publishing and Google verification are separate processes.
A private application can be in production while still being unverified. Only proceed through the warning when you own the Google Cloud project and intentionally initiated the WP Mail SMTP connection.
Why did setup work on my other websites?
The other websites may use:
- Different Google Cloud projects
- Applications already published to production
- Different authorized test users
- WP Mail SMTP One-Click Setup
- Different Gmail or Workspace accounts
- Another mailer provider
Each website’s OAuth configuration must be checked separately.
Final Solution
The WP Mail SMTP Gmail Error 403 normally occurs because the Google OAuth application is still in Testing mode and the connecting Gmail account is not an approved test user.
To fix it:
- Select the correct Google Cloud project.
- Open Google Auth Platform and go to Audience.
- Change the application from Testing to In production.
- Confirm that the Gmail API is enabled.
- Verify that the OAuth client is a Web application.
- Confirm the authorized redirect URI.
- Remove the incomplete WP Mail SMTP connection.
- Reconnect the correct Gmail account.
- Send a test email from WP Mail SMTP.
Publishing the correct OAuth application and reconnecting Gmail should restore WordPress email delivery without reinstalling the plugin.
