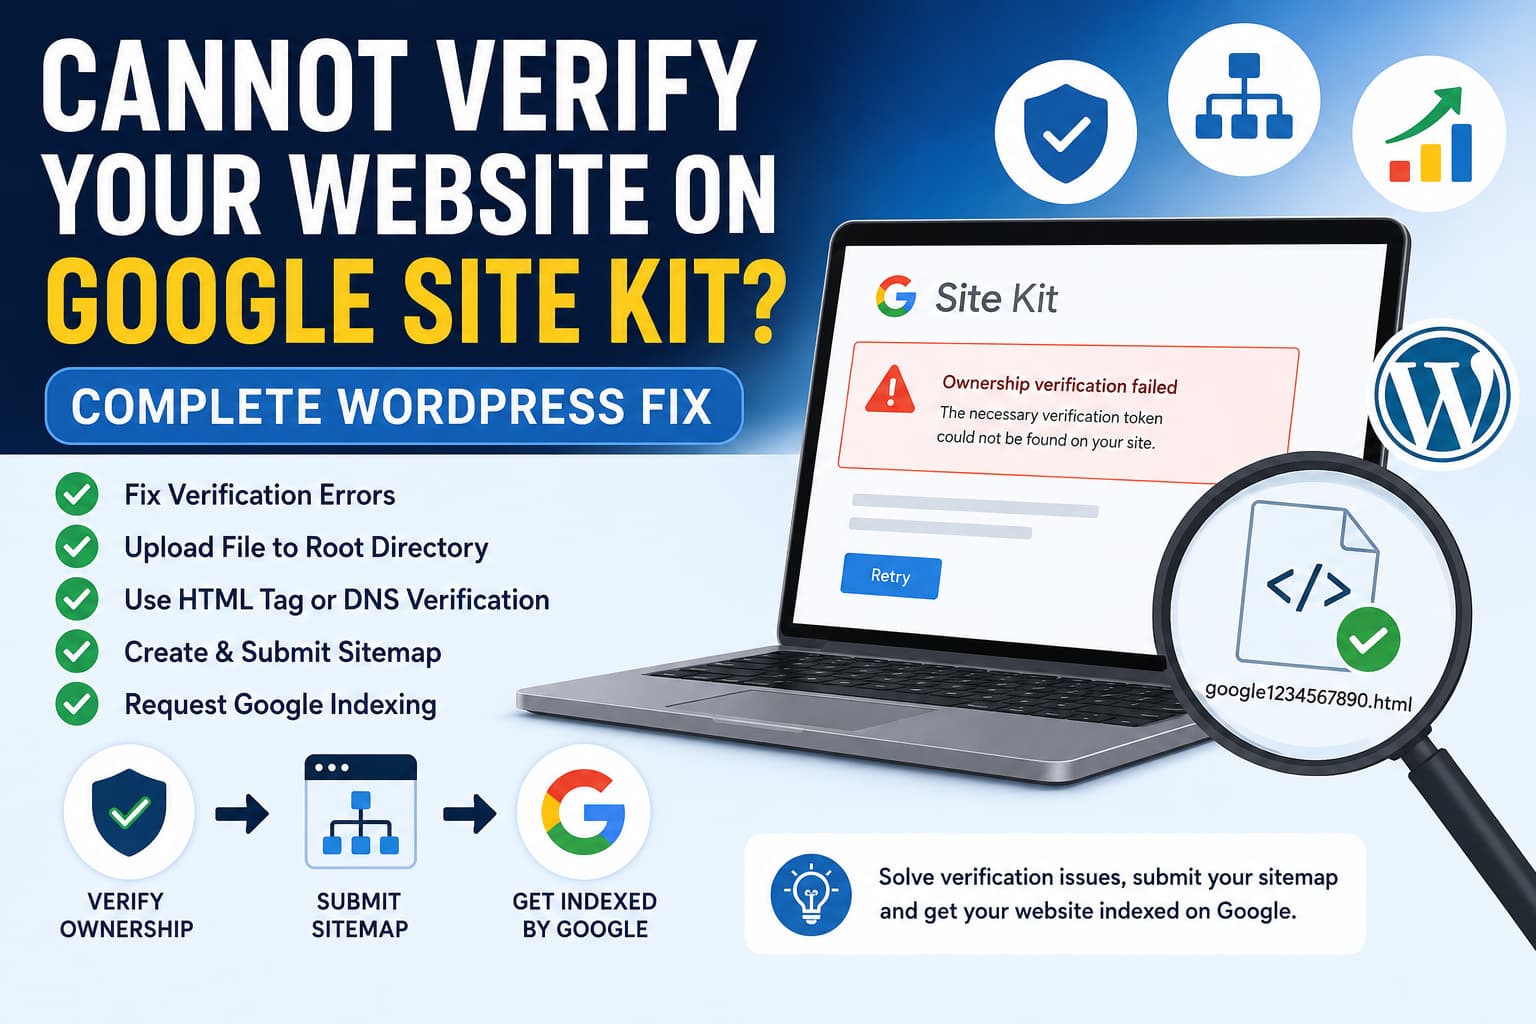
A WordPress website owner may install Google Site Kit and encounter an ownership verification error before the setup can be completed.
The same problem may occur when trying to verify the website manually through Google Search Console. The verification HTML file appears to have been uploaded, but Google reports that it cannot find or read the file.
Common messages include:
Ownership verification failed

The necessary verification token could not be found on your site

Verifying site with META failed

Your verification file was not found in the required location

Your site may not be ready for Site Kit
This can also prevent the website owner from submitting a sitemap and requesting that Google index the website.
The important point is that website verification, sitemap submission, and indexing are three separate processes:
- Verification proves that you control the website.
- A sitemap helps Google discover the website’s URLs.
- Indexing determines whether eligible pages are added to Google Search.
Creating another sitemap will not fix a failed ownership check. The verification problem must be resolved first.
This guide explains how to fix Google Site Kit verification errors, verify a WordPress website manually, submit the correct XML sitemap, and request indexing safely.
Why Google Cannot Read the Uploaded Verification File
The most common mistake is uploading the Google verification file through the WordPress Media Library.
When a file is uploaded under Media > Add New, WordPress normally stores it at a location similar to:
https://example.com/wp-content/uploads/2026/07/google1234567890.htmlHowever, Google Search Console expects the verification file at the root of the property:
https://example.com/google1234567890.htmlUploading the file to the Media Library therefore does not satisfy the verification requirement.
The file must be uploaded to the website’s document root, commonly named:
public_html
www
htdocs
httpdocs
The exact directory name depends on the hosting provider.
Google requires the filename and contents to remain unchanged. The file must also be publicly accessible without a password, login, firewall challenge, or redirect. Search Console does not follow redirects when checking an uploaded HTML verification file.
Step 1: Confirm the Exact Website Address
Before changing files or plugins, confirm which version of the website is actually being used.
Possible variations include:
http://example.com/
http://www.example.com/
https://example.com/
https://www.example.com/
These are not identical URL-prefix properties in Search Console.
In WordPress, go to:
Settings > GeneralCheck these two fields:
WordPress Address (URL)
Site Address (URL)
Both should normally use the live HTTPS version of the website.
Next, open the homepage in a private browser window and check whether it redirects between www and non-www, or between HTTP and HTTPS.
For example, when the live website resolves to:
https://www.example.com/do not try to verify only:
http://example.com/Either add the exact live URL as a URL-prefix property or use a Domain property to cover all protocols and subdomains.
A Search Console Domain property includes HTTP, HTTPS, and subdomain variations. Domain properties must be verified through DNS.
Step 2: Make Sure the Website Is Public
Site Kit cannot complete verification when Google cannot access the public website.
Temporarily disable or review:
- Maintenance mode
- Coming soon mode
- Password protection
- Hosting-level privacy
- Basic HTTP authentication
- Cloudflare Access
- Country blocking
- Bot protection
- Aggressive rate limiting
- Security rules that challenge unknown crawlers
Test the homepage in an incognito window while logged out of WordPress.
It must load normally without asking for a password, displaying a CAPTCHA, or returning a maintenance page.
Google’s Site Kit requirements specify that the site must be publicly accessible and that the WordPress REST API must be available.
Step 3: Check WordPress Search Engine Visibility
In WordPress, go to:
Settings > ReadingFind:
Search engine visibilityMake sure this option is not selected:
Discourage search engines from indexing this siteSave the settings if you make a change.
When this option is enabled, WordPress adds instructions asking search engines not to index the website. It can also disable the native WordPress sitemap.
After changing the setting, clear every active cache before testing again.
Step 4: Check the WordPress REST API
Google Site Kit depends on the WordPress REST API.
Go to:
Tools > Site Health > StatusLook for one of these passed tests:
The REST API is availableIf Site Health instead reports:
The REST API encountered an erroror:
The REST API encountered an unexpected resultSite Kit may not be able to complete setup.
REST API failures can be caused by:
- A security plugin
- A “disable REST API” plugin
- Cloudflare or hosting firewall rules
- Incorrect
.htaccessrules - WordPress URL mismatches
- Server authentication
- A PHP error
- A plugin or theme conflict
- Blocked outgoing HTTP requests
Site Kit’s documentation identifies REST API availability as a setup requirement and recommends checking the result under WordPress Site Health.
The public REST API index can also be tested by opening:
https://example.com/wp-json/A JSON response is expected. A 401, 403, 404, HTML login page, or firewall challenge indicates that the endpoint may be blocked or modified.
Do not assume that every restricted REST endpoint is a problem. Some endpoints require authentication by design. The Site Health result and the exact Site Kit error should be considered together.
Step 5: Clear Caching and Temporarily Disable Optimization
Site Kit adds a verification token to the website and then asks Google’s verification service to detect it.
A stale page cache can cause Google to receive an older version of the homepage without the verification token.
Clear all applicable cache layers:
- WordPress page cache
- Server cache
- Varnish cache
- Redis or Memcached object cache
- CDN cache
- Cloudflare cache
- Browser cache
Temporarily disable HTML optimization features such as:
- HTML minification
- HTML caching
- Delay JavaScript
- Remove query strings
- Relative URL conversion
- Page preloading
- Edge HTML caching
Site Kit specifically documents that caching plugins and plugins that convert absolute URLs to relative URLs can interfere with setup.
After clearing the cache, repeat the Site Kit setup from a private browser window with browser extensions disabled.
Step 6: Upload the Verification File Correctly
For manual HTML-file verification, open Google Search Console and select the appropriate URL-prefix property.
Choose:
HTML fileDownload the file provided by Google. Its name will look similar to:
google1234567890abcdef.htmlDo not rename it and do not edit its contents.
Upload it through your hosting file manager, SFTP, FTP, or SSH to the website root.
A typical file structure is:
public_html/
├── google1234567890abcdef.html
├── index.php
├── wp-admin/
├── wp-content/
└── wp-includes/
After uploading it, open the exact URL in an incognito browser window:
https://example.com/google1234567890abcdef.htmlThe verification text should appear directly.
The URL must not:
- Redirect to the homepage
- Redirect from non-
wwwtowww - Redirect from HTTP to HTTPS
- Return a custom 404 page
- Require authentication
- Display a Cloudflare challenge
- Be served from
/wp-content/uploads/ - Be rewritten by WordPress
You can also test the HTTP response from a terminal:
curl -I https://example.com/google1234567890abcdef.htmlThe expected response begins with a successful status such as:
HTTP/2 200After confirming that the exact file is publicly accessible, return to Search Console and click Verify.
Google states that the file must exist at the exact root URL, remain unchanged, and be accessible to a logged-out visitor.
Step 7: Use the HTML Meta Tag Instead
For a URL-prefix property, you can verify the website with an HTML meta tag when file verification is unavailable.
In Search Console, choose:
HTML tagGoogle provides a tag similar to:
<meta name="google-site-verification" content="YOUR_UNIQUE_TOKEN">Add the complete tag inside the <head> section of the homepage.
Depending on the website, this may be done through:
- An SEO plugin’s webmaster verification setting
- A header-code plugin
- A child theme
- A custom plugin
- The theme’s integration settings
After adding it, clear all caches and open the homepage while logged out.
Use View Page Source, not only the browser’s Elements panel, and search for:
google-site-verificationThe tag should appear between:
<head>
...
</head>
Google requires the verification tag to be present in the source of the public homepage. The tag should not be added only through an interface that loads after an authenticated user signs in.
Step 8: Verify Through DNS
DNS verification is usually the most durable solution because it does not depend on the active WordPress theme, caching plugin, HTML output, or verification file.
In Search Console:
- Add a new property.
- Choose Domain.
- Enter the domain without
https://or a path. - Copy the TXT verification value.
- Open the DNS manager where the domain’s authoritative DNS is hosted.
- Create a TXT record.
- Use
@or leave the host field blank, depending on the DNS provider. - Paste the complete verification value.
- Save the record.
- Return to Search Console and click Verify.
A typical record looks like:
Type: TXT
Name: @
Value: google-site-verification=YOUR_UNIQUE_TOKEN
TTL: Auto
Do not add quotation marks unless the DNS provider adds them automatically.
DNS changes may become visible within minutes, but Google notes that manually added records can sometimes require one or two days before they can be detected. Do not remove the record after successful verification because Search Console periodically checks verification ownership.
After DNS verification succeeds, return to Site Kit and run the setup again. Site Kit can detect a site that has already been manually verified in Search Console.
Step 9: Test for a Plugin or Theme Conflict
When verification still fails, use WordPress Troubleshooting Mode instead of deactivating plugins for every visitor.
The Health Check and Troubleshooting plugin allows an administrator to test with only Site Kit active while the public website continues using its normal plugins and theme.
Test in this order:
- Enable Troubleshooting Mode.
- Keep only Site Kit active.
- Repeat the Site Kit setup.
- If it works, reactivate plugins one at a time.
- Test after each activation.
- Identify which plugin causes verification to fail.
- Test with a default WordPress theme if necessary.
Pay particular attention to:
- Security plugins
- Cache plugins
- Maintenance-mode plugins
- REST API restriction plugins
- Redirection plugins
- Header and footer code plugins
- HTML optimization plugins
- Firewall integrations
Site Kit officially recommends Troubleshooting Mode for identifying plugin and theme conflicts without changing the public frontend.
Step 10: Ask the Hosting Provider to Check Outgoing Requests
Site Kit must communicate with Google services during setup.
If the error mentions cURL, authentication proxy failure, Google API connection failure, or blocked external requests, ask the hosting provider to check:
- PHP cURL availability
- Outgoing HTTPS requests
- DNS resolution from the server
- Firewall or ModSecurity logs
- Blocked Google endpoints
- TLS certificate validation
- REST API responses
- Loopback requests
- Server-side redirects
A support request can include:
Google Site Kit cannot complete ownership verification on my WordPress
website. Please confirm that PHP cURL and outgoing HTTPS requests are
working and that no firewall, ModSecurity rule, or server restriction is
blocking communication with Site Kit or Google verification services.

Please also check whether the WordPress REST API, loopback requests, and
the public verification URL return an unmodified 200 response.
Site Kit documentation states that cURL and authentication-service connection errors can originate from hosting restrictions, firewall rules, or blocked outgoing HTTP connections.
Step 11: Reset Site Kit Only as a Last Resort
When the website URL was changed, the site was migrated, or Site Kit contains an old setup state, resetting the plugin may help.
Go to:
Tools > Available Tools > Reset Site KitDepending on the setup state, the reset option may also be available under:
Site Kit > Settings > Admin SettingsResetting Site Kit disconnects all Site Kit users and removes its WordPress-side configuration. It can also remove code snippets that Site Kit previously placed for connected modules. Other administrators will need to reconnect their accounts.
Do not reset Site Kit merely because Search Console has not started showing data. Newly connected properties can take several days to begin displaying reports.
How to Create the WordPress Sitemap
A modern WordPress installation normally generates a native XML sitemap automatically.
Test:
https://example.com/wp-sitemap.xmlWordPress has provided this core sitemap index since WordPress 5.5. It normally includes public posts, pages, custom post types, taxonomies, author archives, and the homepage.
An SEO plugin may replace or supplement the core sitemap with a different URL, often resembling:
https://example.com/sitemap_index.xmlUse the sitemap generated by the active SEO configuration. You do not need to create a static sitemap manually when WordPress or the SEO plugin already produces a valid one.
How to Test the Sitemap
Open the sitemap in an incognito browser window.
A valid sitemap should:
- Be publicly accessible
- Return HTTP status 200
- Contain XML
- Use URLs from the correct domain
- Use the preferred HTTPS and
wwwor non-wwwversion - Avoid maintenance pages and login redirects
- Avoid 403 and 404 responses
- Avoid redirect chains
- Include indexable canonical URLs
Test the response with:
curl -I https://example.com/wp-sitemap.xmlor:
curl -I https://example.com/sitemap_index.xmlWhen the sitemap returns a 404 error, go to:
Settings > PermalinksClick Save Changes without changing the permalink structure. This refreshes the WordPress rewrite rules.
Then clear all caches and test again.
If the core sitemap remains unavailable, check:
- The Search Engine Visibility setting
- Conflicts with an SEO plugin
- Custom sitemap-disabling code
- The PHP SimpleXML extension
- Rewrite rules
- Server-level XML blocking
- A cache serving a previous 404 response
WordPress documents that its sitemap uses /wp-sitemap.xml, requires the PHP SimpleXML extension, and is disabled when the website is configured to discourage search engine indexing.
How to Submit the Sitemap to Google
After ownership verification succeeds:
- Open Google Search Console.
- Select the correct property.
- Open Sitemaps.
- Enter the sitemap path.
For the WordPress core sitemap, enter:
wp-sitemap.xmlFor an SEO-plugin sitemap, it may be:
sitemap_index.xml- Click Submit.
- Review the status after Google processes it.
Google recommends submitting the sitemap through the Search Console Sitemaps report. A sitemap can also be referenced in robots.txt.
An optional robots.txt line looks like:
Sitemap: https://example.com/wp-sitemap.xmlOnly reference the sitemap URL that is actually active and publicly accessible.
If Search Console reports Couldn’t fetch, check the exact submitted URL, HTTP status, redirect chain, access restrictions, and sitemap response. Google lists wrong URLs, 404 responses, and excessive redirects among the causes of sitemap retrieval failure.
How to Request Google Indexing
Submitting a sitemap does not immediately index every page.
To request indexing for an important URL:
- Open Search Console.
- Select URL inspection.
- Enter the complete page URL.
- Wait for the inspection result.
- Click Test live URL when necessary.
- Click Request indexing.
Start with:
- Homepage
- Main service or product pages
- About page
- Important category pages
- High-quality cornerstone articles
Google states that crawling may take from several days to several weeks. Requesting indexing does not guarantee that a page will be included in search results, and repeatedly submitting the same URL will not make the process faster.
Check for Noindex and Crawling Blocks
A page can be verified and included in a sitemap while still being ineligible for indexing.
View the page source and search for:
<meta name="robots" content="noindex">Also inspect the HTTP headers for:
X-Robots-Tag: noindexCheck:
https://example.com/robots.txtLook for broad rules such as:
User-agent: *
Disallow: /
Also confirm that the page:
- Returns HTTP status 200
- Is not password protected
- Has a self-referencing or appropriate canonical URL
- Is not redirected
- Is internally linked
- Contains useful original content
- Is not an empty archive or placeholder
- Is not duplicated across several URLs
Google follows a noindex meta tag or X-Robots-Tag when it can crawl the page. A page blocked by robots.txt may prevent Google from seeing the page-level indexing instructions.
Common Errors and Their Solutions
| Error or symptom | Likely cause | Solution |
|---|---|---|
| Verification file not found | File uploaded to Media Library | Upload it to the document root |
| Verification URL redirects | Wrong property or canonical host | Use the exact live URL or DNS verification |
| Meta tag not found | Tag missing from public page source | Add it inside <head> and clear caches |
| Site Kit cannot access REST API | Security, server, or plugin restriction | Check Site Health and firewall logs |
| Site Kit works when cache is disabled | Stale or modified HTML | Exclude verification and setup requests from caching |
| DNS token not found | Wrong authoritative DNS or propagation delay | Confirm the record at the active DNS provider |
| Sitemap returns 404 | Rewrite rules or sitemap disabled | Save permalinks and check Reading settings |
| Sitemap returns 403 | Firewall or bot protection | Allow public access to the XML URL |
| Search Console says “Couldn’t fetch” | Incorrect URL, redirects, or access failure | Test the exact sitemap URL and response |
| Pages are discovered but not indexed | Noindex, duplication, weak content, or crawl delay | Inspect URLs individually and improve indexability |
Recommended Fix Order
Use this order to avoid unnecessary changes:
- Confirm the exact live HTTPS URL.
- Make the website publicly accessible.
- Uncheck “Discourage search engines from indexing this site.”
- Check the REST API under Site Health.
- Clear all cache layers.
- Temporarily disable security and HTML optimization features.
- Upload the verification file to the document root, not Media Library.
- Use DNS verification when file or meta verification remains unreliable.
- Verify the website in Search Console.
- Reconnect Site Kit.
- Test the active sitemap URL.
- Submit the sitemap.
- Request indexing for important pages.
- Monitor the Page Indexing and Sitemaps reports.
Frequently Asked Questions
Why can Google not find the verification file I uploaded?
The file is often uploaded to the WordPress Media Library instead of the website root. Google expects the file directly after the domain name, such as:
https://example.com/google123.htmlIt will not find the file when it exists only under:
https://example.com/wp-content/uploads/google123.htmlRedirects, password protection, firewalls, and modified filenames can produce the same error.
Do I need a WordPress sitemap plugin?
Not necessarily. WordPress generates a native sitemap at:
https://example.com/wp-sitemap.xmlAn SEO plugin may provide a more configurable sitemap and use another URL. Do not install several sitemap plugins because overlapping sitemap systems can make troubleshooting more confusing.
Can I verify Search Console without Site Kit?
Yes. You can verify the website directly through Search Console using DNS, an HTML file, an HTML meta tag, Google Analytics, or Google Tag Manager when the selected property supports that method.
After manual verification succeeds, repeat the Site Kit setup.
Is DNS verification better than uploading a file?
DNS verification is generally more durable because it is not affected by WordPress themes, cache plugins, page-source changes, or missing files. It is also the required method for a Search Console Domain property.
Will submitting a sitemap index my website immediately?
No. A sitemap helps Google discover preferred URLs, but Google describes sitemap submission as a hint rather than a guarantee that every URL will be crawled or indexed.
How long does Google indexing take?
Google says crawling can take from a few days to a few weeks. New websites, sites with few external links, and sites with technical or content-quality problems may require longer.
Final Conclusion
When Google Site Kit cannot verify a WordPress website, the sitemap is usually not the first problem to solve.
Start by confirming that the website is public, uses the correct canonical URL, allows the REST API, and is not serving cached or blocked verification content.
When using an HTML verification file, upload it directly to the website’s document root. Do not upload it through the WordPress Media Library.
If file and meta-tag verification continue failing, add a Search Console Domain property and verify it through a DNS TXT record. Once ownership is confirmed, reconnect Site Kit, test the XML sitemap, submit it through Search Console, and request indexing for the most important pages.
This process addresses the complete chain: ownership verification, sitemap discovery, and Google indexing.
