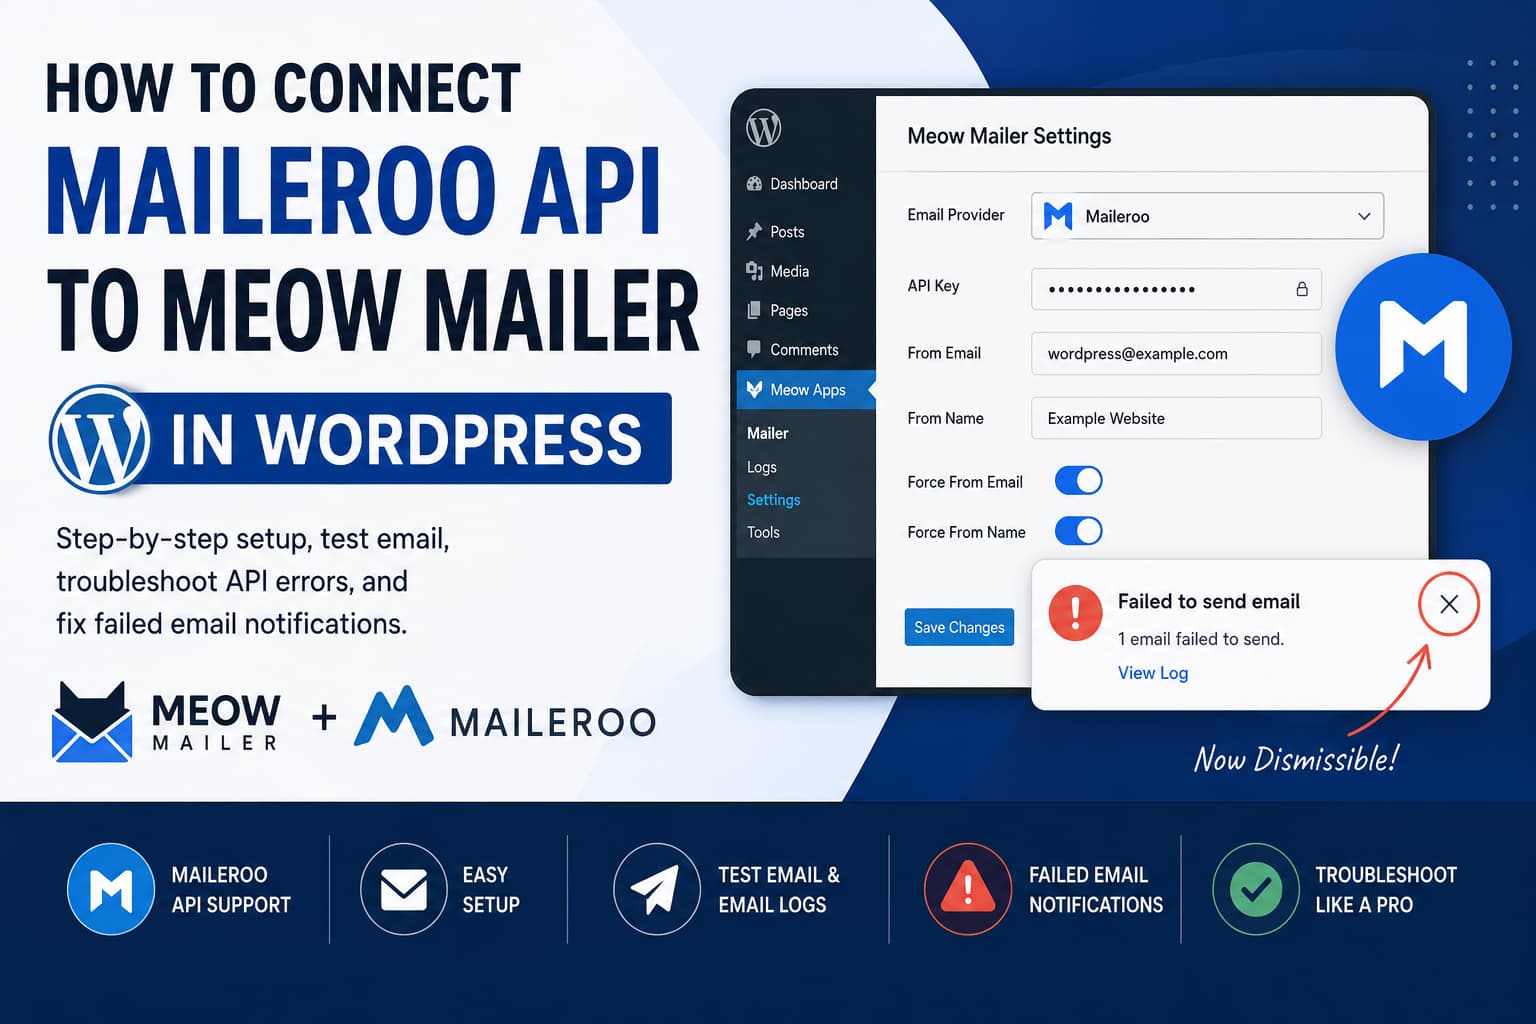
Maileroo can now be connected directly to the Meow Mailer WordPress plugin through its Email API.
Previously, Maileroo users could configure Meow Mailer through the plugin’s Generic SMTP option. While SMTP worked correctly, there was no dedicated Maileroo API integration.
Following a feature request submitted through the WordPress.org support forum, the Meow Mailer developer added native Maileroo API support. The same update also added a close button for failed-email warnings displayed in the WordPress dashboard.
This guide explains how to configure the Maileroo API in Meow Mailer, test your WordPress emails, troubleshoot common API errors, and handle failed-email notifications.
What Changed in Meow Mailer?
According to the plugin developer, Meow Mailer version 0.1.5 introduced two important improvements:
- Maileroo became available as a dedicated API provider.
- Failed-email dashboard warnings became dismissible.
When an administrator closes a failed-email warning, Meow Mailer records that the existing failures have been reviewed. The warning should remain hidden until another email fails, rather than reappearing on every page load.
This is more useful than temporarily hiding the warning because administrators will still be alerted when a new delivery failure occurs.
Meow Mailer also provides email logging, status filtering, message previews, CSV export, test emails, one-click resending, background delivery, and an offline mode for staging websites. It processes messages sent through WordPress’s standard wp_mail() system, allowing it to work with WooCommerce, contact forms, password resets, user registrations, and other WordPress notifications.
Requirements
Before beginning the setup, make sure you have:
- Administrator access to the WordPress website
- An active Maileroo account
- A domain added and verified in Maileroo
- Meow Mailer installed and updated
- A valid sender address using the verified domain
Your sender address should belong to a domain that has already been authenticated in Maileroo. For example, when example.com is verified, you could use:
wordpress@example.com
orders@example.com
support@example.com
Avoid using an unrelated Gmail, Outlook, or Yahoo address as the From Email when sending through your authenticated domain.
Step 1: Update Meow Mailer
In WordPress, go to:
Dashboard → Plugins → Installed PluginsFind Meow Mailer and install the latest available update.
The Maileroo provider was introduced in version 0.1.5, according to the plugin developer’s response in the support thread. Therefore, the provider will not appear in an older release.
If WordPress does not immediately display the update:
- Go to Dashboard → Updates.
- Click Check Again.
- Clear any persistent object cache.
- Reload the Plugins page.
- Confirm the installed Meow Mailer version.
Always take a backup before updating plugins on a production website.
Step 2: Verify Your Domain in Maileroo
Sign in to your Maileroo account and open the Email API service.
Go to the Domains section and select the domain you want WordPress to use. Complete all required DNS authentication before continuing.
Depending on the Maileroo configuration, you may need to add DNS records for domain ownership, SPF, DKIM, tracking, or return-path authentication.
Wait until Maileroo reports that the sending domain is verified.
The From Email configured in WordPress must use this verified domain. Otherwise, Maileroo may reject the message even when the API key itself is valid.
Step 3: Create a Maileroo Sending Key
Maileroo uses a Sending Key to authenticate Email API requests. This is different from an SMTP username and password.
In the Maileroo dashboard:
- Open Email API.
- Go to Domains.
- Select your verified domain.
- Open Sending Keys.
- Click the option to create a new Sending Key.
- Give the key a descriptive name, such as:
DebugNexus WordPress Production- Copy the generated key and store it securely.
Maileroo accepts the Sending Key through either the X-Api-Key header or a Bearer authorization header. The Meow Mailer integration handles the request automatically after the key is entered in its settings.
Do not use your Maileroo account password or SMTP password in the API Key field.
It is also a good practice to use separate keys for production and staging websites. That makes it easier to revoke one key without affecting another environment.
Step 4: Select Maileroo in Meow Mailer
Return to your WordPress dashboard and open:
Meow Apps → Mailer → SettingsThe exact menu wording may vary slightly depending on the installed plugin version.
Find the email provider setting and select:
MailerooMeow Mailer supports one active provider at a time. Selecting Maileroo will replace Generic SMTP or another provider as the active delivery method, although you can switch providers again later.
Step 5: Enter the Maileroo API Settings
Complete the available fields using the following values.
API Key
Paste the Maileroo Sending Key created for your verified domain.
From Email
Enter an address using the verified domain:
wordpress@example.comFrom Name
Enter the website or business name visitors should see:
Example WebsiteForce From Email
Enable this option when other plugins are replacing the sender address with an unverified address.
This is particularly useful when WooCommerce, a contact form plugin, a membership plugin, or a booking plugin attempts to send from the website administrator’s personal email address.
Force From Name
Enable this when you want all WordPress emails to use one consistent sender name.
Save the settings after completing the configuration.
Step 6: Send a Test Email
Use the test-email feature inside Meow Mailer.
Send the message to an email address you can access and confirm the following:
- The test reports a successful API request.
- The message appears in the Meow Mailer log.
- The message appears in the Maileroo delivery log.
- The email arrives in the inbox.
- The From Email and From Name are correct.
- The message does not land in spam.
Do not rely only on a “Sent” status inside WordPress. That status normally confirms that the email provider accepted the request. It does not always prove that the recipient’s mail server placed the message in the inbox.
Check the Maileroo logs for the final delivery status, including delivery, bounce, rejection, complaint, or suppression information.
Maileroo API vs. SMTP
Maileroo supports both SMTP and API delivery.
Maileroo API
The API method sends the email using an HTTPS request. It usually provides more structured and useful errors when a request is rejected.
The Meow Mailer developer specifically noted that the API integration can provide clearer errors for problems such as an unverified sending domain.
The Maileroo email endpoint is:
POST https://smtp.maileroo.com/api/v2/emailsThe request supports HTML and plain-text content along with recipients, CC, BCC, reply-to addresses, headers, tags, attachments, scheduling, and tracking options.
Maileroo SMTP
SMTP remains a valid alternative and does not have to be replaced when it is already working reliably.
Maileroo’s SMTP configuration uses:
Host: smtp.maileroo.com
Port 465: SSL
Port 587: STARTTLS
Port 2525: STARTTLS
Authentication: Required
Maileroo recommends STARTTLS for ports 587 and 2525 and SSL for port 465.
SMTP uses an SMTP account alias and generated SMTP password. Those credentials are not the same as the Email API Sending Key.
Which Method Should You Use?
Use the API connection when:
- You want clearer provider errors.
- Your hosting environment restricts SMTP connections.
- You want direct integration with Maileroo.
- You prefer HTTPS-based transactional email delivery.
Continue using SMTP when:
- It is already working correctly.
- Your hosting server permits outbound SMTP connections.
- You do not need API-specific error responses.
- You are using another SMTP plugin without Maileroo API support.
There is no need to change a stable SMTP configuration simply because an API option exists.
How the Failed Email Notification Works
Meow Mailer displays a warning in the WordPress dashboard when one or more emails fail.
In earlier versions, this warning could remain visible for an extended period with no close button. Administrators could review the error log but could not manually dismiss the warning.
Version 0.1.5 added a close button to the failure notice.
Closing the warning should mark the current failures as acknowledged. The notice should remain dismissed until another email fails. A new failure should therefore produce a new warning rather than remaining hidden permanently.
The recommended workflow is:
- Open the Meow Mailer Logs tab.
- Filter the list by Failed.
- Open the failed message.
- Review the API or SMTP error.
- Correct the configuration problem.
- Resend the message when appropriate.
- Close the dashboard warning after reviewing it.
Do not dismiss failed-email warnings without first checking which messages failed. A missed WooCommerce order, contact-form enquiry, booking confirmation, or password-reset email can affect real users.
Old Failure Warning Still Has No Close Button
A user testing the new Maileroo integration reported that a warning generated before the plugin update remained visible without a close button, even after updating Meow Mailer.
This suggests that the new dismissible-notice logic may initially have applied only to warnings generated after the update. At the time of the report, the support thread did not contain a confirmed developer fix for this older-notice edge case.
Try these safe steps first:
- Confirm that the latest Meow Mailer version is installed.
- Clear the WordPress object cache.
- Clear any server-side or admin-page cache.
- Hard-refresh the WordPress dashboard.
- Open the Logs tab and review the old failed messages.
- Send another test message after correcting the mail configuration.
- Reload the dashboard and check whether the updated notice appears.
Avoid manually deleting unknown Meow Mailer entries from the WordPress options table. Removing the wrong setting could delete configuration data or interfere with future failure alerts.
If the original warning remains without a close button, report the behavior through the Meow Mailer support forum and include:
- The installed plugin version
- WordPress version
- PHP version
- Whether the warning existed before the update
- Whether newly generated failures have a close button
- A screenshot of the warning
- Any relevant browser-console errors
The email delivery integration can still work even when an older dashboard notice remains visible. The notice issue and the actual Maileroo delivery connection should be diagnosed separately.
Troubleshooting Maileroo API Errors
Maileroo Does Not Appear in the Provider List
Confirm that Meow Mailer has been updated to a version containing the Maileroo integration.
Then clear the WordPress object cache and reload the settings page.
If the provider still does not appear, temporarily disable admin optimization or asset-combination plugins and check the browser console for JavaScript errors.
Authentication Failed or Invalid API Key
Make sure you entered a Maileroo Sending Key, not:
- Your Maileroo login password
- An SMTP account password
- An SMTP account alias
- A key created for another service
- A deleted or revoked key
Create a new Sending Key and test again when necessary.
Unverified Sending Domain
Verify that the From Email uses the exact domain authenticated in Maileroo.
For example, when only mail.example.com has been verified, Maileroo may not automatically accept mail from example.com.
Check which domain or subdomain was actually added to the Maileroo dashboard.
HTTP 400 Error
A 400 response normally means the request is missing required data or contains an invalid value.
Check:
- From Email
- Recipient address
- Subject
- HTML or plain-text message body
- Sender-domain verification
HTTP 401 Error
A 401 response normally indicates missing or invalid authentication.
Generate a new Sending Key and replace the existing key in Meow Mailer.
HTTP 403 Error
A 403 response can indicate that the request is authenticated but not permitted. Maileroo’s documentation notes that this can include IP-address permission problems.
Check any IP restrictions associated with the key or account.
HTTP 429 Error
A 429 response means the request has been rate-limited.
Check whether a plugin, scheduled task, compromised form, or background process is generating an unusually large number of emails.
HTTP 500 Error
A 500 response indicates that Maileroo encountered an internal server error.
Retry the request after a brief interval and check the Maileroo service status or contact its support team if the problem continues.
Test Works but WooCommerce Emails Fail
If the Meow Mailer test succeeds but WooCommerce messages fail:
- Confirm that WooCommerce email notifications are enabled.
- Check the recipient addresses.
- Review the Meow Mailer email log.
- Check whether another plugin is overriding
wp_mail(). - Disable duplicate SMTP or mail-delivery plugins.
- Confirm that WooCommerce is not replacing the From Email.
- Enable Force From Email in Meow Mailer.
Only one plugin should normally be responsible for routing WordPress email.
Emails Show as Sent but Never Arrive
Check the Maileroo delivery log rather than relying only on the WordPress log.
The receiving server may have:
- Rejected the message
- Deferred delivery
- Placed it in spam
- Blocked the sender domain
- Suppressed the recipient after a previous bounce
- Rejected the message because of SPF, DKIM, or DMARC alignment
Also test with recipients at more than one provider, such as Gmail, Outlook, or a business-domain mailbox.
Optional: Test the Maileroo API Directly
When Meow Mailer reports an unclear error, you can test the Maileroo API independently.
Replace all placeholder values before running this command:
curl --request POST \
  --url "https://smtp.maileroo.com/api/v2/emails" \
  --header "Content-Type: application/json" \
  --header "X-Api-Key: YOUR_MAILEROO_SENDING_KEY" \
  --data '{
    "from": {
      "address": "wordpress@example.com",
      "display_name": "Example Website"
    },
    "to": [
      {
        "address": "recipient@example.net"
      }
    ],
    "subject": "Maileroo API Test",
    "html": "<h1>Maileroo API Test</h1><p>This message was sent through the Maileroo Email API.</p>",
    "plain": "This message was sent through the Maileroo Email API."
  }'
A successful response should contain a success status and a reference ID that can be used to identify the request.
Never publish your real Sending Key in a support thread, screenshot, code repository, or blog post. Revoke and regenerate the key immediately if it is exposed.
If the direct API test works but Meow Mailer fails, the issue is likely related to the WordPress plugin configuration, sender values, request formatting, or a plugin conflict.
If the direct request also fails, review the response from Maileroo because the issue is more likely connected to the Sending Key, domain verification, account permissions, or sender address.
Frequently Asked Questions
Does Meow Mailer support the Maileroo API?
Yes. The plugin developer announced dedicated Maileroo API support in Meow Mailer version 0.1.5. The integration requires a Maileroo Sending Key.
Do I need an SMTP username and password?
Not when using the Maileroo API provider. You need a Sending Key created under the verified domain.
SMTP credentials are required only when using the Generic SMTP connection.
Can I use the API and SMTP connections simultaneously?
Meow Mailer is designed to use one active provider at a time. You can switch between Maileroo API and Generic SMTP, but only the selected provider will handle outgoing WordPress mail.
Will Maileroo work with WooCommerce?
Yes. WooCommerce normally sends transactional messages through WordPress’s wp_mail() function, which Meow Mailer intercepts. This includes new-order notifications, processing-order emails, completed-order emails, password resets, and customer account messages.
Will closing the failed-email warning hide future failures?
It should not. The new dismissal behavior acknowledges the failures already reviewed. Another failed email should cause a new warning to appear.
Why does an old warning still have no close button?
The warning may have been created before the dismissible-notice update. This behavior was reported after version 0.1.5 was released, but the support thread did not yet contain a confirmed fix for previously generated notices.
Final Thoughts
The native Maileroo API integration makes Meow Mailer a more complete option for WordPress transactional email delivery.
The setup requires only a verified Maileroo domain, a Sending Key, a valid From Email, and the latest version of Meow Mailer. Once configured, send a test message and verify it in both the Meow Mailer log and Maileroo’s delivery logs.
The new failed-email notice behavior is also a useful improvement. Administrators can acknowledge reviewed failures without permanently disabling warnings for future delivery problems.
When SMTP is already working reliably, there is no urgent need to replace it. However, the Maileroo API connection can provide clearer error responses and an easier troubleshooting process when WordPress emails fail.
